Print Quality Problems
4-3
4.2 Print Quality Problems
The tables and diagrams in the following sections define print quality problems and the
corrective action you can conduct to solve the problems. Some solutions may require
cleaning or replacing parts of the printer.
If the suggested corrective action will not solve the problem, call for service.
Printed Results Corrective Action
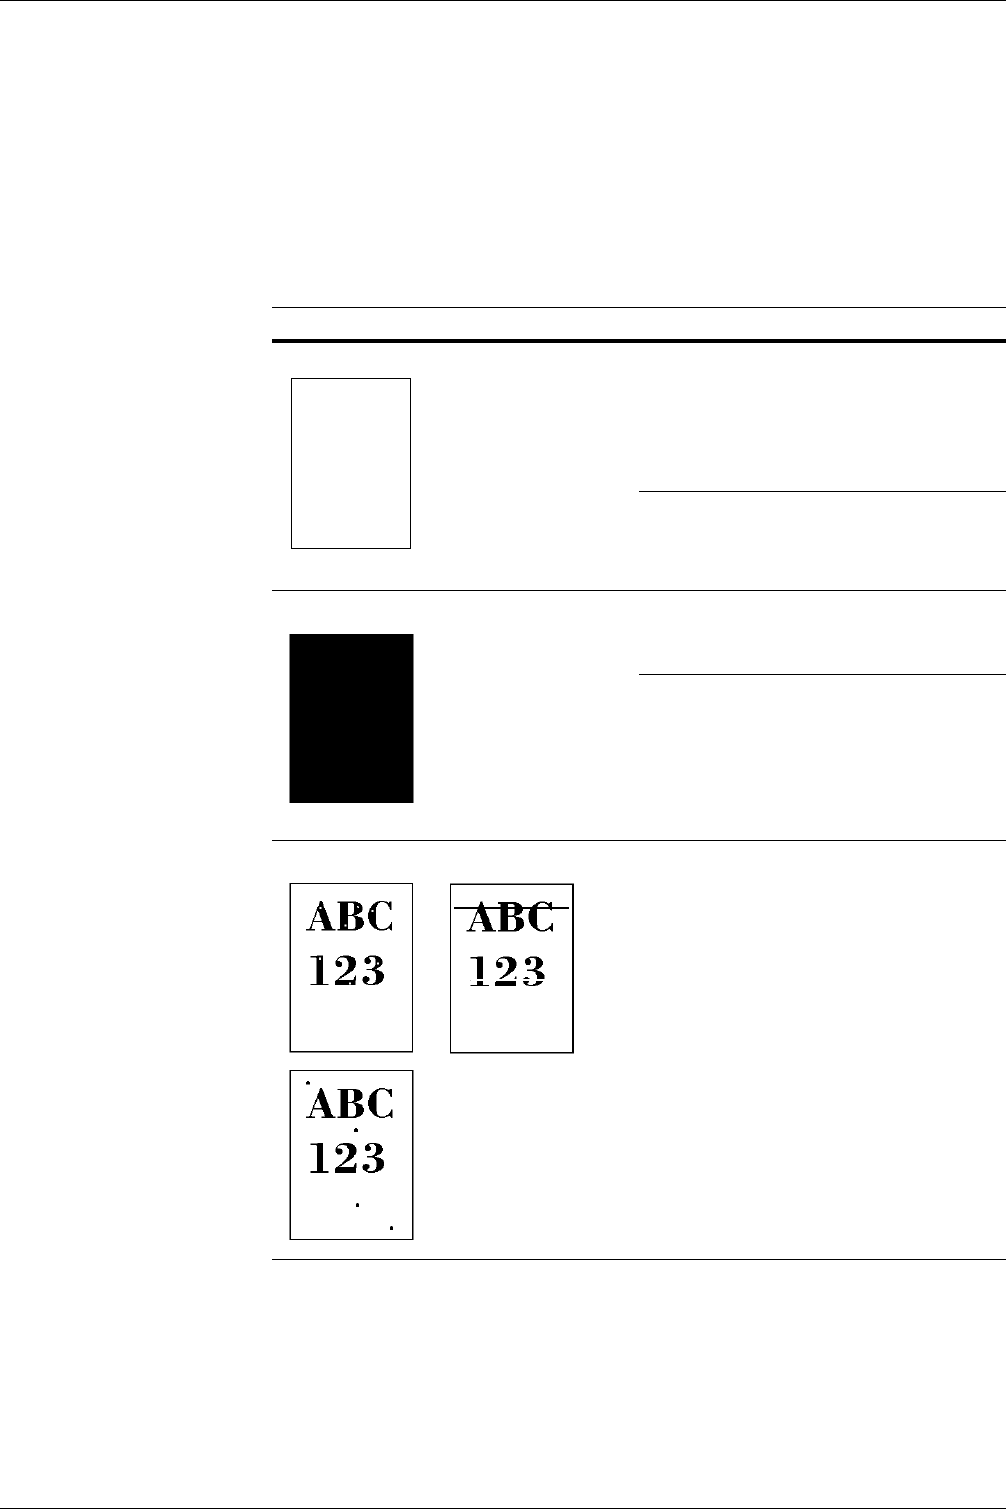
Completely blank printout Check the toner containers.
Open the printer top cover and check that the toner
containers are correctly installed in the printer. For
more information on installing the toner containers,
see Chapter 5 Maintenance, section 5.1 Toner Con-
tainer Replacement on page 5-2.
Check that the application software is correctly
operated.
Full single-color printout Check the charger unit.
Open the left cover and check that the charger unit
is correctly installed.
Check the advanced beam array lens cleaners.
Open the left cover and make sure that the lens
cleaners are securely pushed all the way into the
printer. For full details, see Chapter 5 Maintenance,
section 5.3.3 Cleaning the Advanced Beam Array
Lenses on page 5-17
Dropouts, horizontal streaks, stray dots Clean the main charger units.
Open the left cover. Slowly pull the green wire
cleaner knob to each of the main charger units in
and out a few times. For full details, see Chapter 5
Maintenance, section 5.3.1 Cleaning the Main
Charger Unit on page 5-11.
Table 4-2


