


Operation
3-173360-A2-GB20-20 December 1996
Specifying the Community Name(s) and
Access Type(s)
You have the capability of specifying up to two
community names (community name 1 and community
name 2) to be used by external SNMP managers when
trying to access objects in the E1 NTU’s MIB. Once you
specify the community name(s), you must then specify the
type of access to the MIB that SNMP managers in the
community are permitted to have.
To specify the community name 1 and its access type,
1. From the top-level menu screen, select Cnfig.
2. Select the configuration option set to be copied
into the Edit area by using the appropriate
Function key. Use the scroll keys, if necessary.
3. Select Edit.
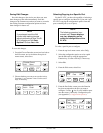
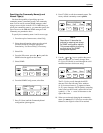
4. From the Edit screen, press the
key until the
SNMP selection appears on the screen.
5. Select SNMP.
F1
Edit:
User Alarm SNMP
F2
F3
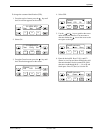
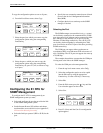
6. From the SNMP Config screen, select Gen.
F1
SNMP Config:
Gen Trap
F2
F3
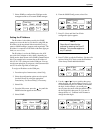
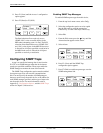
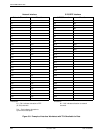
7. Press F1 (Next) until the CommunityName1
configuration option appears.
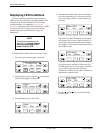
8. Press F2 (Edit) to edit the community name. The
factory default community name is public.
F1
CommunityName1:
Next Edit Clear
F2
F3
NOTE
Steps 9 and 10 describe the
process for entering text strings
for SNMP configuration options.
This process applies to entering
any text strings into SNMP
configuration options.
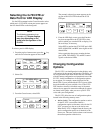
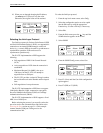
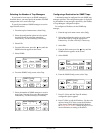
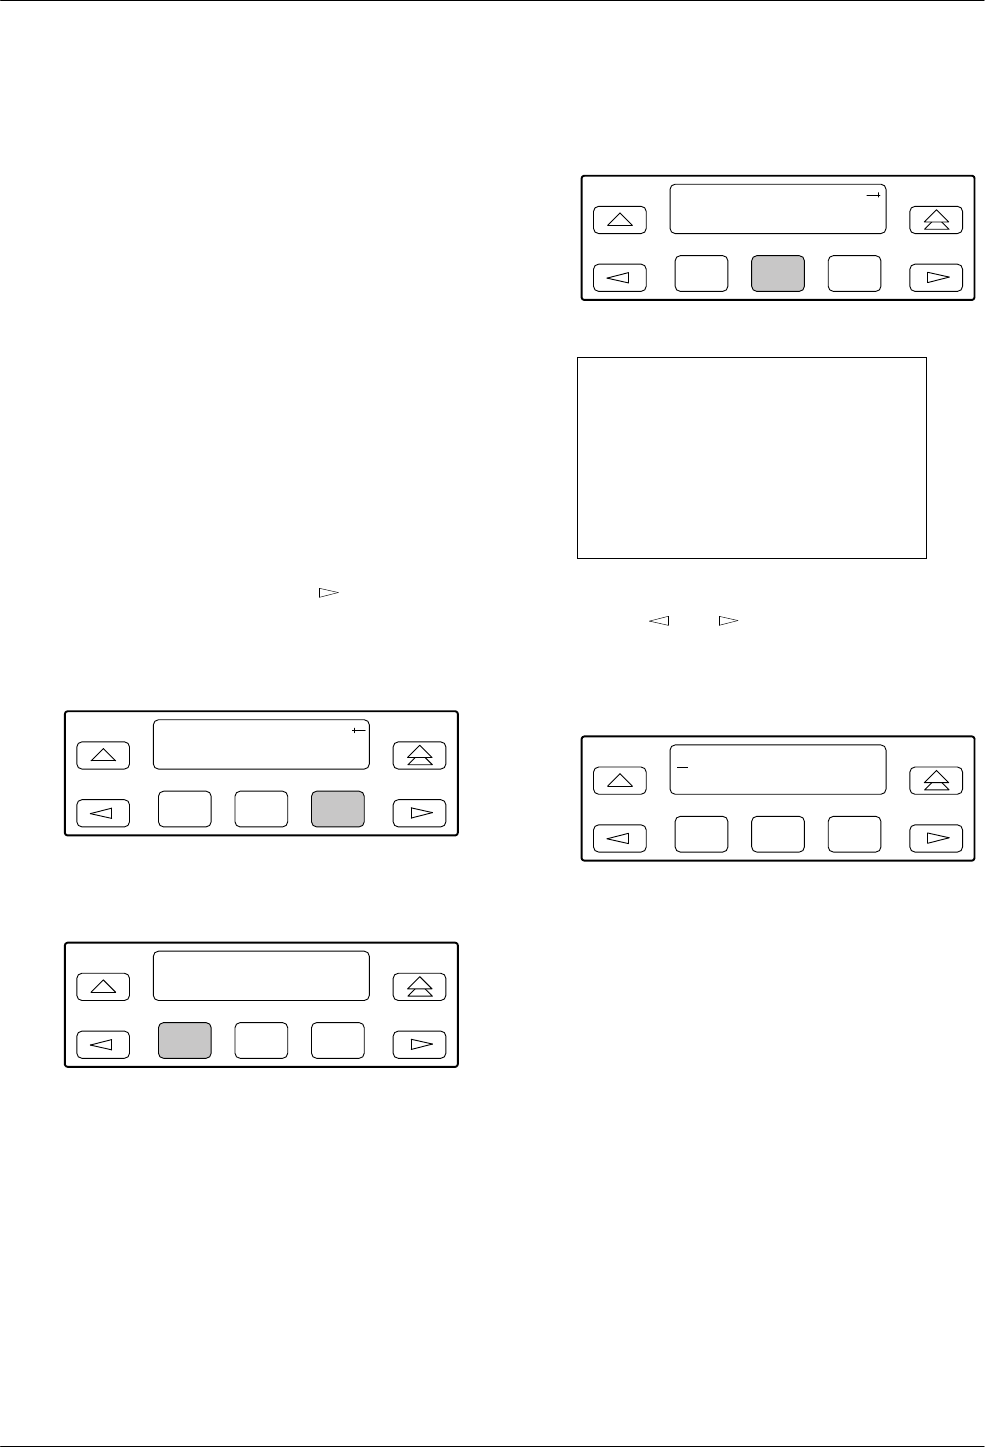
9. Use the and keys to position the cursor
under the character you want to change. Press
F1 (Up) or F2 (Down) to scroll through the valid
numbers/characters for the text string.
F1
public
Up Down Save
F2
F3
The F1 (Up) key scrolls through the ASCII
character set in the following order: numbers
(0–9), lowercase letters (a–z), uppercase letters
(A–Z), space character, ASCII symbols (ascending
order, based on ASCII code), and the End of Line
symbol (←). The ← erases all characters to the
right of the cursor.
10. When you are through changing the community
name, you must press F3 (Save) to save the value.
Otherwise, the original value will be retained.