


ACCULINK 336x E1 NTU
3-28 December 1996 3360-A2-GB20-20
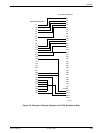
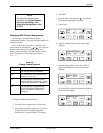
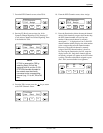
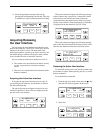
8. If you selected NET the channels allocated to the
network interface are displayed. Line 1 displays
the 31 channels for the network interface, while
Line 2 displays what is allocated to the DS0
channel shown in Line 1. Pressing the
or
key scrolls the channels onto the screen in groups
of three.
F1
N1 N2 N3
D2 D3 Prt1
F2
F3
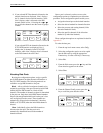
If you selected DTE, the channels allocated to the
G.703 DTE interface are displayed. Line 1
displays the 31 channels for the G.703 DTE
interface, while Line 2 displays what is allocated
to the DS0 channel shown in Line 1.
F1
D1 D2 D3
–N1N2
F2
F3
Allocating Data Ports
By using the configuration options, assign a specific
port to DS0 channels on either the network interface or
the G.703 DTE interface. The following methods are
available to assign DS0 channels to the port:
Block – Allows a block of contiguous channels to be
assigned by specifying a data port rate and an initial DS0
channel (the first DS0 channel in a block of DS0
channels). The number of channels assigned is determined
by the port rate. Only those initial DS0 channel numbers
that provide enough bandwidth (based on the port’s data
rate) are displayed on the screen. These channels are
automatically assigned to the destination E1 interface
(HDSL or G.703 DTE) when the initial DS0 channel is
selected.
Chan – Individually selects the DS0 channels to
allocate to the data port. The data port rate is
automatically determined based on the number of
channels selected.
Once a port is selected, you have access to the
configuration options to complete the port allocation
procedure. These configuration options enable you to,
• Assign the selected port to the desired interface
• Select the desired method for channel allocation
• Select the port rate and starting channel (if the
allocation method is block)
• Select the specific channels (if the allocation
method is by individual channel)
These configuration options are explained in detail in
Appendix C.
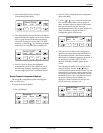
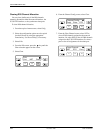
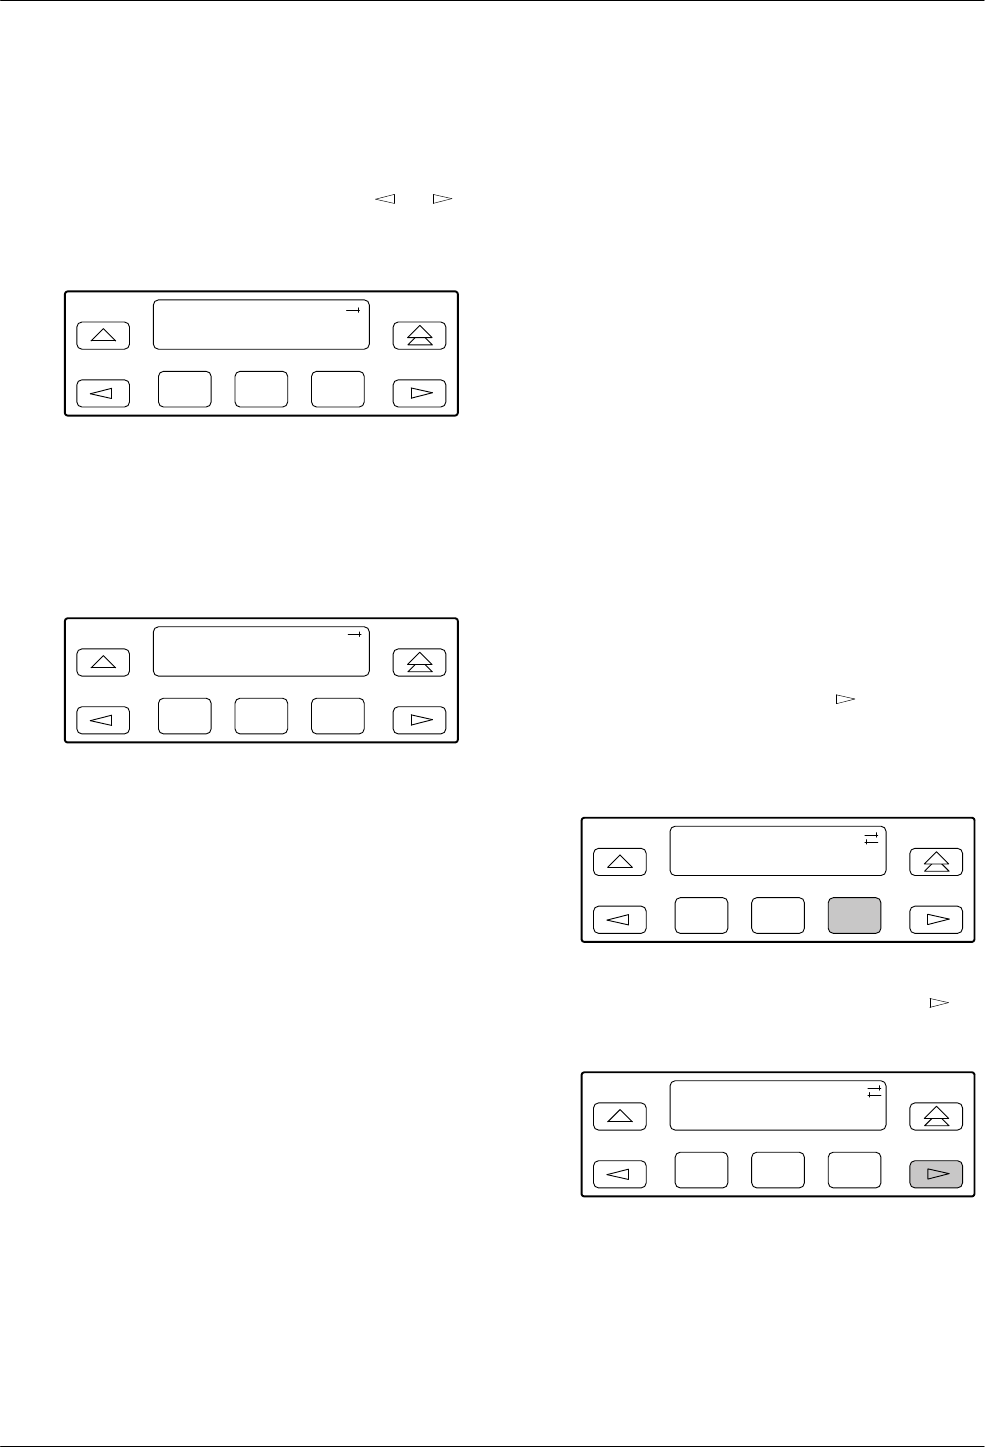
To select the data port,
1. From the top-level menu screen, select Cnfig.
2. Select the configuration option set to be copied
into the Edit area by using the appropriate
Function key. Use the scroll keys, if necessary.
3. Select Edit.
4. From the Edit screen, press the
key until the
Chan selection appears on the screen.
5. Select Chan.
F1
Edit:DTE
Port NET Chan
F2
F3
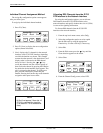
6. From the Channel Config screen, press the
key to scroll the ports onto the screen.
F1
Channel Config:
Dsply Clear DTE
F2
F3