


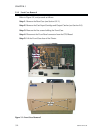
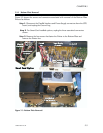

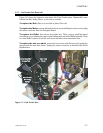
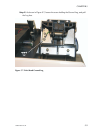
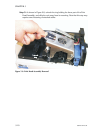
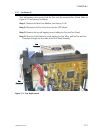
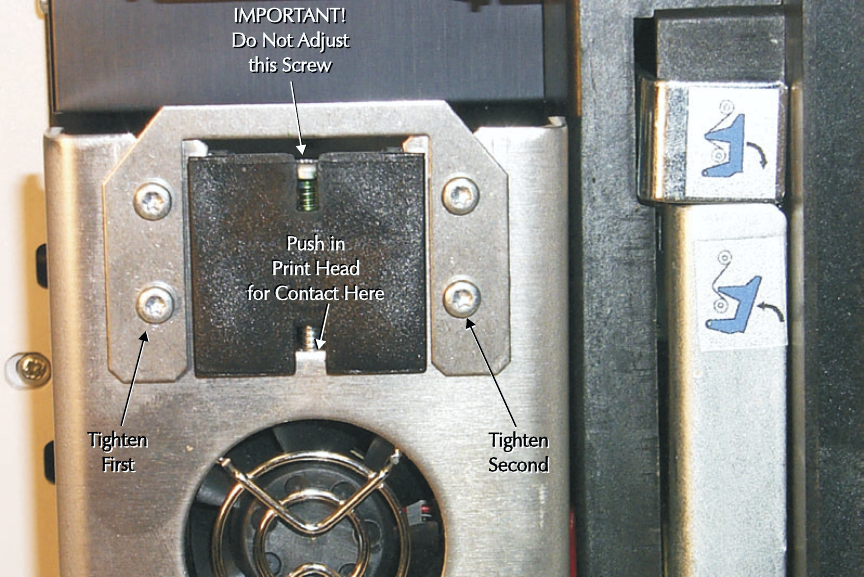
Step 6. Note the Resistance label on the new Print Head, and install a new Print
Head by reversing the steps used during removal. Before tightening the Torx
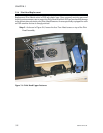
Screws, make sure to push the Print Head in as far as possible, as shown in Figure
5-10. DO NOT adjust the screw that stops the Print Head when pushing the unit
in. All replacement units ship with this screw set to deliver optimum performance.
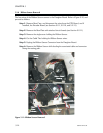
First tighten the Torx Screw in the corner nearest to the printer front and closest to
the Fan. Then tighten the screw nearest to the printer back and closest to the Fan.
The remaining two screws may be tightened in any order.
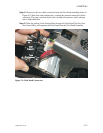
Step 7. Before printing any cards, first enter the resistance of the new Print Head
using the Command Entery Facility of the Print Driver or the Test Software. Use
the following:
Rxxxx
Where:
xxxx = Print Head Resistance
5-12 980264-001 Rev.B
CHAPTER 5
Figure 5-10. Properly Positioned Print Head