EXTERNAL USB DRIVE SHARING & BACKUP - 61
WD SHARESPACE
USER MANUAL
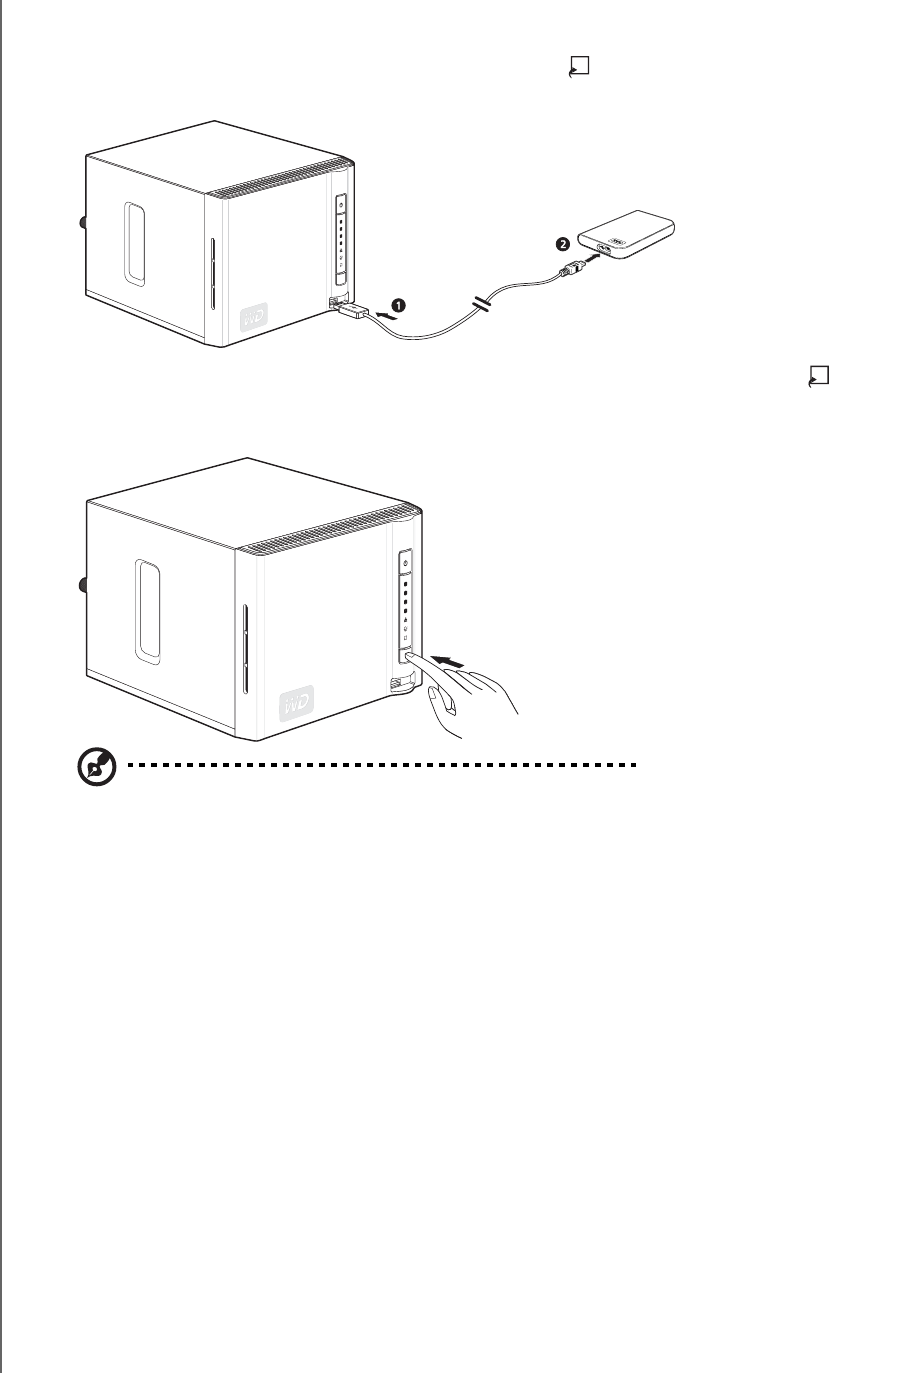
To back up FROM a USB drive:
1. Connect a USB drive to the USB port (Port 1) located on the front panel, and
wait for a few seconds for the USB backup LED on the front of the unit to light
steadily (this could take up to 30 seconds).
2. Press and hold the USB backup button only until the USB backup LED turns
off (about 2 seconds). While the backup is in progress, the USB LED will flash
once per second. When the backup is complete, the LED will remain on steadily.
Note: The first backup will copy the entire first partition of the USB drive. Subsequent backups will
copy only new and updated files.
The system will back up data from the USB drive to the “Public” default share
folder on the WD ShareSpace. The share folder will be automatically named after
the USB drive plugged into Port 1.
Example: usb_Western_Digital_External_HDD-200806201424
To back up TO a USB drive:
1. Prior to performing the backup operation, make sure to choose a source and
destination in the WD ShareSpace’s Network Storage Manager utility. See “To
set a source share name for WD ShareSpace to USB drive backup:” on page
121 for more information.
