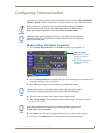
Configuring Communication
28
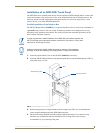
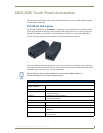
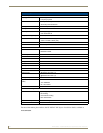
NXD-500i 5" Wall/Flush Mount Touch Panel with Intercom
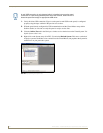
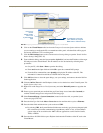
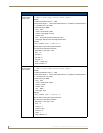
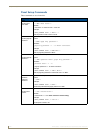
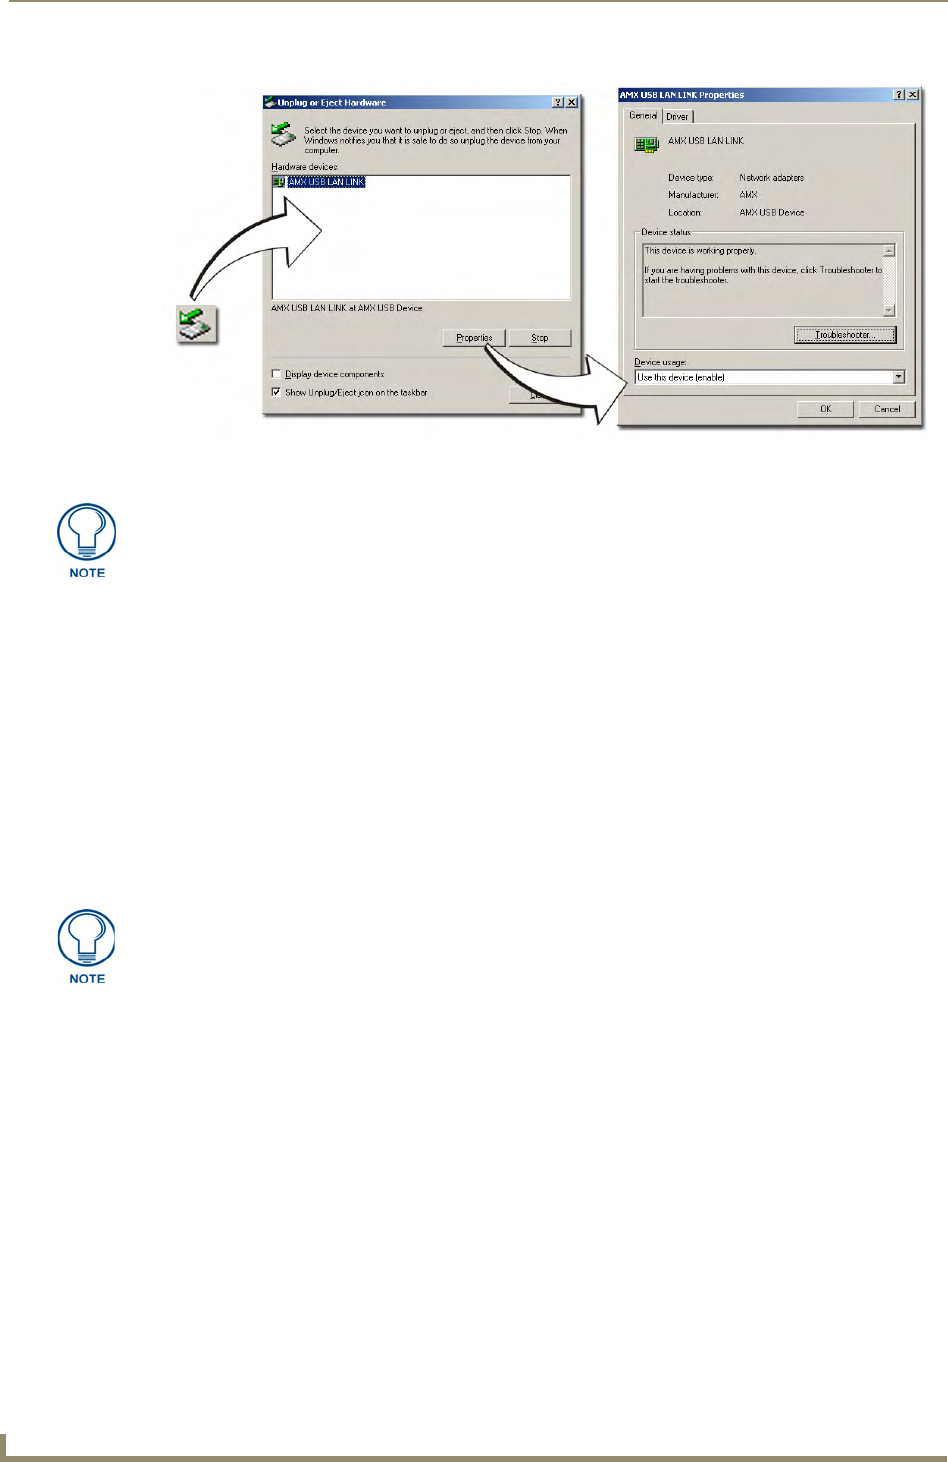
To remove the USB driver association from a previously connected touch panel, navigate back to the
Device Manager, right-click on the panel’s USB driver (example AMX USB LAN LINK #2) and select
Uninstall from the context menu and then OK.
Once the system completes the removal of the device, the Device Manager window will
refresh, and the device will no longer appear.
The next time this device is connected to the computer, it will appear as a new hardware
device and will need to be associated again with the driver (refer to Step 2: Confirm the
Installation of the USB Driver on the PC section on page 25 for more information).
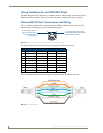
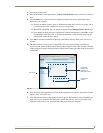
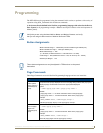
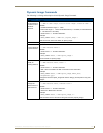
Step 4: Use the USB to Configure a Virtual Master (using NetLinx Studio)
Before beginning:
1. Verify the panel has been configured to communicate via USB within the System Connection page
and that the USB driver has been properly configured. Refer to the previous section for more
information.
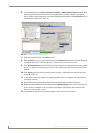
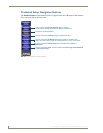
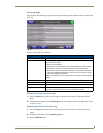
2. Launch NetLinx Studio 2.x (default location is Start > Programs > AMX Control Disc > NetLinx
Studio 2 > NetLinx Studio 2).
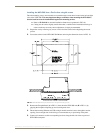
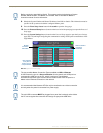
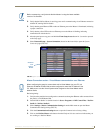
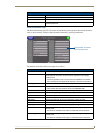
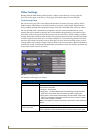
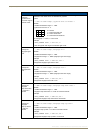
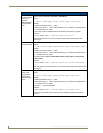
3. Select Settings > Master Communication Settings, from the Main menu to open the Master
Communication Settings dialog (FIG. 22).
4. Click the Communications Settings button to open the Communications Settings dialog.
5. Click on the NetLinx Master radio button in the Platform Selection section to indicate that this is
working as a NetLinx Master.
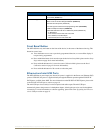
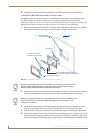
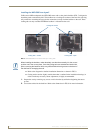
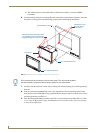
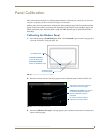
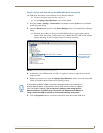
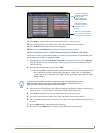
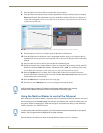
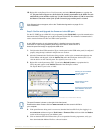
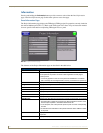
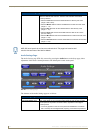
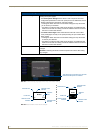
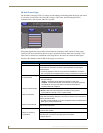
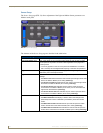
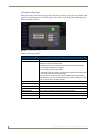
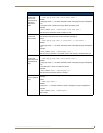
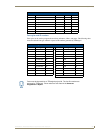
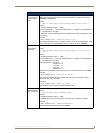
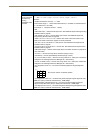
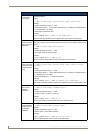
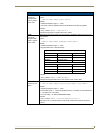
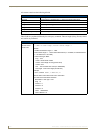
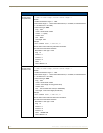
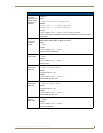
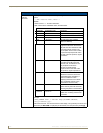
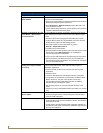
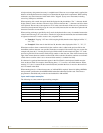
FIG. 21 USB Properties windows
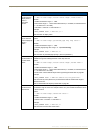
USB
detection
icon
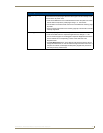
If a yellow exclamation point appears next to the AMX USB LAN LINK device (within
the hardware devices section of the Unplug or Eject Hardware window), stop and
close the USB operation. Reconnect the USB cable to the panel and repeat the setup
procedures. Refer to the Troubleshooting section on page 131 for more detailed
information.
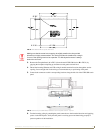
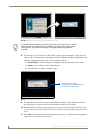
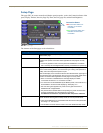
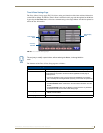
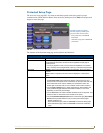
When configuring the panel to communicate via USB with a Virtual Master on your
PC, ONLY the USB connection option must be selected within the Type field. Since
this is a direct connection, the PC’s IP Address is not needed.