HOW TO USE ON-SCREEN PROGRAMMING (OSP) AND HELP KEY
3-1
Press Menu
ENTER NO. & SET
1.TEMP.SETTINGS
2.CANCEL JOB
3.PRINT REPORTS
4.SET QUICK-DIAL
5.USER OPTIONS
6.TEL OPTIONS
7.SETUP SYSTEM
8.REMOTE FAX OPT
0.INTERRUPT
Right arrow
or
auto scroll
sequence
Left arrow
sequence
(FAX 1020 PLUS)
(FAX 1030 PLUS)
Press Menu
ENTER NO. & SET
1.TEMP.SETTINGS
2.CANCEL JOB
3.PRINT REPORTS
4.SET QUICK-DIAL
5.USER OPTIONS
6.TEL OPTIONS
7.SETUP SYSTEM
8.SETUP TAD
9.SETUP MM PLUS
0.INTERRUPT
Right arrow
or
auto scroll
sequence
Left arrow
sequence
Chapter 3. HOW TO USE ON-SCREEN
PROGRAMMING (OSP) AND HELP KEY
User-friendly Programming
We have designed your fax machine with on-screen programming and a Help key. This
user-friendly programming helps you take advantage of all the functions your fax machine
has to offer.
On-screen Programming (OSP)
Since your fax programming is done on the LCD, we have created step-by-step on-screen
prompt messages to help you program your fax machine. All you need to do is follow the
prompt instructions as they guide you through the function menu selections, programming
options and settings.
Using the Function Mode to Access On-screen Programming (OSP)
You can access the function mode by pressing Menu, found on your fax Control Panel. (See
chap. 2.)
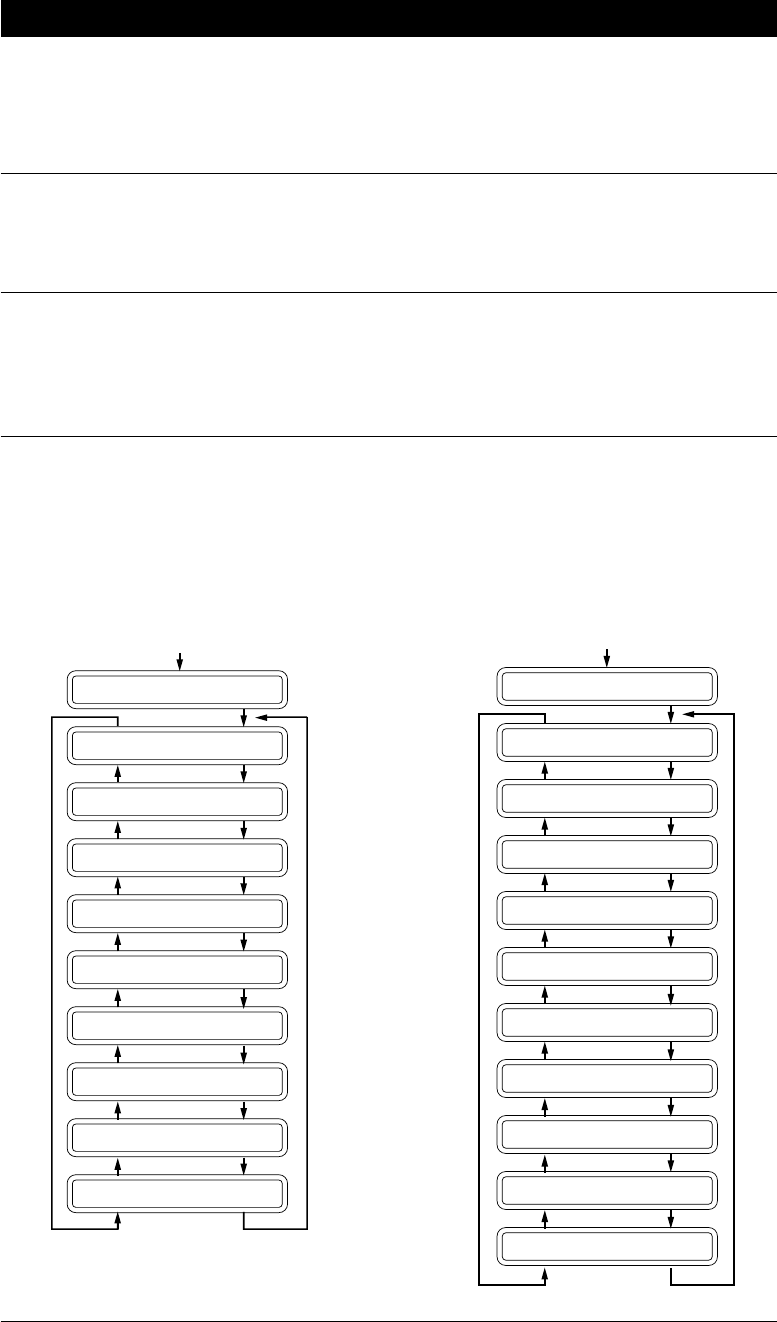
When you enter function mode, your fax machine will display a list of Level One Functions
to choose from, as seen below.
