


6-21
Using the Fax Functions
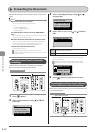
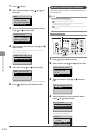
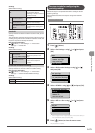
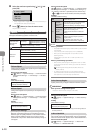
To delete the job
(1) Select <Delete> using [ ] or [ ] and press [OK].
Details
<Delete>
<Forward>
Job Number: 0004
Status: Waiting to ...
(2) Select <Yes> using [ ] or [ ] and press [OK].
Delete?
NoYes
The job is deleted.
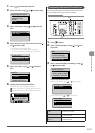
(3) Press [ ] (Status Monitor/Cancel) to close the screen.
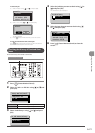
To only check the details of the selected job
Press [ ] (Status Monitor/Cancel) after you have checked the
details of the selected job to close the screen.
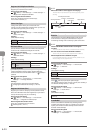
Checking the History of Received/Sent
Faxes
Check the history of received or sent faxes.
OK
Status Monitor/Cancel
Keys to be used for this operation
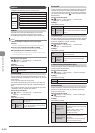
1 Press [ ] (Status Monitor/Cancel).
2 Select <TX Job> or <RX Job> using [ ] or [ ] and
press [OK].
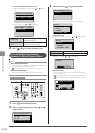
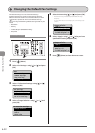
Status Monitor/Cancel
Device Status
Copy/Print Job
TX Job
RX Job
<TX Job> Confirm the sending job history.
<RX Job> Confirm the received job history.
3 Select <Job History> using [ ] or [ ] and press
[OK].
TX Job Status/History
Job Status
Job History
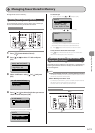
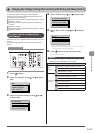
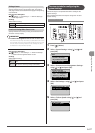
4 Select the job that you want to check using [ ] or
[ ] and press [OK].
The details of the job is displayed.
TX Job History
05:10AM NG
05:06AM NG
5 Select the item that you want to check using [ ]
or [ ] and press [OK].
Details
Job Number: 0004
Result: NG
Started: 01/01 12:5
...
Duration: 00'00
6 Press [ ] (Status Monitor/Cancel) to close the
screen.