20050401
12-5 Image Transfer
k Transferring Images to a Computer
Use the following procedure to capture calculator screen images to a computer. Perform this
procedure using FA-124 software running on the computer.
1. Use the USB cable to connect the calculator to the computer.
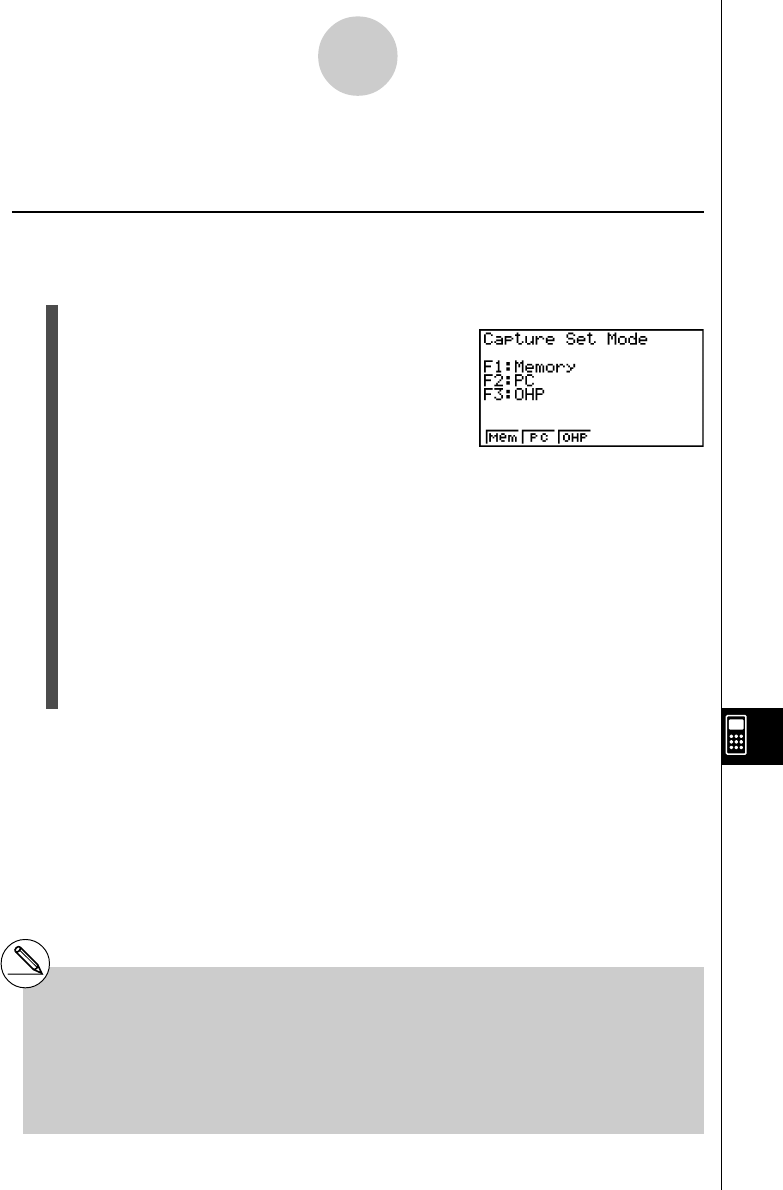
2. On the calculator, press 6(CAPT).
This displays the image transfer setting screen.
•{Mem} ... {turns off image transfer}
•{PC} ... {turns on manual image transfer}
•{OHP} ... {turns on auto image transfer}
3. Press 2 (PC).
This turns on manual image transfer and returns to the data communication main
menu.
4. On the calculator, display the screen you want to transfer.
5. Use FA-124 to perform the transfer operation.
6. On the calculator, press !h(CAPTURE).
7. The screen data is sent to the computer.
12-5-1
Image Transfer
# Selecting “PC” (turns on manual image
transfer) automatically disables screen
capture.
# The following types of screen images cannot be
transferred to another calculator or computer
using auto image transfer.
- The screen displayed during data transfer
- The screen displayed during a calculation
- The screen displayed after reset is performed
- The low battery screen


