


2-30
Cisco Aironet 1550 Series Outdoor Mesh Access Point Hardware Installation Guide
OL-24247-01
Chapter 2 Installing the Access Point
Mounting the Access Point
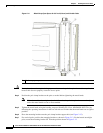
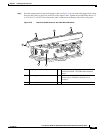
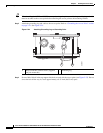
Step 4 The assembled cable mounting kit is shown from the top view of the access point (Figure 2-20).
Figure 2-20 Clamp Brackets Attached to Cable Strand-Top View of Access Point
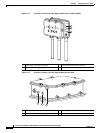
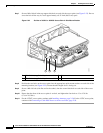
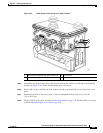
Note The strand support cable might have to be pulled away from the fiber or cable bundle. Be sure
to resecure the cable as necessary.
Note The strand support cable and the mounting hardware provide grounding for the access point.
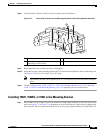
Step 5 For the 1552CU access point, continue with Installing Antennas, page 2-36. For the 1552C access point,
continue with Grounding the Access Point, page 2-41 and Powering the Access Point, page 2-45.
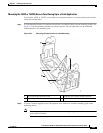
Mounting the 1552C or 1552CU Access Point on a Pole/Wall
The 1552C or 1552CU access point can be mounted on a wall, pole, or a below-ground vault location,
using the pole mount kit. You can use the mounting bracket as a template to mark the positions of the
mounting holes for your installation. You then install the mounting plate, attach the grounding lug, and
attach the access point when you are ready.
To mount the 1552C or 1552CU access point on a vertical wall, follow these instructions:
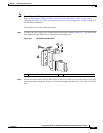
Tip When installing the 1552C or 1552CU access point using the pole mount kit, the grounding lug and cable
must be attached to the access point before attaching the access point to the mounting bracket.
1 Top view of access point 2 Cable strand bracket
SS TP
S
H
U
N
T
A
T
T
N
1
255243
2 2