


EPSON Stylus PHOTO 810/820/830 Revision B
Disassembly and Assembly Disassembly 98
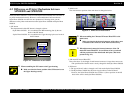
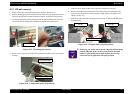
4.3.3 CR unit removal
1. Remove the Upper housing from the printer. (Refer to Section 4.3.1)
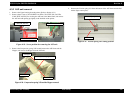
2. Release the change lever toward the backside of the printer by using the tweezers,
and move the CR unit from the CR home position to around the center position.
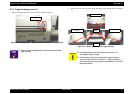
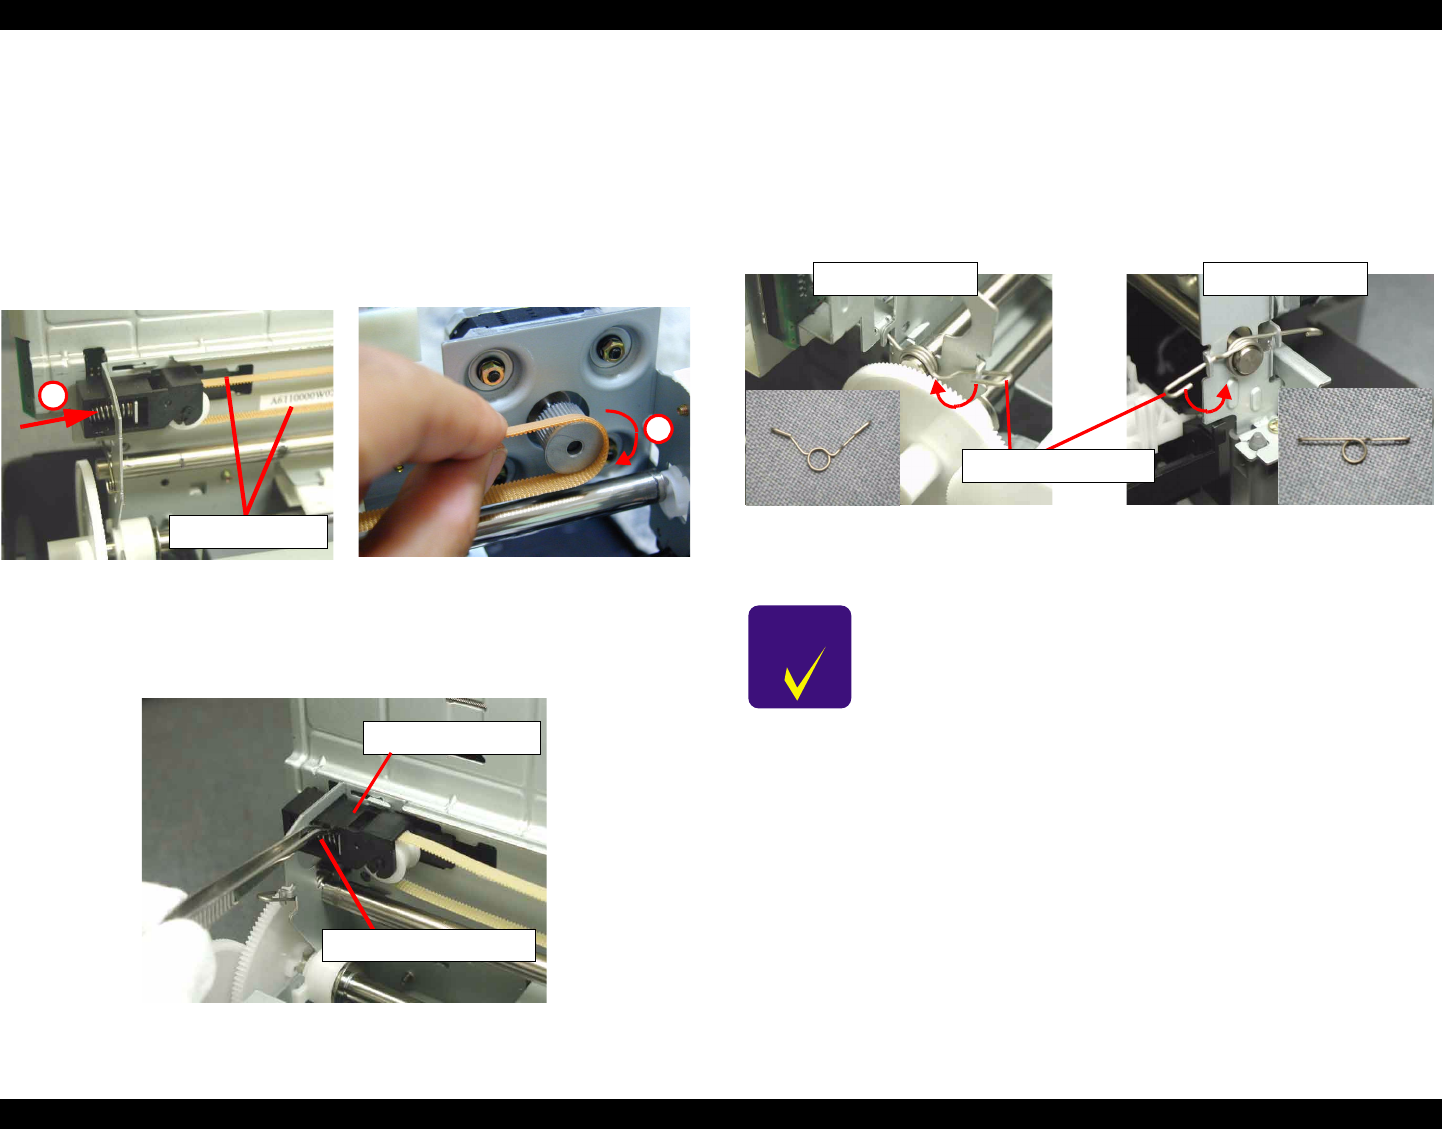
3. Loosen the CR timing belt by pushing the Driven pulley holder to the right side,
and remove the CR timing belt carefully from the CR motor pinion gear.
.
Figure 4-11. CR timing belt removal
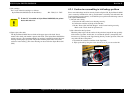
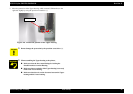
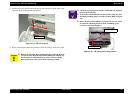
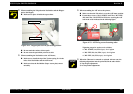
4. Remove the Compression spring 19.6 from the Driven pulley holder by using the
tweezers.
Figure 4-12. Compression spring 19.6 removal
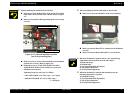
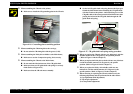
5. Slide the Driven pulley holder to the right side, and remove it forward.
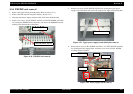
6. Release the Head FFC from the Spacer FFC on the LD roller shaft holder, and
disconnect the Head FFC from the connectors (CN8, CN9) on the Main board.
(Refer to Figure 4-7)
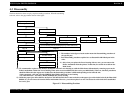
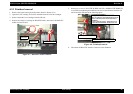
7. Release two CR guide shaft rod springs from the hooks on the left and right side of
the Main frame.
Figure 4-13. CR guide shaft rod spring release
CR timing belt
1
2
Compression spring 19.6
Driven pulley holder
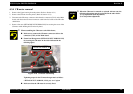
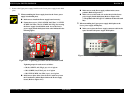
CHECK
POINT
In this step, you cannot remove the left CR guide shaft rod spring
from the CR guide shaft even if it is released from the Main
frame. So, when sliding the CR guide shaft in the next step,
remove the left CR guide shaft rod spring carefully.
CR guide shaft Rod spring
Left side Right side