


EPSON Stylus PHOTO 810/820/830 Revision B
Troubleshooting Unit Level Troubleshooting 83
Operation
-
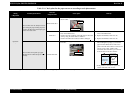
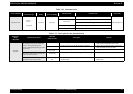
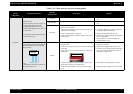
[Phenomenon 6]
In the CL sequence, the ink is ejected to
the Waste drain ink pad. But, dot
missing/misalignment occurs on all
nozzle in the printing and is not solved in
the several CLs.
* If the problem solved, replace the Main
board with new one.
Cap unit
7. Check if the Slider lock lever is damaged. 7. Replace the Printer mechanism with new
one.
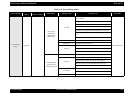
Ink cartridge
1. Check if the ink is remaining in the I/C. 1. Replace the ink cartridge with brand-new
one.
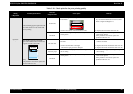
Printhead
1. Check if there is any foreign material on the nozzle
surface of the Printhead.
2. Check if the Head FFC is connected to the CN4 on the
Main board or Head FFC.
3. Check if the Head FFC is doggoned.
4. Check if each segment is printed correctly in the nozzle
check pattern.
1. Perform the wiping operation.
2. Connect the Head FFC securely to the CN4
on the Main board or Printhead.
3. Replace the Head FFC with new one.
4. Perform the printhead cleaning and check the
nozzle check pattern.
If the problem is not solved, replace the
printhead with new one.
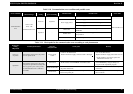
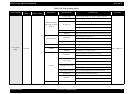
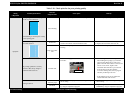
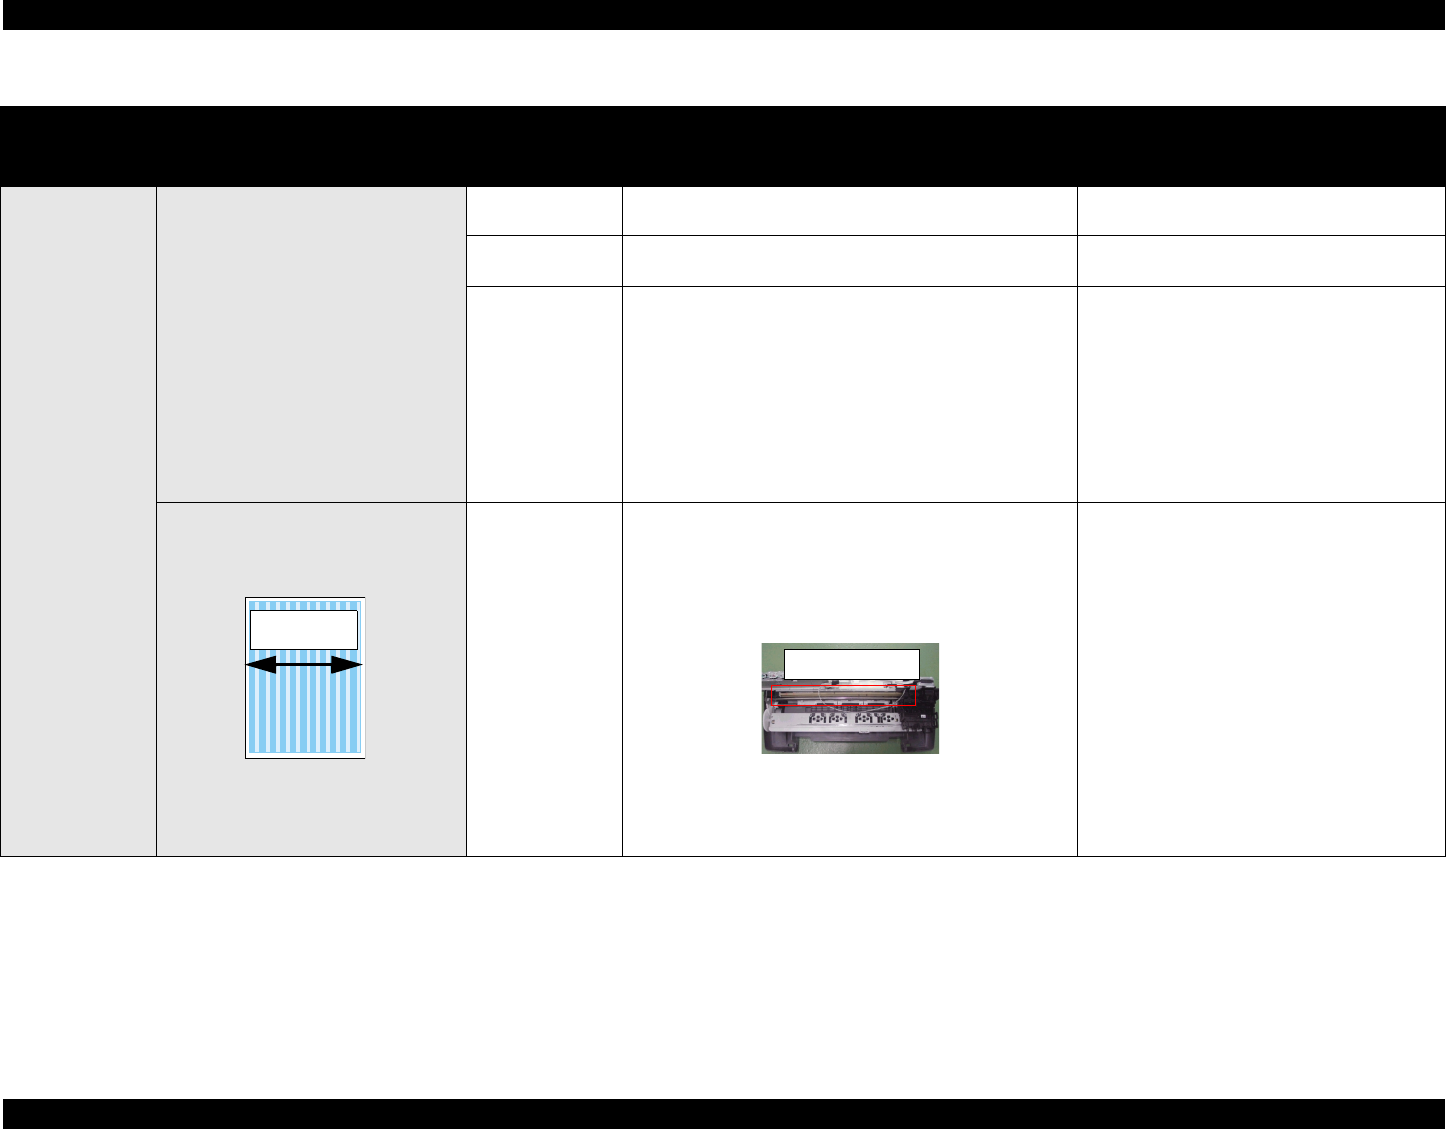
Vertical banding appears against the CR
movement direction. And, it looks like
uneven printing.
[Note]
If the problem is not solved, replace the
CR motor with new one.
CR unit
1. Check if there is any foreign material on the surface of the
CR guide shaft.
2. Check if any damage is observed on the surface of the CR
guide shaft.
3. Check if the grease is enough on the surface of the CR
guide shaft.
4. Check if the CR guide shaft is correctly set by the CR
guide shaft rod springs to the Main frame.
5. Check if the ink cartridge is fixed by the ink cartridge
cover.
1. Remove the foreign material around the seal
rubber parts carefully.
2. Replace the CR guide shaft with new one.
3. Clean the surface of the CR guide shaft with
the dry soft cloth and lubricate G-58 on its
shaft. Refer to Figure 6-4.
4. Reassemble the CR shaft guide correctly.
5. Replace the ink cartridge cover with new one.
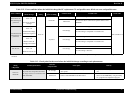
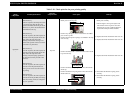
Table 3-19. Check point for the poor printing quality
Occurrence
timing
CR position
Detailed phenomenon
Defective
unit/part name
Check point Remedy
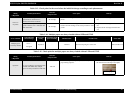
CR movement
direction
G-58 lubrication