CHAPTER 5 CHAPTER 5 REMCS Service Detail Settings
5.3 Selecting REMCS Center
43
C122-E180-01EN
*1: It is required if you select item except for ‘none’ in dividing method.
1. From the initial window menu of the FE operation, select [Detail environment settings].
Depending on the current setting conditions, FIGURE 5.2 [Environment settings] window in case of
internet connection (only mail) or FIGURE 5.3 [Environment settings] window in case of P-P connection
appears.
2. Click the [Setting] button.
When a confirmation dialog box appears, register the setting.
After the processing , the result is displayed in a pop-up window, and the initial window is displayed
again.
During operation, maintenance or stopping connection, [Confirming connection] window will appear.
5.3 Selecting REMCS Center
This item is used to change the REMCS Center to connect to.
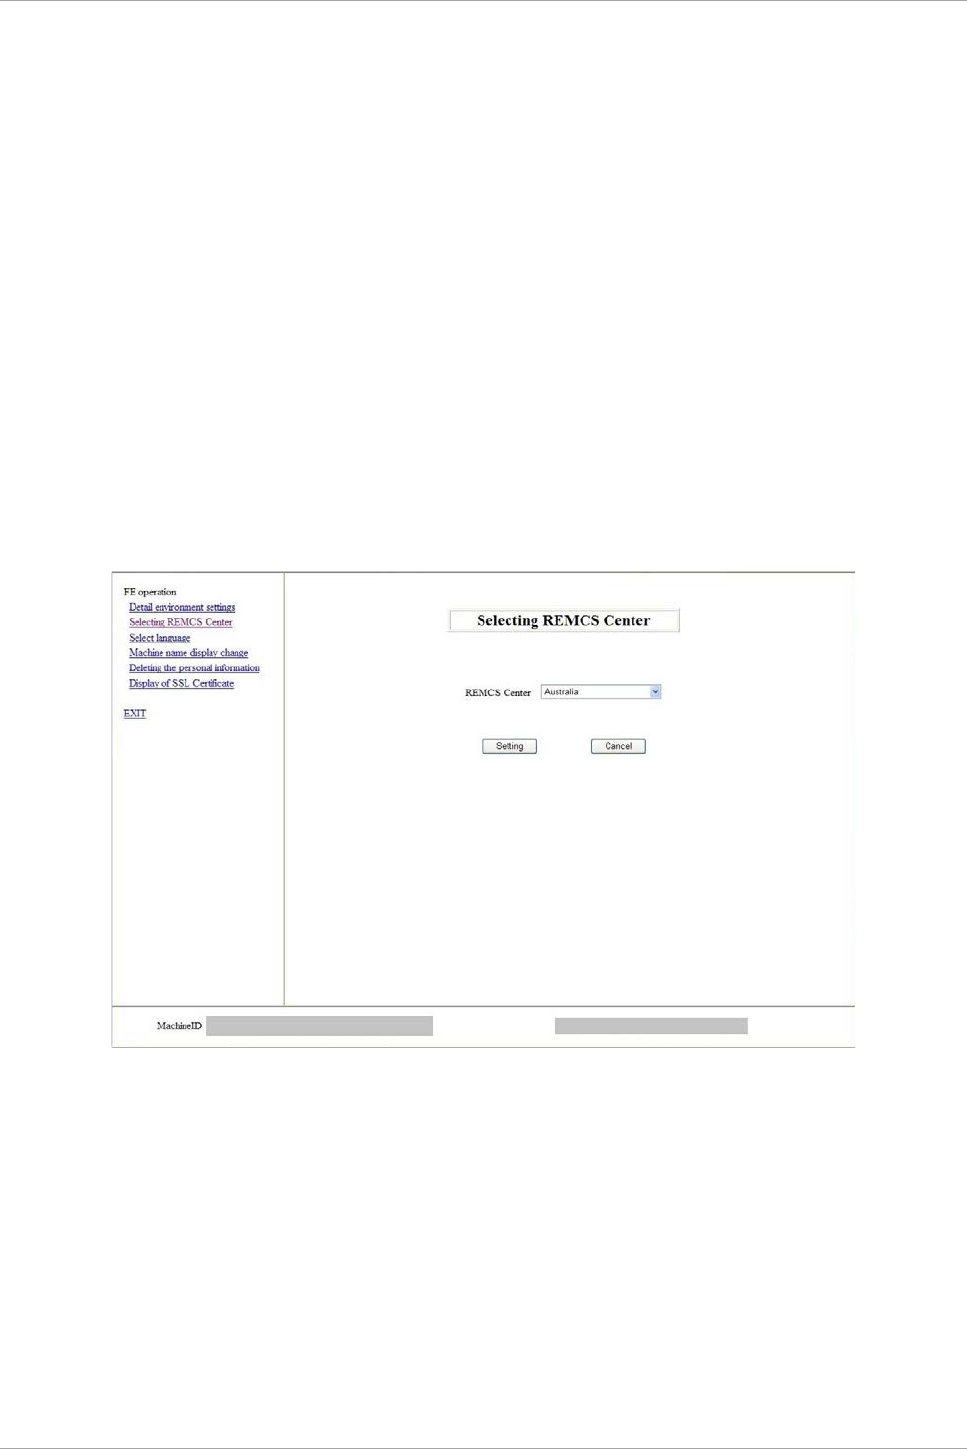
1. From the initial window menu of the FE operation, select [Selecting REMCS Center] to display FIGURE
5.4 [Selecting REMCS Center] window.
2. Select the REMCS center to connect to. It cannot be input directly. Select one from the provided list of
REMCS Centers. The initial value is the current center name.
3. Click the [Setting] button. A confirmation dialog box appears. Register the setting.
After the processing, the result is reported in a pop-up window, and the initial window is displayed again.
FIGURE 5.4 [Selecting REMCS Center] window
5.4 Select Language
This item is used for switching the displayed language between Japanese and English.
1. From the initial window menu of the FE operation, select [Select language] to display FIGURE 5.5 [Select
language (Japanese or English)] window.
2. Select [Japanese] or [English]. The initial value is the current setting value.
3. Click the [Setting] button.
When a confirmation dialog box appears, register the setting.
After the processing, the result is reported in a pop-up window, and the initial window is displayed again.


