Chapter 6 Replacement of CPU/Memory Board Unit (CMU), CPU, and DIMM 6-11
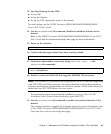
8. Confirm that the target domain has been correctly started.
9. Confirm no abnormality occurred by using showlogs error -v and
showstatus(8) commands.
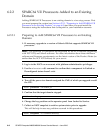
6.2.2.3 Upgrading a SPARC64 VI CPU Module to SPARC64 VII on an
Existing Domain
This procedure must be proceeded by Section 6.2.2.1, “Preparing to Add SPARC64
VII Processors to an Existing Domain” on page 6-8. If you have not completed that
procedure please do so before continuing.
1. Log in to the XSCF on an account with platform administrative privileges.
2. Replace the SPARC64 VI CPU module with the SPARC64 VII CPU module.
■ For replacing the CPU, operate by hot replacement, referring to Section 6.3,
“Active Replacement and Hot Replacement” on page 6-12.
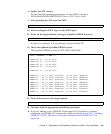
3. Confirm that the mounted CPU module has been recognized by the server, and
the error indicator asterisk (*) is not displayed.
4. Confirm no abnormality occurred by using showlogs error -v and
showstatus(8) commands.
5. Move the key position on the operator panel from Service to Locked.
6. Set up and confirm the CPU operational mode of the domain.
For more information, refer to Chapter 2, "Setting Up XSCF," in the SPARC
Enterprise M3000/M4000/M5000/M8000/M9000 Servers XSCF User’s Guide.
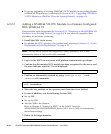
7. Power on the target domains.
XSCF> showlogs power
XSCF> showlogs error -v
XSCF> showstatus
XSCF> showhardconf -M
XSCF> showlogs error -v
XSCF> showstatus
XSCF> poweron -d domain_id


