Chapter 7 I/O Unit (IOU) Replacement 7-21
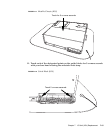
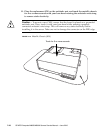
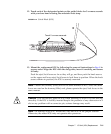
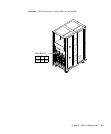
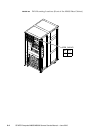
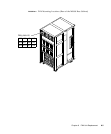
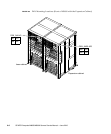
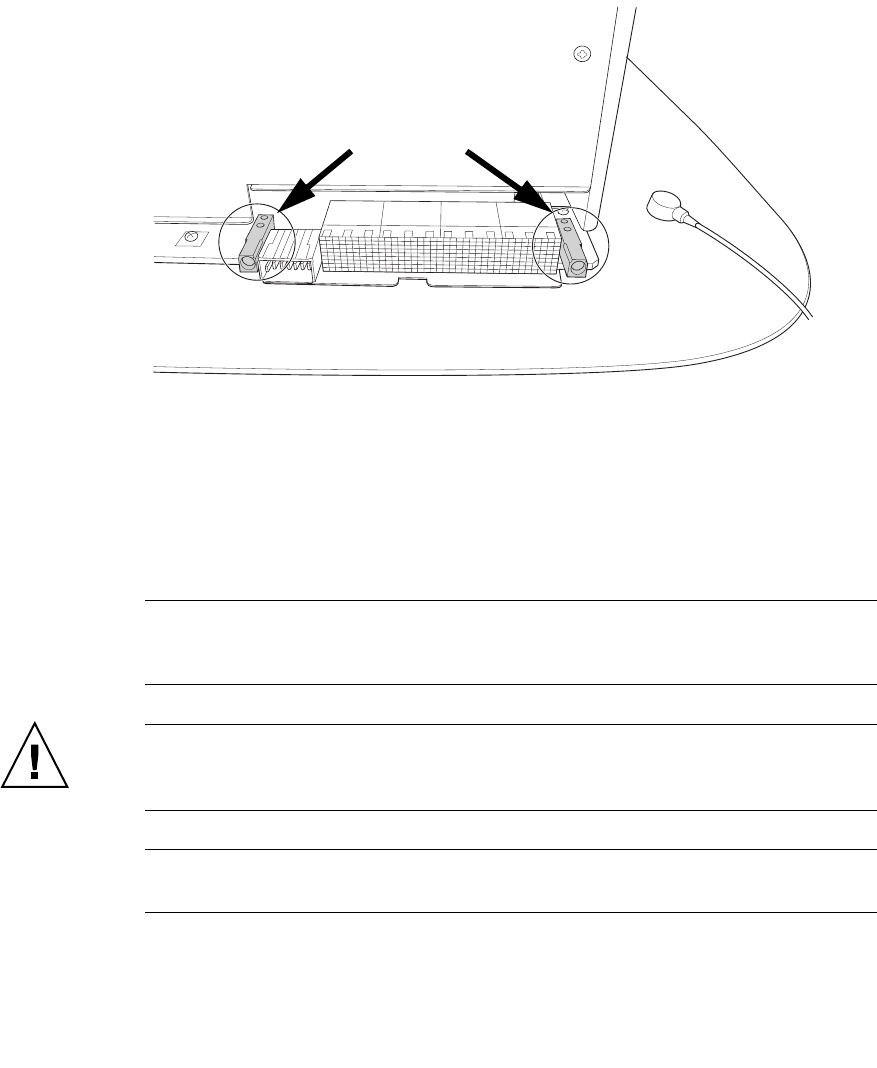
12. Touch each of the designated points on the guide blocks for 5 or more seconds
with your bare hand wearing the antistatic wrist strap.
FIGURE 7-14 Guide Block (IOU)
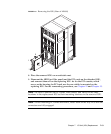
13. Mount the replacement IOU by following the removal instructions in Step 8 in
reverse order. Align the IOU with the slot guides, insert it carefully, and secure
it firmly.
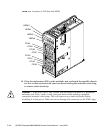
Push the eject/lock levers as far as they will go, and then push the knob screws
on the upper and lower eject/lock levers to lock them in position. When the knob
screws remain in position, the IOU is securely mounted.
Note – Mount the dummy (filler) unit in the same manner as IOU. Since the same
levers are used on the dummy (filler) unit, please operate the eject/lock levers in the
same manner.
Caution – Do not forcibly push the IOU when inserting it, even if it is not moving
smoothly. If the IOU is forcibly inserted despite the presence of any obstruction in a
slot or any problem with a connector pin, serious damage may result.
Note – In addition of an IOU, mount the CMU and IOU in the proper location.
Otherwise, the added IOU may not operate after power-on.
Touch 5 or more seconds.


