Chapter 17 Crossbar Unit Replacement 17-7
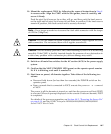
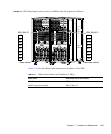
12. Push the eject/lock levers as far as they will go, and then push the knob screws
on the right and left eject/lock levers to lock them in position. If the knob
screws remain in position, the crossbar unit is securely mounted.
13. If a SPARC Enterprise M9000 server expansion cabinet is installed, connect
cables for connecting the base cabinet to the expansion cabinet crossbar unit.
a. To connect the cables, hold the cable connector covers and insert the
connectors perpendicularly with respect to the front plate of the XB unit
until they come into contact with the front plate.
b. Then, while ensuring that the cable weight does not cause the cable
connectors to become slanted, fix the data cable connectors in position with
a standard screwdriver while supporting the cable connector with one hand.
c. Use a torque screwdriver to secure the clock cable connector with the torque
of 0.2N*m (2.0kgf*cm).
Note – After fixing the cable connectors in position, confirm that the connector
housing is securely affixed to the XB unit, and that it is not slanted sideways,
upward or downward. If the cable connectors are affixed slanted, the affixed part
will become unstable, leading to communication failure.
Caution – Do not hang or yank the cable. Especially do not while the one side is
connected.
Caution – Tighten or remove the cable screws evenly on both sides.
Caution – If you are unable to obtain a torque screwdriver, finger tighten the clock
cable connectors. Do not secure them with a regular screwdriver.
Caution – Do not secure the clock cables to the cable folder along with the data
cables, and lay the clock cables on the data cables.
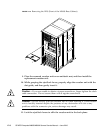
14. Return the top and bottom cable support brackets (in front of the replacement
crossbar unit) to their original positions in their respective upper and lower
holes to securely affix them.
Note – Visually check from the opening in the upper cover to ensure that the two
printed circuit boards do not come into contact with the cable.


