Configuring the Printer for the Network
Printer Configuration 2 - 3
TCP/IP, you should assign the IP Address to your printer.
•
To get the IP Address for your printer, contact your network administrator.
•
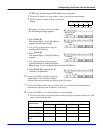
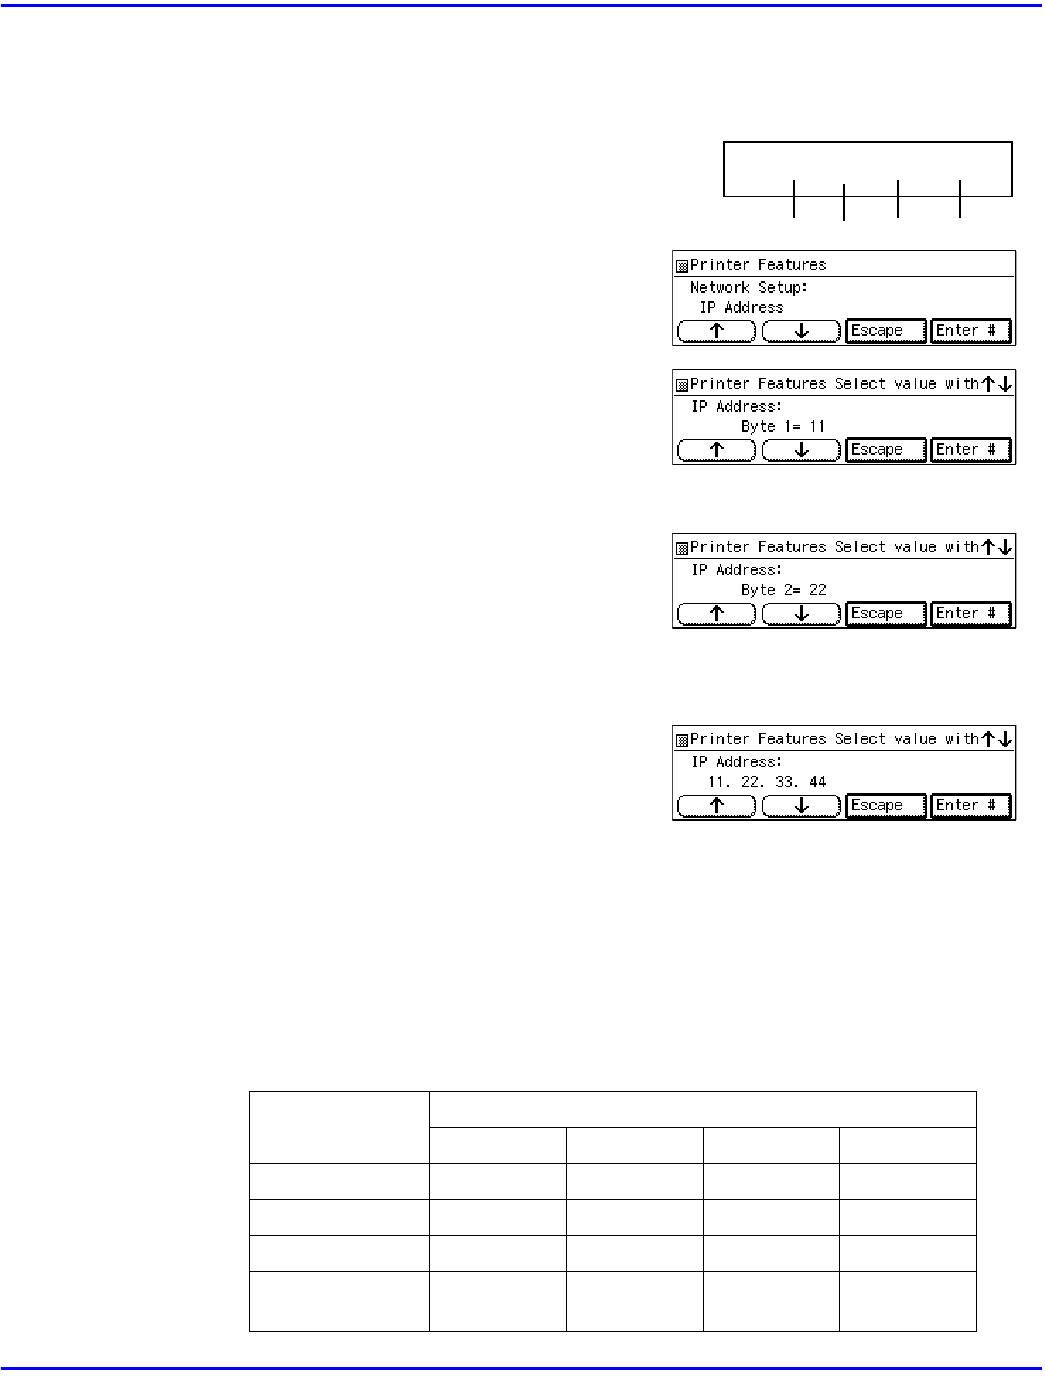
The IP Address is shown by Byte on the panel
display.
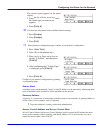
1. Press
the Up or Down Arrow keys
until
the following message appears.
2. Press
[Enter #]
.
The current Byte 1 of the IP Address
appears on the panel display.
3. Use
the Up or Down Arrow keys
to
specify the IP Address.
4. Press
[Enter #]
.
The current Byte 2 of the IP Address
appears.
5. Use
the Up or Down Arrow keys
to
specify the Byte 2 of the IP Address.
Repeat steps 3 and 4 to specify the rest of the IP Address.
6. Press
[Enter #]
to register the IP
Address you specified.
6
If you use TCP/IP, you should assign the
“Subnet Mask” and “Gateway Address”
following the same procedure for specifying the IP Address.
7
If you use TCP/IP, set the “Access Control” and “Access Mask” following the same
procedure for specifying the IP Address, if necessary.
8
If you use TCP/IP, you can make settings for “Network Boot”.
•
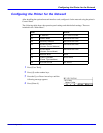
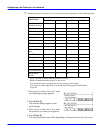
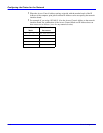
You can select how to assign the printer's address using the computer. Select one of the
items on the following table.
Menu item on the
panel display
Available method
ARP+ING RARP_TFTP BOOTP DHCP
ARP + PING <IconSt1>'
ARP & RARP <IconSt1>' <IconSt1>'
ARP & BOOTP <IconSt1>' <IconSt1>'
ARP&RARP&BO
OTP
<IconSt1>' <IconSt1>' <IconSt1>'
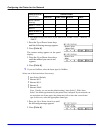
011 . 022 . 033 . 044
Byte 1 Byte 2 Byte 3 Byte 4


