Connecting to the Printer
1 - 2 Introduction
Network Cable Requirements
The optional Network Interface Board 185 can be installed to allow direct connection to an
Ethernet network.
The Network Interface Board supports 10BASE-T or 100BASE-TX connections.
You can use the machine in the following network environments:
•
Using the appropriate network management software and printer driver.
•
Attaching the machine to a networks computer set up as a server.
With the Windows NT4.0 by the computer based x86 only.
Under the Windows 95/98/NT 4.0 only.
In a mixed network environment, the protocol switches automatically.
•
Consult your network administrator before connecting your machine to a network.
•
In a 100BASE-TX environment, be sure to use properly shielded and grounded cable
(STP, Category/Type5) for the connection to your host computer (and/or HUB) in order
to meet FCC and EMC Directive 89/336/EEC emission guidelines.
Connecting the Printer to the Host Using Parallel Interface Cable
Use a parallel interface cable compliant with IEEE 1284 (supplied by you) to connect your printer
to the host computer.
Follow these steps to connect the printer to your host computer.
1
Confirm that you have the correct cable.
2
Confirm that both the machine and the host computer are turned off.
3
Plug the 36-pin end of the parallel cable into the parallel port at the right side of the back
cover of the machine.
4
Squeeze the wire clips on each side of the connector together until they snap into place. The
clips hold the cable securely in place.
5
Plug the other end of the parallel cable into the computer's parallel port.
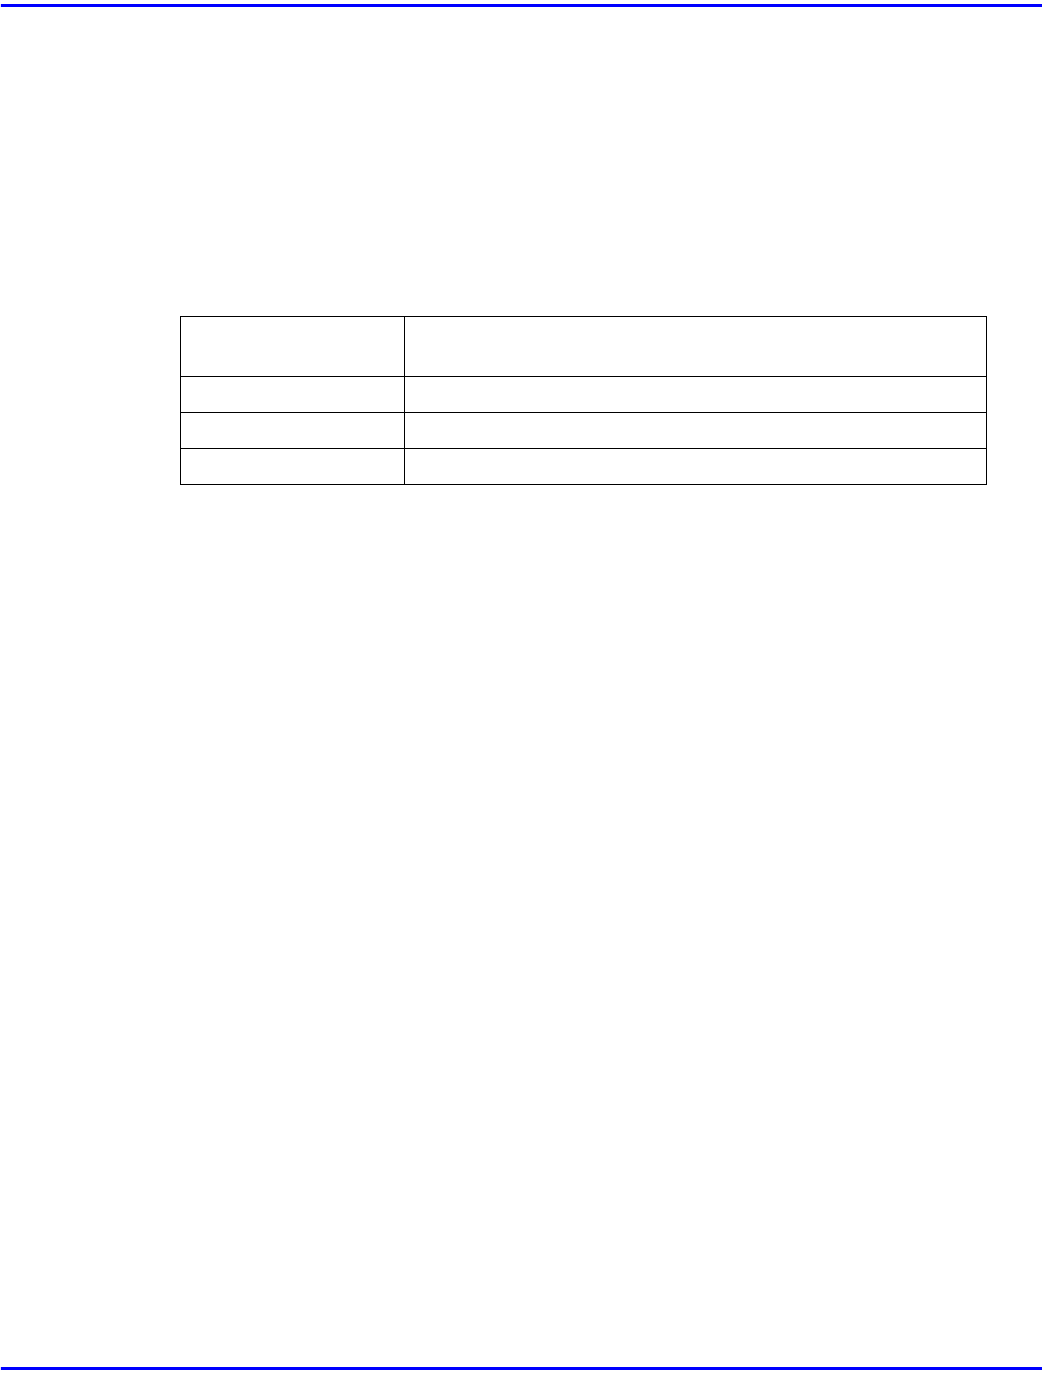
Client Windows 95, 98, NT 4.0, 3.1x, Macintosh (optional
PostScript 3 Kit Type 185 is required)
Driver PCL 6/5e, PostScript 3
File Server NetWare 3.x, NetWare 4.x, NetWare 5
Protocol TCP/IP, IPX/SPX, NetBEUI, AppleTalk


