Printing with the Operation Panel
7 - 16 Using the Control Panel
Printing with the Operation Panel
Using the Proof Print
Use this function to print only one printing of a multiple print job. The other printings are saved on
the optional hard disk. The saved job can be printed from the machine's operation panel.
•
To use this function, the optional hard disk must be installed.
•
If the application has a collate option, confirm that it is not selected before sending a
print job. By default, proof print jobs are automatically collated by the printer driver. If
the collate option is selected from the application print dialog box, more printings than
intended may be printed.
•
You can identify the file you want to print by the User IDs and the time when the job was
stored.
•
The actual number of pages the printer can save depends on the contents of the print
images. As an example, the printer can save up to 30 jobs or 2,000 pages. It depends on
the data volume.
•
If the first printing of the proof print file is not what you expected and you do not want to
print the remaining printings, delete the proof print file using the operation panel. If you
print the remaining printings of the proof print file, the job in the printer is deleted
automatically.
Printing a Proof Print File
1
Press the {User Tools} key of the machine's operation panel.
2
Press {4} on the number keys.
3
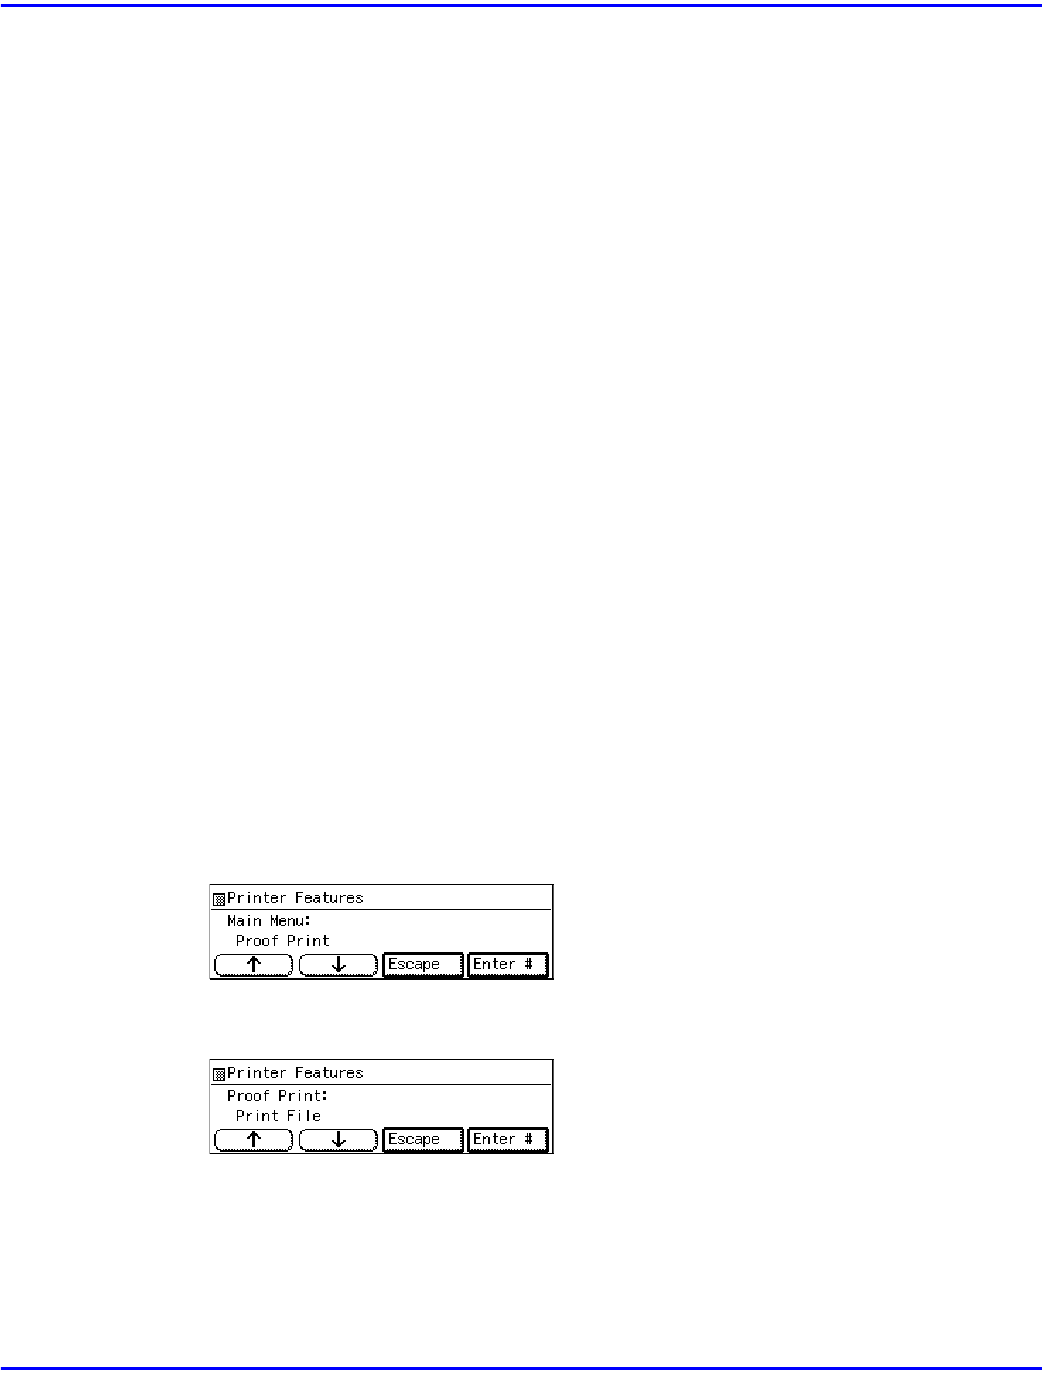
After confirming that “Proof Print” is displayed, press [Enter #].
4
After confirming that “Print File” is displayed, press [Enter #].
