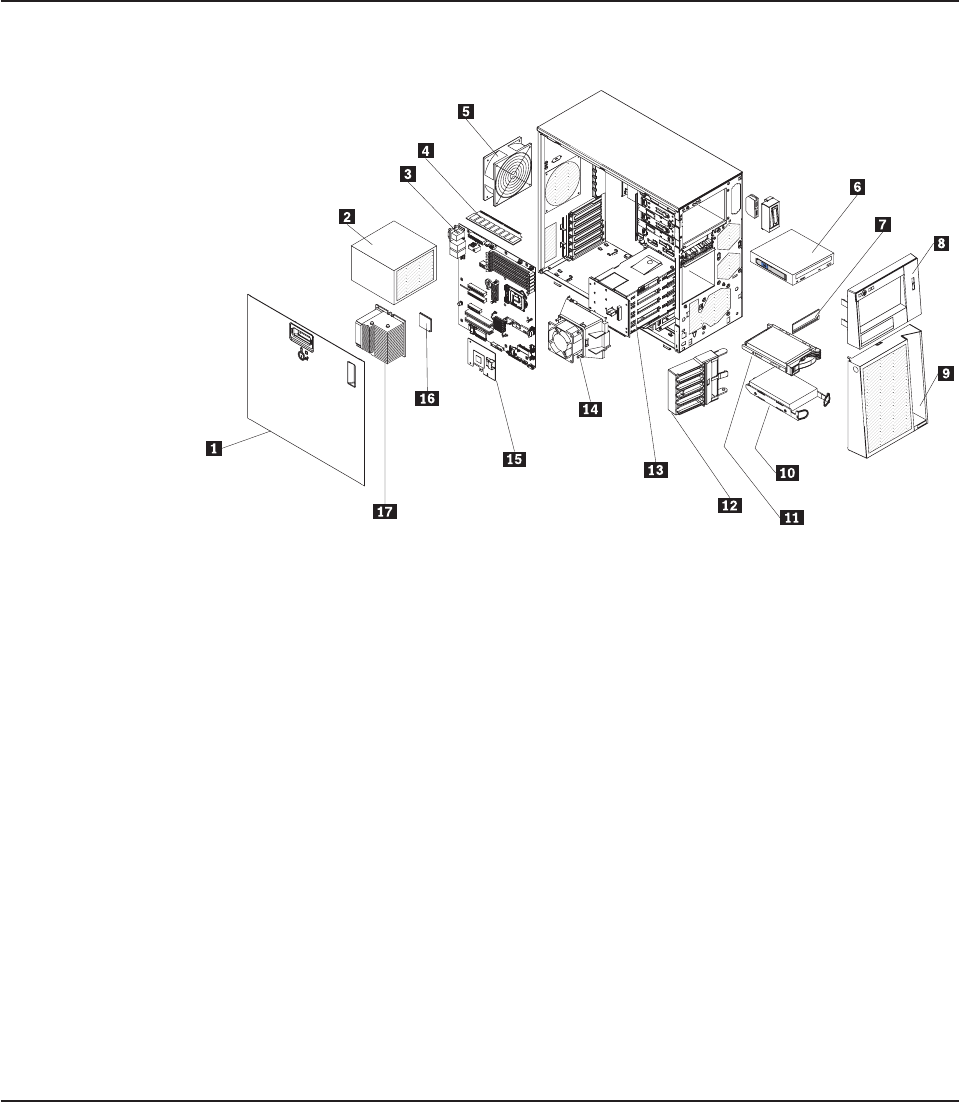
Server components
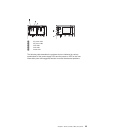
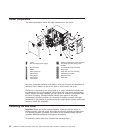
The following illustration shows the major components in the server.
1 Cover 10 SATA hard disk drive (some models)
2 Non-hot-swap power supply 11 Hot-swap hard disk drive (some
models)
3 System board 12 Front adapter-support bracket
4 DIMM 13 Drive cage
5 Rear system fan 14 Hard disk drive fan assembly
6 Optical drive 15 SAS/SATA connector
7 Filler panels 16 Microprocessor
8 Upper bezel 17 Heat sink
9 Lower bezel
Blue on a component indicates touch points, where you can grip the component to
remove it from or install it in the server, open or close a latch, and so on.
Orange on a component or an orange label on or near a component indicates that
the component can be hot-swapped, which means that if the server and operating
system support hot-swap capability, you can remove or install the component while
the server is running. (Orange can also indicate touch points on hot-swap
components.) See the instructions for removing or installing a specific hot-swap
component for any additional procedures that you might have to perform before you
remove or install the component.
Removing the side cover
Important: Before you install optional hardware, make sure that the server is
working correctly. Start the server, and make sure that the operating system starts,
if an operating system is installed. If the server is not working correctly, see the
Hardware Maintenance Manual for diagnostic information.
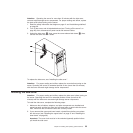
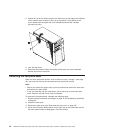
To remove the server side cover, complete the following steps.
32 ThinkServer TS200 Types 6522, 6523, 6524, 6525, 6526, 6528, 6529, and 6530: Installation and User Guide


