


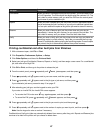
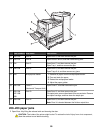

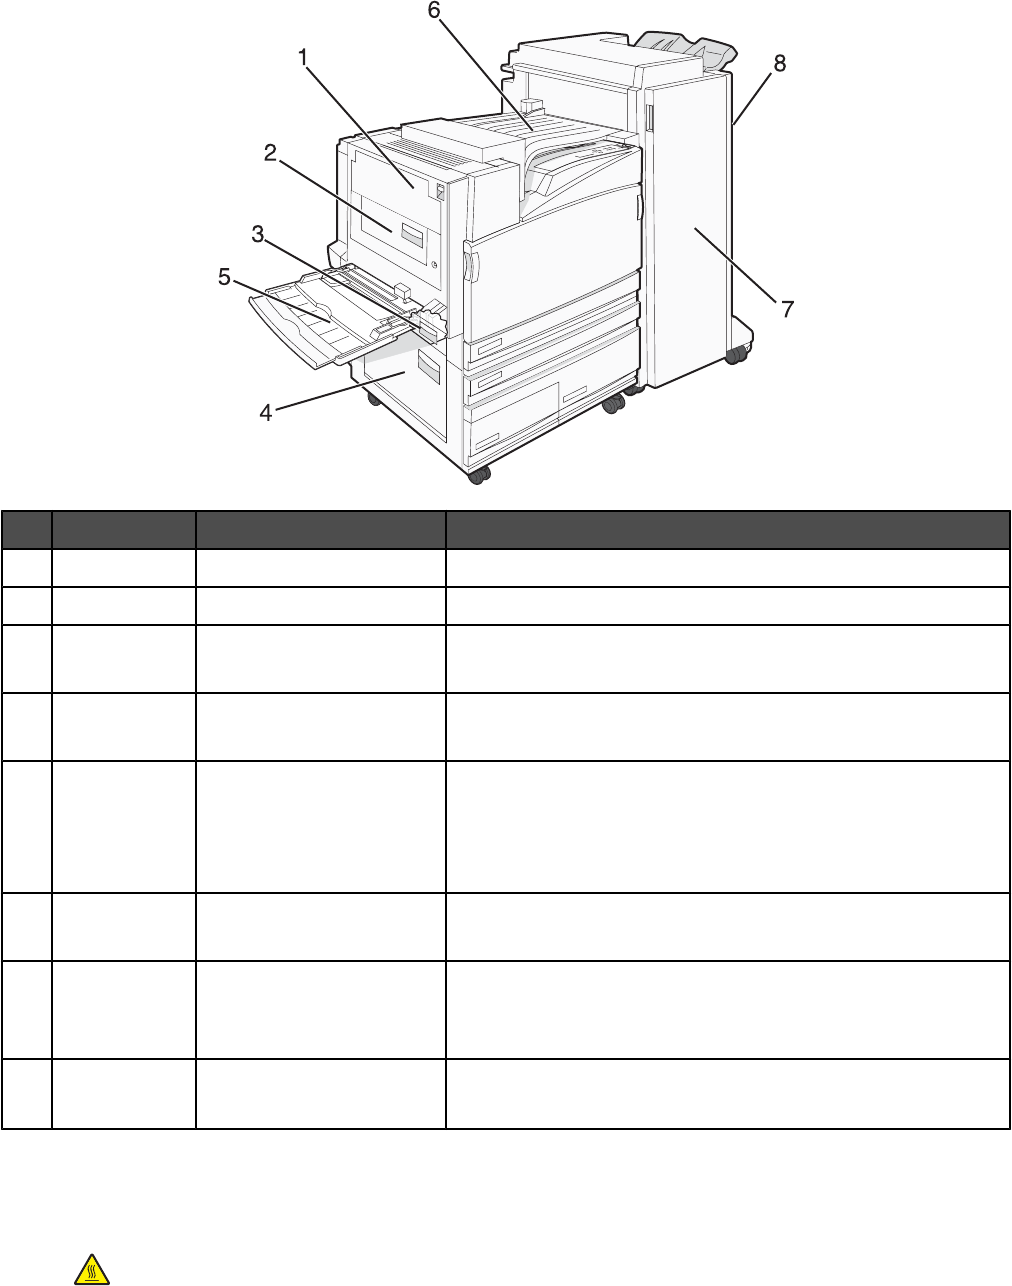
Jam numbers Area name Instructions
1
200–203 Door A Open Door A, and then remove the jam.
2
230–231 Door B Open Doors A and B, and then remove any jams.
3
241 Door C Open Door C, and then remove the jam.
Open Tray 1, and then remove the jam.
4
242–244 Door D Open Door D, and then remove the jam.
Open Trays 2–4, and then remove any jams.
5
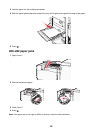
250 Multipurpose feeder
1 Remove all paper from the multipurpose feeder.
2 Flex and stack the paper.
3 Reload the multipurpose feeder.
4 Adjust the paper guides.
6
280–282 Cover F
(Horizontal Transport Unit)
Open Cover F, and then remove the jam.
7
283–284
287–288
289
Door G Open Door G, and then remove the jam.
For staple jams, remove the sheets in the accumulator. Remove
the staple cartridge, and then clear the staple jam.
8
284–286 Door H Open Door H, and then remove the jam.
Note: Door H is located between the finisher output bins.
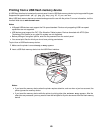
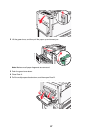
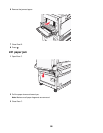
200–203 paper jams
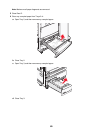
1 Open Door A by lifting the release latch and lowering the door.
CAUTION: The inside of the printer might be hot. To reduce the risk of injury from a hot component,
allow the surface to cool before touching.
55