Chapter 4: Installation 4-3
Installing Unit in Checkstand
The NCR 7870 is fully assembled at the factory and requires no
operator assembly. The laser module is an integral part of the factory
assembled device and does not have any controls that can increase the
level of laser light or collateral radiation from the NCR 7870.
Instructions
Install Cables
1.
Verify power receptacle switch is off.
2.
Turn NCR 7870 on its side.
3.
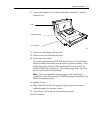
Route power cable through groove on bottom of unit.
4.
Return unit to upright position.
5.
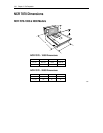
Place unit so a portion of the tower is directly over the cutout in the
checkstand counter.
6.
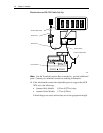
Pass Power Cord down through cutout and plug into dedicated
NCR power receptacle.
7.
Connect communication interface cables to host terminal or PC.
Because installation varies from one terminal to another, refer to
your host terminal’s documents for specific information on
interface cable connection.
Note:
A trained service technician may be required to open some
host terminals to connect the interface cables.
8.
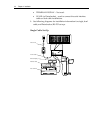
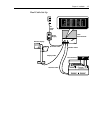
Connect interface cables to NCR 7870. Four interface connectors
are located on the rear side of the Tower Cabinet. These are for the
•
REMOTE DISPLAY – used to connect the NCR 7825 Remote
Display, which is for price and weight information.
•
SCANNER (or RS-232) – used to connect interface cable on
single cable installations or the scanner.


