


22
|
Handbook
Overview
Setting Basic
Features
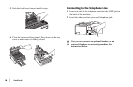
Setting the Date and Time
Follow these instructions to set the time and date on your
OKIOFFICE MFP:
1 Press the Select Function key.
2 Press the 9/User Program One Touch key located on the
One-Touch keypad.
3 On the numeric keypad, press 3. The display shows
3:CLOCK ADJUSTMENT.
4 Press the Yes ᮤ key. The display shows the date and
time currently set.
5 Using the numeric keypad, enter the new date (month/
day/year) and time in 24-hour format—8:00 AM is
08:00; 8:00 PM is 20:00.
6 Press the Yes ᮤ key to confirm your entry.
7 Press the Select Function key to finish.
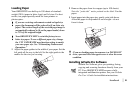
Setting the Answering Mode
Set the answering mode based on how you want your MFP to
answer calls and what telephone equipment is connected to
it. Choose the mode that best fits your needs:
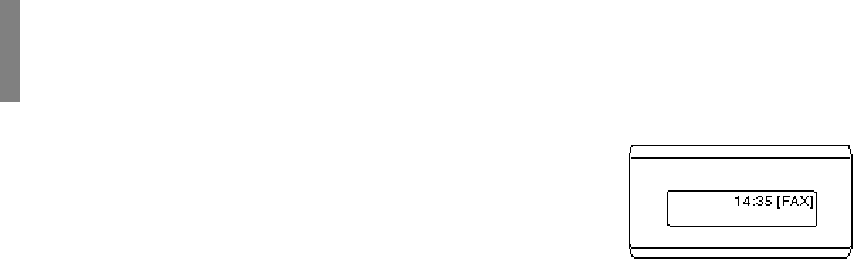
Auto Receive mode [FAX]
Your MFP is connected to a telephone line reserved only for
fax communications. (This is the factory setting).
Your MFP assumes all incoming calls are fax messages and
automatically receives all incoming fax messages.
Manual Receive mode [TEL]
You use the same line for both fax and telephone calls and
the majority of your incoming calls are telephone calls.
When someone calls, your MFP rings like a telephone. You
can answer from an external telephone connected to your
MFP. If you pick up the hand set and hear fax machine tones,
press the Start key to receive the fax. If you do not answer the
phone and someone tries to send you a fax message, your
machine will not accept it.