


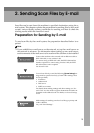
Sending Scan Files by E-mail
17
2
Sending Scan Files by E-mail
Procedure for Sending E-mail
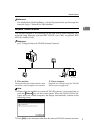
A scan file is sent after scan settings
and destinations are specified.
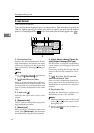
A
AA
A
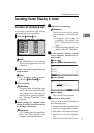
Press the {
{{
{Scanner}
}}
} key.
Note
❒ The illustration is an example.
The actual appearance may be
different.
B
BB
B
Make sure that no previous set-
tings remain.
Note
❒ If a previous setting remains,
press the {
{{
{Clear Modes}
}}
} key.
C
CC
C
Place originals.
Reference
The procedure for placing origi-
nals is the same as that for plac-
ing originals for copying. For
details about placing originals,
see “Placing Originals”, Copy
Reference.
D
DD
D
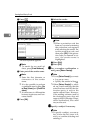
Make settings for original orien-
tation, the sides scanned, and oth-
er settings if necessary.
Reference
p.76 “Making the Settings Relat-
ed to the Orientation of the
Original and Scanned Sides”
E
EE
E
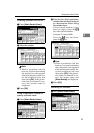
Make the scan settings.
Reference
There are two ways to specify
scan settings, as described be-
low:
• Configure each setting for
scanning. For details, see
p.73 “Specifying Scan Set-
tings”.
• Recall registered settings. For
details, see p.82 “Programs”.
F
FF
F
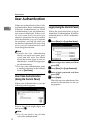
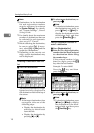
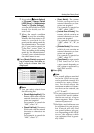
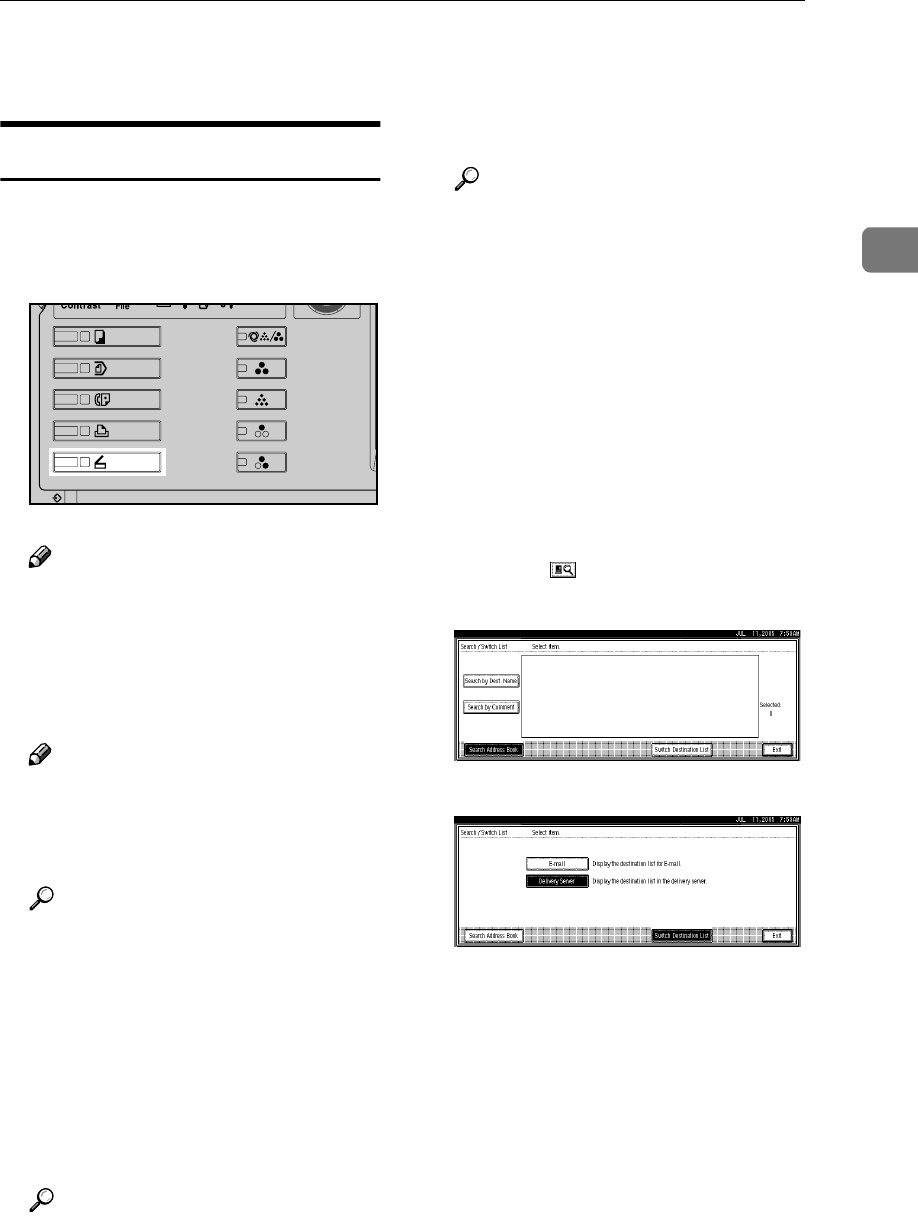
If the network delivery scanner
screen appears, switch to the e-
mail screen.
A Press [].
B Press [Switch Destination List].
C Press [E-mail].
D Press [Exit].
The e-mail screen appears.
G
GG
G
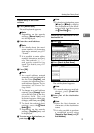
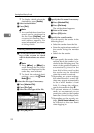
Specify the destination.
You can specify the destination in
the following ways:
•
Select it from the destination list.
• Specify its registration number.
•
Enter the e-mail address directly.
• Search for it in the destination
list.
• Search for it in the LDAP server.
ZZZ606S