Sending Scan Files by Scan to Folder
33
3
G
GG
G
Specify the destination folder.
You can specify the destination
folder in the following ways:
•
Select it from the destination list.
• Specify its registration number.
• Enter the path for the folder of a
client computer on the same
network directly.
• Specify the folder in the FTP
server.
• Select it from the client comput-
ers on the same network.
Note
❒ Destinations in the destination
list and registration numbers
must be registered in advance
in [System Settings]. For details,
see “System Settings”, General
Settings Guide.
❒ Depending on the security set-
tings, certain destinations may
not be displayed.
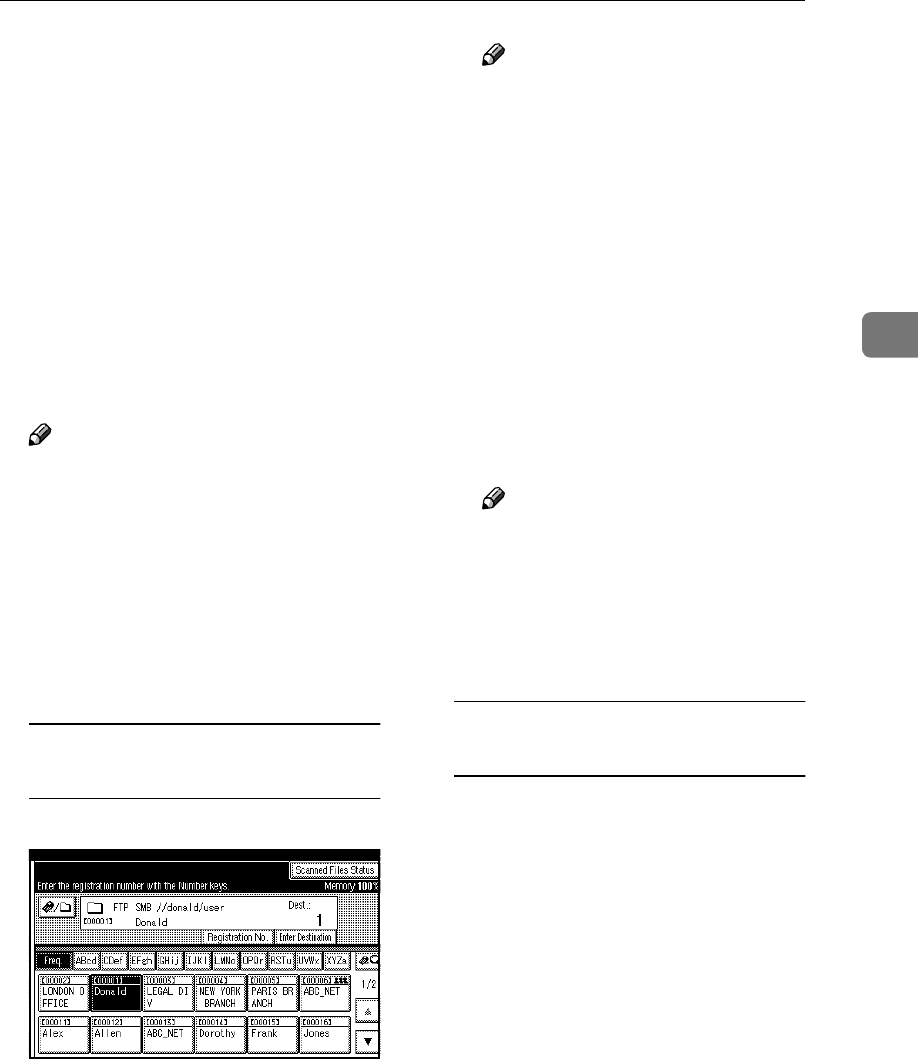
Selecting a destination folder
from the list
A Select the destination folder.
The selected folder is highlight-
ed and also is displayed in the
destination field at the top of the
screen.
Note
❒ If the target destination does
not appear, take one of the
following steps:
• Display the destination by
selecting its initial letter
from the title.
• Display the destination by
pressing [U
UU
U] or [T
TT
T].
❒ If a protection code has been
set for the shared folder, a
screen for entering the pro-
tection code appears.
B
To select more destination fold-
ers,
repeat step A
AA
A.
Note
❒
To deselect a destination, press
the destination once more, or
press [
U
UU
U
Prev.
] or [
T
TT
T
Next
] to dis-
play the destination in the des-
tination field, and then press
the
{
{{
{
Clear/Stop
}
}}
}
key.
Using a registration number to
select a destination folder
A Press [Registration No.].
B Enter the five digit registration
number that has been assigned
to a destination folder using
the number keys.
If the entered number is less
than five digits, press the {
{{
{#}
}}
}
key after the last number.
Example: To enter 00004


