73
7. Configuring/Registering
Scan Settings
This section describes how to specify scan settings and how to configure settings
according to the orientation of the original. In addition, this section describes the
programming function by which you can register frequently used settings.
Specifying Scan Settings
A
AA
A
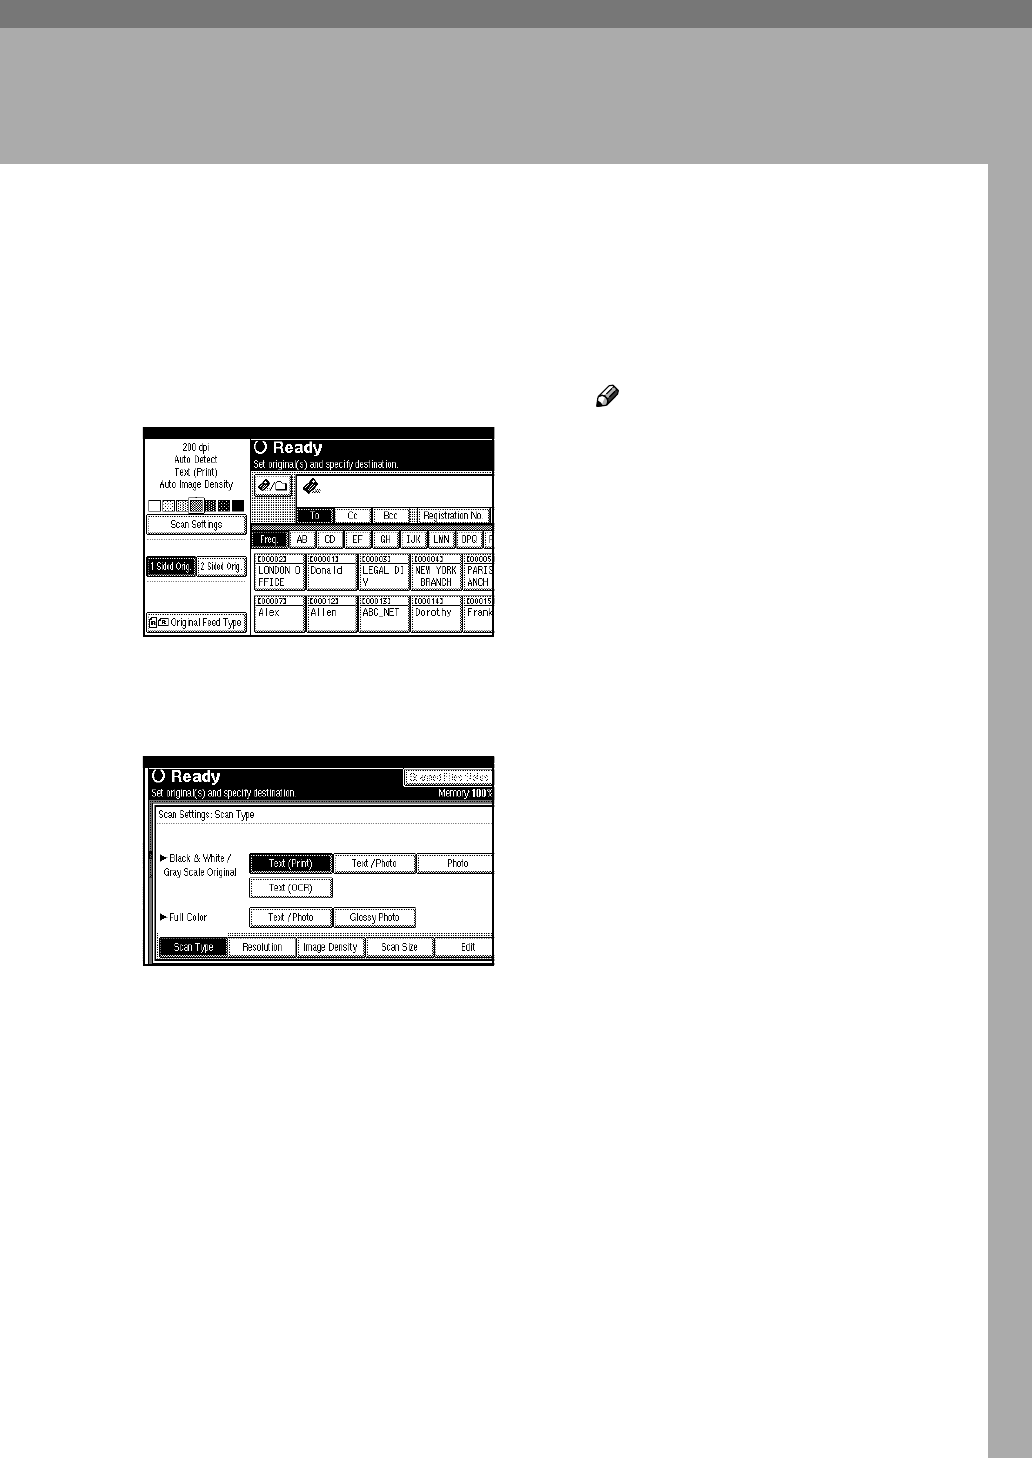
Press [Scan Settings].
B
BB
B
Select items such as resolution
and original size, and then
change their settings.
Specify the basic scan settings
(scan type, resolution, image den-
sity, scan size, and edit) as follows:
❖
❖❖
❖ Scan Type
Originals are scanned according
to the selected scan type.
Select the scan type from the fol-
lowing:
• Auto Color Select
The color of original is auto-
matically detected, and then
the original is scanned.
Note
❒
File Format Converter (op-
tional)
is required to use
this function.
❒ Depending on scan set-
tings and/or content of
your original, this scan
type may not function cor-
rectly.
For black and white or scale
scans, select from the following
types:
• Text (Print)
For standard originals con-
taining mainly text.
Printer printing is best
scanned with Text (Print).
• Text (OCR)
For standard originals con-
taining mainly text.
Text (OCR) is suitable for
higher OCR accuracy.
• Dropout Color
If the original includes
colors you do not want to
scan, you can select the
colors to exclude. You can
select red, green, blue, or
other chromatic colors. If
you specify narrow ranges
for the selected colors, only
the selected colors and
colors very close to them
are excluded. If you speci-
fy wide ranges for the se-
lected colors, the selected
colors and all colors based
on them are excluded.
