Supplies and accessories_ 5
Installing a memory module
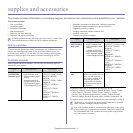
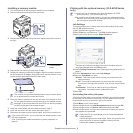
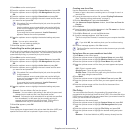
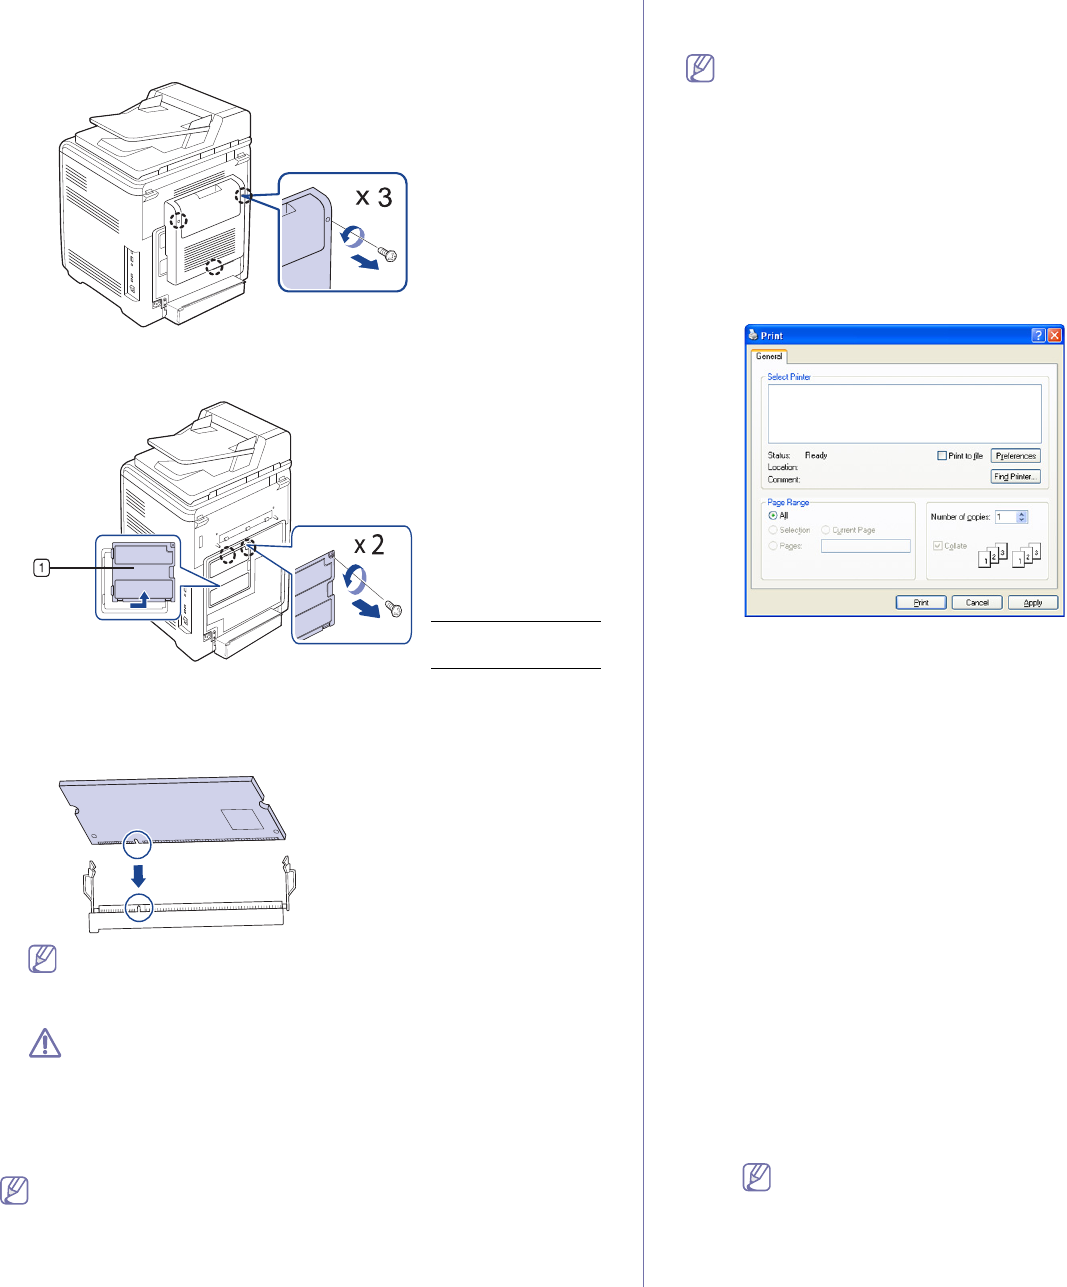
1. Turn the machine off and unplug all cables from the machine.
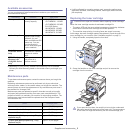
2. Remove the screws and remove the rear cover.
3. Remove the screws, then lift up the cover slightly and pull the cover to
the right.
1 Control board
cover
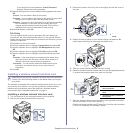
4. Remove the new memory module from its bag.
5. Hold
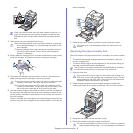
ing the memory module by the edges, align the memory module in
the slot at about a 30-degree angle. Make sure that the notches of the
module and the grooves on the slot fit each other.
The notches and grooves illustrated above may not match those
on an actual memory module and its slot.
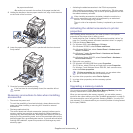
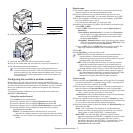
6. Press the memory module into the slot with care until you hear a 'click'.
Do not press the memory module strongly or the module may be
damaged. If the module does not seem to fit into the slot properly,
carefully try the previous procedure again.
7. In
stall the control board with the screw removed in step 3.
8. In
stall the rear cover with the screw removed in step 2.
9. Recon
nect the power cord and printer cable, and turn the machine on.
If you use the PS driver, you must activate the added memory in the
PS driver properties
(See "Activating the added accessories in printer properties" on
page 4).
Printing with the optional memory (CLX-6250 Series
only)
•You can only use this feature if you have installed the 512 MB
optional memory. (CLX-6250 Series only)
•After installi
ng the optional memory, you can use advanced printing
features, such as proofing a job and specifying of printing a private
job in the printer properties window.
Job Settings
This option allows you to choose how to print the printing file by using
the 512 MB optional memory.
1.Open
the document you want to print.
2.Select Print from the Fi
le menu. The Print window appears.
3.Sel
ect your printer driver from the Select Printer list.
The basic print settings including the number of copies and print
range are selected within the Print window.
4.Access Printing
Preferences (See "Opening printing preferences" on
page 2).
5.Click the Adva
nced tab then select Job Settings.
6.Select the Print Mode you wan
t .
•Normal: This mode prints without storing your document in the
optio
nal memory.
•Proof: This mode is useful when you print more than one copy.
You can print one copy first to check, than print the rest of copies
later.
•Confide
ntial: This mode is used for printing confidential
documents. You need to enter a password to print.
7.Select OK.
Controlling the active job queue
All of the print jobs waiting to be printed are listed in the active job queue
in the order you sent them to the printer. You can delete a job from the
queue before printing, or promote a job to print sooner.
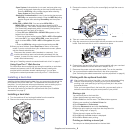
1.Press Menu on the control pan
el.
2.Press
left/right arrow until Job Management appears and press OK.
3.Press
left/right arrow until Active Job appears and press OK.
4.Press left/rig
ht arrow until the user’s name and file name you want to
use appears and press OK.
If the select file is a confidential print job, enter the specified
4-digit password.
Use the left/right arrow to enter digits. When you press OK, the
cursor
will move to the next character. When you finish
entering the password, press OK.


