Machine status and advanced feature_ 3
4. Press the up/down arrow until the copy setup item you want is
highlighted and press OK.
5. Press the up/down arrow until the setup option you want is highlighted
and press OK.
6. Pre
ss the up/down arrow until the setting you want is highlighted and
press OK.
7. Repe
at steps 4 through 6, as needed.
8. Pr
ess Stop/Clear to return to ready mode.
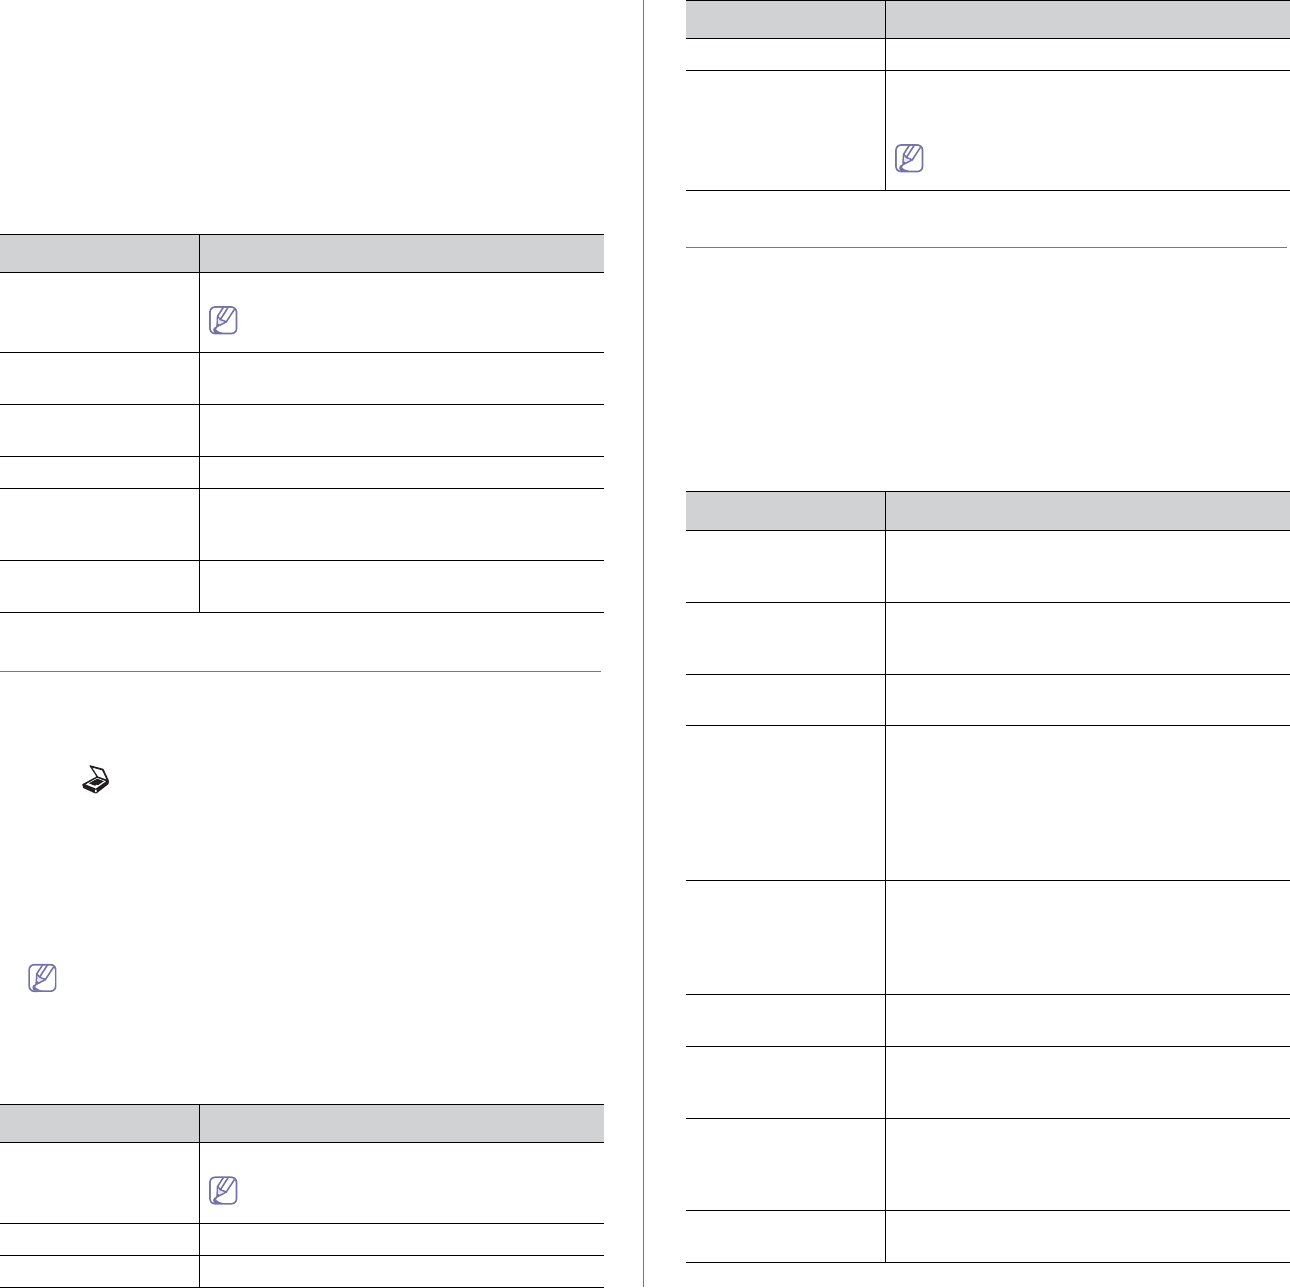
Change default
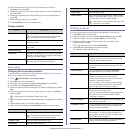
Option Description
Scan Size Sets the image size.
The scan size options may vary between
document feeder or scanner glass.
# of Copies You can enter the number o
f copies using the
number keypad.
Collation Collation is a process of printing a multiple-copy
job in
sets.
Reduce/Enlarge Reduces or enlarges the size of a copied image.
Darkness Adjusts the brightness level to make a copy that
is
easier to read, when the original contains faint
markings and dark images.
Original Type Improves the copy quality by selecting the
document type for the current copy job.
Scan setup
Changing the scan setup options
To avoid having to customize the scan settings for each job, you can set up
default scan settings for each scan type.
1. Pr
ess (Scan/Email) on the control panel.
2. Pr
ess Menu on the control panel.
3. Pre
ss the up/down arrow to highlight Scan Setup and press OK.
4. Pr
ess OK when Change Default highlights .
5. Pre
ss the up/down until the scan type you want is highlighted and press
OK.
6. Pre
ss the up/down until the scan setting option you want is highlighted
and press OK.
Setting option is the same for each scan type.
7. Pre
ss the up/down arrow until the desired status is highlighted and press
OK.
8. Repe
at steps 6 and 7 to set other setting options.
9. Whe
n you have finished, press Stop/Clear to return to ready mode.
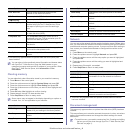
Option Description
Scan Size Sets the image size.
The scan size options may vary between
document feeder or scanner glass.
Original Type Sets the original document’s type.
Resolution Sets the image resolution.
Scan Color Sets the color mode.
Scan Format Sets the file format in which the image is to be
saved. If you select BMP, JPEG, TIFF, or PDF,
you can select to scan multiple pages.
Depending on the selected scan type, this
option may not appear.
Printing a report
You can print a report on the machine's configuration or font list, etc.
1. Pres
s Menu on the control panel.
2. Pre
ss the up/down arrow to highlight System Setup and press OK.
3. Pre
ss the up/down arrow to highlight Report and press OK.
4. Pre
ss the up/down arrow until the report or list you want to print
highlights and press OK.
To print all reports and lists, select All Reports.
5. Pres
s OK when Yes appears to confirm printing.
The selected information prints
out.
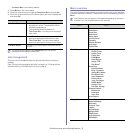
Option Description
Configuration This list shows the status of the user-selectable
options. You may print this list to confirm your
changes after changing settings.
Supplies Info. This item allows you to check how many pages
are printed and how much toner are left in the
cartridge.
Address Book This list shows all of the email addresses
currently stored in the machine’s memory.
Send Report This report shows the fax n
umber, the number of
pages, the elapsed time of the job, the
communication mode, and the communication
results for a particular fax job.
You can set up your machine to automatically
p
rint a transmission confirmation report after
each fax job (See "Sending" on page 1).
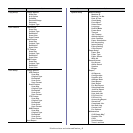
Sent Report This report shows information on the faxes and
e
mails you have recently sent.
You can set the machine to automatically print
thi
s report every 50 communications (See
"Sending" on page 1).
Fax Rcv Report This report shows information on the faxes you
have recently receiv
ed.
Scheduled Jobs This list shows the documents currently stored
for del
ayed faxes along with the starting time
and type of each operation.
JunkFax Report This list shows the fax numbers specified as junk
fax numbers. To add or delete numbers to or
from this list, access the Junk Fax Setup menu
(See "Receiving" on page 1).
Network Info. This list shows information on your machine’s
n
etwork connection and configuration.
Option Description


