


Application Development and Deployment 7 - 11
5. Click OK and follow the on-screen instructions.
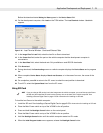
6. If one of the partitions being built is the ESSID, a prompt appears requesting the ESSID value. Deselect
the HR (High Rate) check box when building ESSID images for a device with an FH radio.
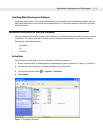
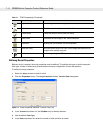
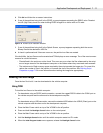
Figure 7-8
Build ESSID Partition Window
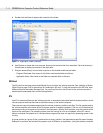
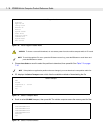
7. If one of the partitions being built is the Splash Screen, a prompt appears requesting both the source
Bitmap file and the destination HEX file.
8. A check is performed and if there are no errors, the partition hex files are created.
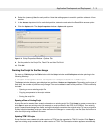
If the build fails, the hex files are not be created and TCM displays an error message. Two of the most common
reasons for a build failure are:
•
Files defined in the script can not be found. This error can occur when the files referenced by the script
are no longer stored on the development computer or the folders where they are stored were renamed.
•
The total amount of flash memory space required by the script exceeds the image size. To correct this,
reduce the number of files in the partition or increase the size of the partition. See Defining Script
Properties on page 7-8 for more information about setting the image size appropriately.
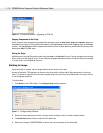
Sending the Hex Image
Once the hex file is built, it can be downloaded to the vehicle computer.
Using TCM
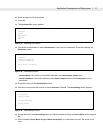
To load the hex files on to the vehicle computer:
1. For downloads using an RS232 serial connection, connect the rugged RS232 cable to the COM1 port on
the vehicle computer and the other end to the development computer.
or
For downloads using a USB connection, connect the standard USB cable to the USB B (Client) port on the
vehicle computer and the other end to the development computer.
2. Place the Main Power switch on top of the VC5090 to the off position.
3. Press and hold the Backlight Control button on the control panel.
4. Place the Main Power switch on top of the VC5090 to the on position.
5. Hold the Backlight Control button until the vehicle computer resets into IPL mode.
6. When the Initial Program Loader menu appears, release the Backlight Control button.