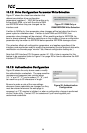
44
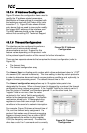
ICC
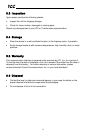
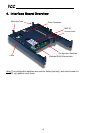
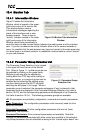
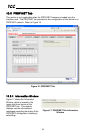
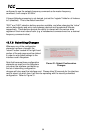
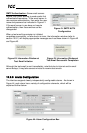
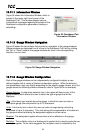
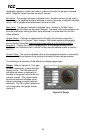
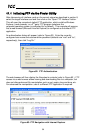
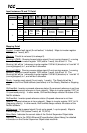
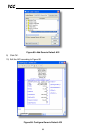
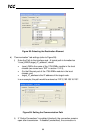
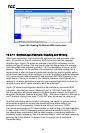
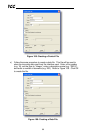
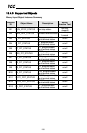
10.9.1 Information Window
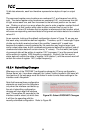
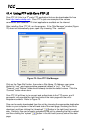
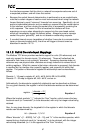
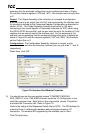
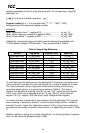
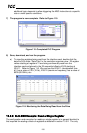
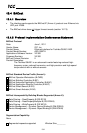
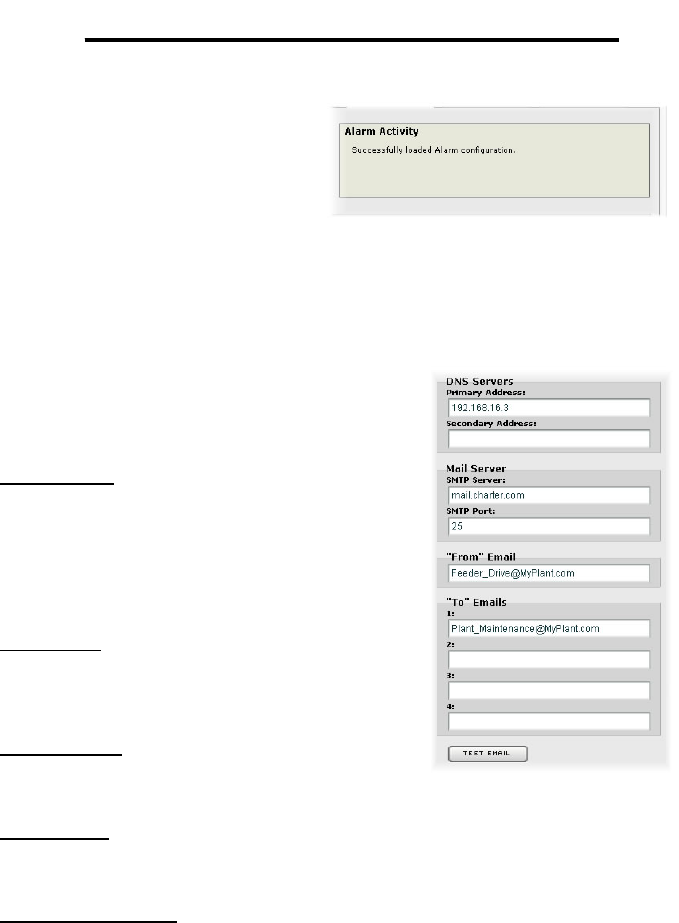
Figure 39 shows the Information
Window, which is located in the
upper-right hand corner of the Alarm
tab. This window displays various
informational messages regarding the
status of the Alarm configuration
parameters (loading or submitting)
and test emails.
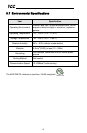
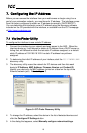
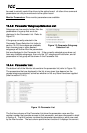
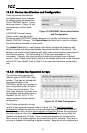
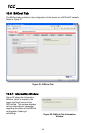
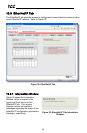
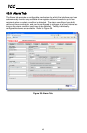
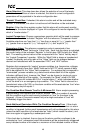
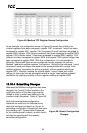
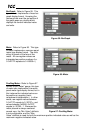
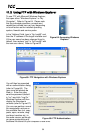
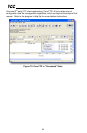
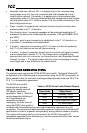
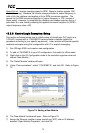
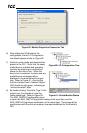
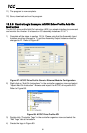
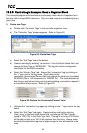
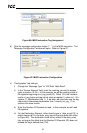
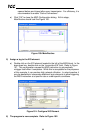
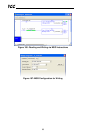
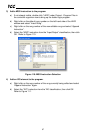
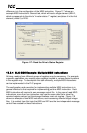
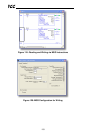
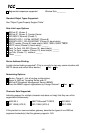
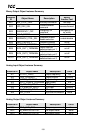
10.9.2 Email Configuration
In order for an alarm trigger to successfully send a
notification email, some network settings must first
be configured properly (refer to Figure 40 and
Figure 41.)
DNS Servers: Enter the dotted-decimal IP
addresses of the primary and secondary DNS
servers which will be used to resolve the
configured SMTP server name. Only the primary
DNS server is required, but if a secondary DNS
server is entered, then it will be used if the primary
server is inaccessible.
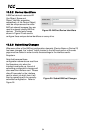
Mail Server: Enter the SMTP server address as a
name or as a dotted-decimal IP address, and the
SMTP port (default=25) that the SMTP server
listens for incoming emails on.
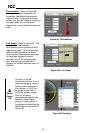
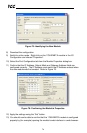
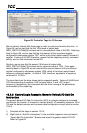
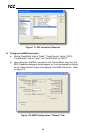
“From” Email: Enter the email address that will
appear as the sender’s email address in the email
headers.
“To” Emails: Up to four recipients can be
designated to receive alarm emails. Blank entries
will not be processed by the interface.
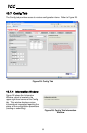
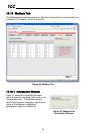
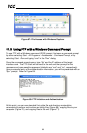
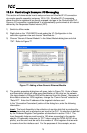
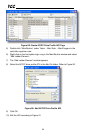
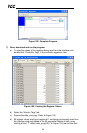
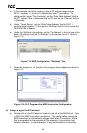
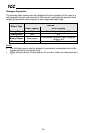
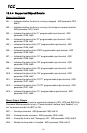
“Test Email” Button: When the “Test Email” button is pressed, the interface card
will use the information currently entered in the above-mentioned fields to send a test
email. Note that you do not have to first “submit” the settings to the interface card’s
filesystem (refer to section 10.9.4) in order to test them: fields can be changed and
retested on-the-fly without affecting the operation of the interface card’s control
protocols. When the correct settings have been confirmed with a successfully-sent
test email, “submit” the changes at that time to commit them to the interface card’s
filesystem: any changes made prior to submitting as described in section 10.9.4 are
temporary only and will be lost if a different configuration tab is selected or if the web
browser is closed.
Figure 39: Alarm Tab Information
Window
Figure 40: Email
Configuration