175
Enabling or Disabling Send after Scan Temporarily
Load the Document
1
If the Send After Scan Mode
Default Setting is set to “OFF”,
this feature allows you enable
the Send After Scan mode for a
single transmission. Once that
transmission is complete, the
default status is regained.
If you enable Send after Scan,
you will be given the opportunity
to select “SEND SCANNED
PAGES” or “CANCEL SEND-
ING.”
Select “SEND SCANNED PAG-
ES” if you want the pages
scanned to memory (prior to the
Memory Full) to be transmitted.
Select “CANCEL SENDING” if
you want to cancel that trans-
mission and try again later when
more memory is available or
use a Direct TX operation.
Load the document face down
in the Document Support (see
page 82).
Adjust the resolution and con-
trast if desired (see pages 83
and 84).
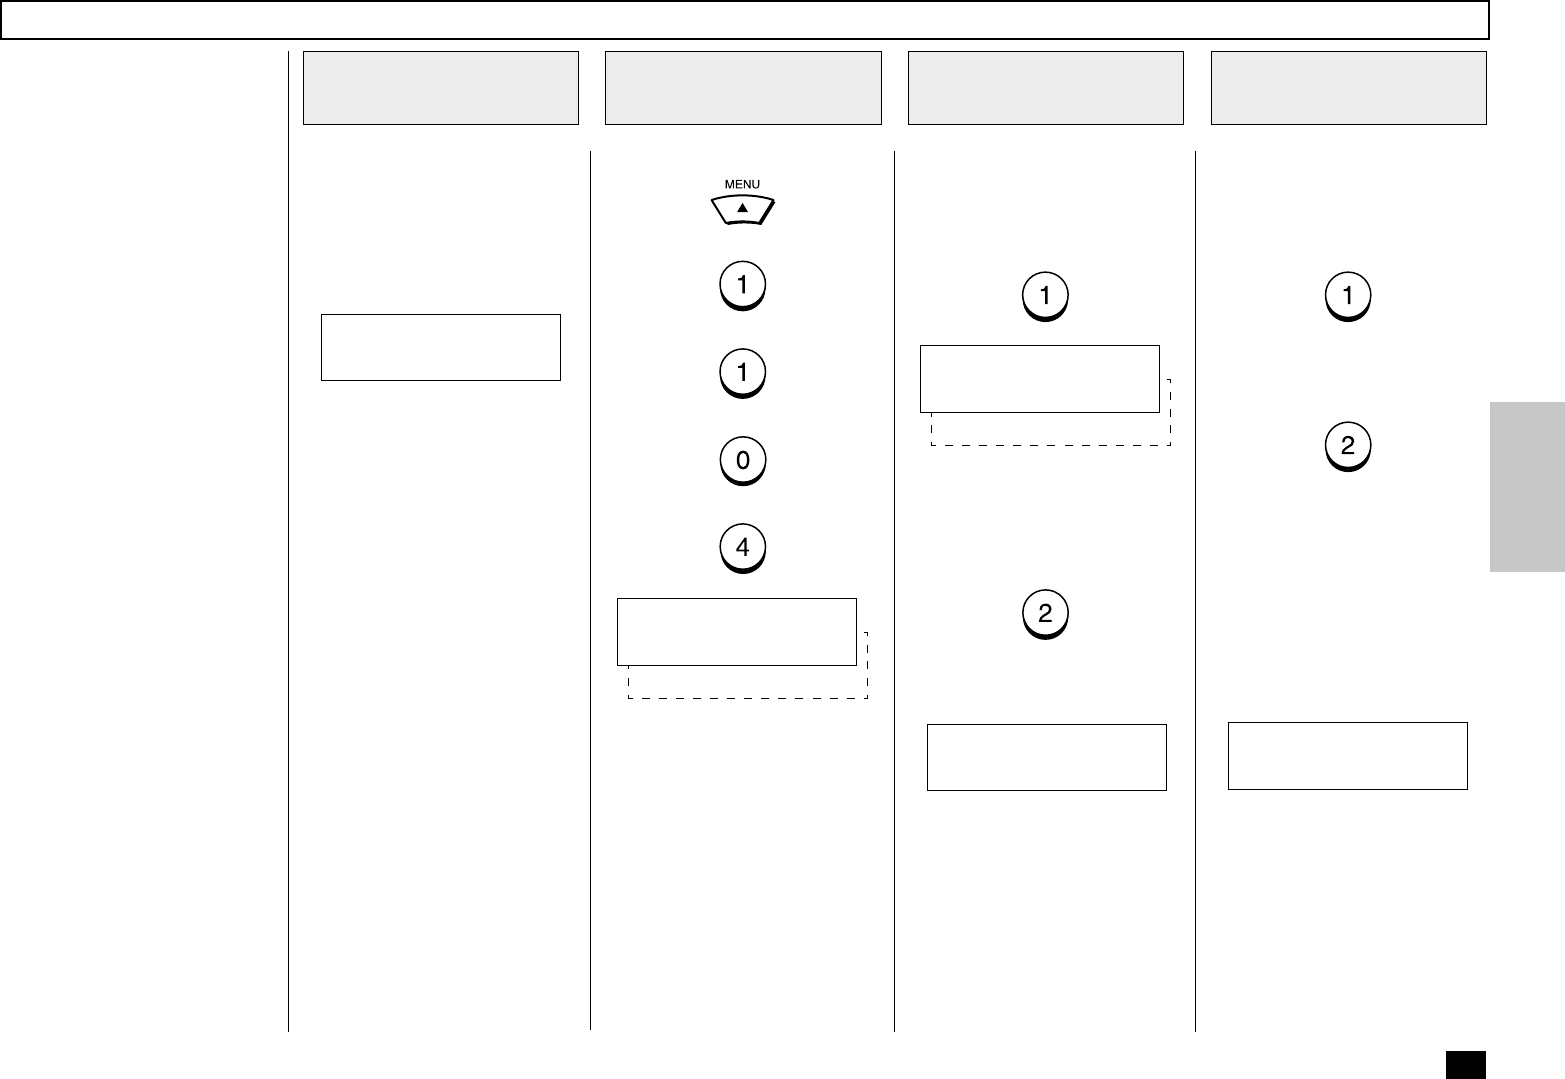
Press:
+
+
+
+
Display the SEND
AFTER SCAN Menu
2
Select the Send
After Scan Option
3
Select the desired Send After
Scan Option.
To enable Send After Scan,
press:
Select the Memory
Full Option
4
Select the desired Memory Full
Option.
To cancel the pages that have
been scanned, press:
To send the pages that have
been scanned, press:
The following screen is dis-
played. You may dial the remote
facsimile for your communica-
tion job. The display will return
to the Standby Mode in about
60 seconds if no keys are
pressed.
MAY-17 09:43 AM 100%
AUTO RECEIVE
2.OFF
SEND AFTER SCAN
1.ON
Go to Step 4.
To disable Send After Scan,
press:
The following is displayed for 2
seconds.
1.CANCEL SENDING
UPON MEMORY FULL
2.SEND SCANNED PAGES
Go to Step 5.
COMPLETED
MAY-17 09:43 AM 100%
ENTER TEL NUMBER


