4 Replacement Procedures 4.17 Optical disk drive
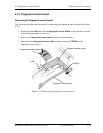
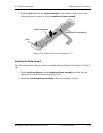
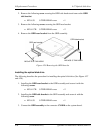
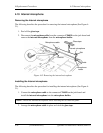
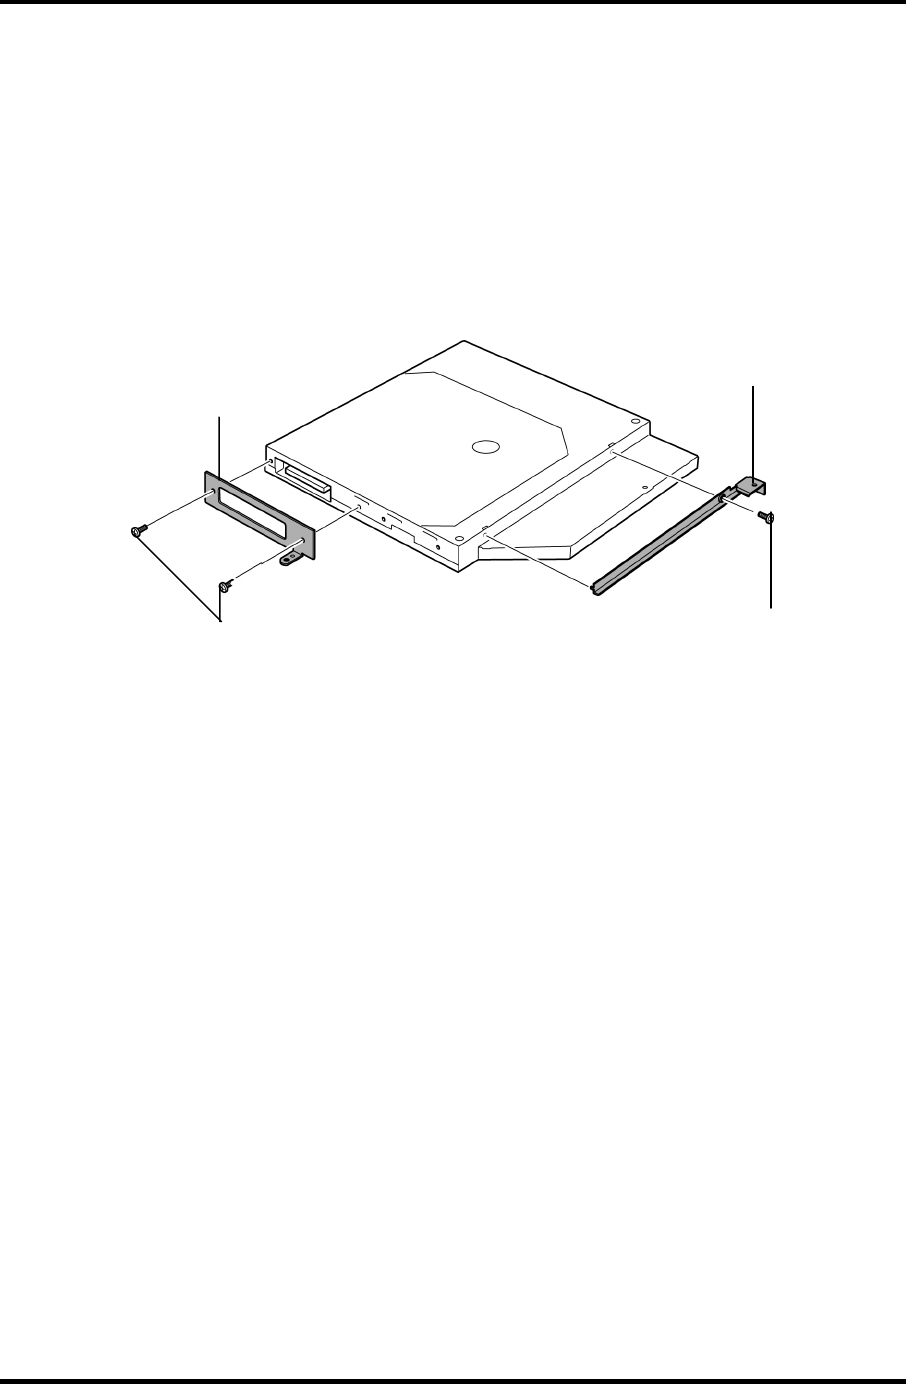
2. Remove the following screw securing the ODD side bracket and remove the ODD
side bracket.
• M2.0×3S S-THIN HEAD screw ×1
3. Remove the following screws securing the ODD rear bracket.
• M2.0×2.7B S-THIN HEAD screw ×2
4. Remove the ODD rear bracket from the ODD assembly.
ODD rear bracket
M2.0x2.7B S-THIN HEAD
ODD side bracket
M2.0x3S S-THIN HEAD
Figure 4-28 Removing the ODD bracket
Installing the optical disk drive
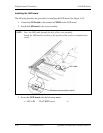
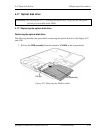
The following describes the procedure for installing the optical disk drive (See Figure 4-27
and 4-28).
1. Installing the ODD rear bracket to the ODD assembly and secure it with the
following screws.
• M2.0×2.7B S-THIN HEAD screw ×2
2. Installing the ODD side bracket to the ODD assembly and secure it with the
following screw.
• M2.0×3S S-THIN HEAD screw ×1
3. Connect the ODD assembly to the connector CN1810 on the system board.
4-46 [CONFIDENTIAL] QOSMIO F30 Maintenance Manual (960-555)


