6. OUTLINE OF PREPARATION PROCEDURE BEFORE OPERATING THE ECR EO1-11155
6.1 Installing/Replacing the Receipt/Journal Roll
6- 2
6.1 Installing/Replacing the Receipt/Journal Roll
WARNING!
1. Never touch the print head and around it just after printing. You may get burned as the print
head becomes very hot during printing.
2. Carefully close the receipt cover so as not to catch your fingers. You may get injured.
3. Do not touch the cutter portion as you may get injured.
CAUTION!
1. Be sure to use the paper which meets the specifications below. Failure to do this may cause a
paper jam and a printer failure.
Media --------------------------------------- Thermal roll paper
Width --------------------------------------- 58 +0/-1 mm
Thickness---------------------------------- 0.06 mm to 0.08 mm
Outside dimension----------------------- 80 mm or less
Recommended thermal paper-------- Only paper rolled onto a core is acceptable, however, the paper end
should not be pasted to the core
.
Standard paper: TF60KS-E (Nippon Paper Industries)
PD150R (Oji Paper Co., Ltd)
High-sensitive paper: TF50KS-E4 (Nippon Paper Industries)
Medium-term preserving paper: TP60KS-F1 (Nippon Paper Industries)
P220VBB-1 (MITSUBISHI PAPER MILLS LIMITED)
PD170R (Oji Paper Co., Ltd)
Long-term preserving paper: TP50KJ-R (Nippon Paper Industries)
PD160R-N (Oji Paper Co., Ltd)
AFP-235 (MITSUBISHI PAPER MILLS LIMITED)
HA220AA (MITSUBISHI PAPER MILLS LIMITED)
PD152R (Oji Paper Co., Ltd)
2. Do not pull the receipt being issued during a print operation. When taking an issued receipt, be
sure to confirm that the cutter operation stops. Failure to do this may cause a paper jam or a
printer failure.
3. Be sure to attach the receipt cover before issuing the receipt. Failure to do this may cause a
printer failure.
Turn the mode lock to the REG position using the Mode Selector Key to perform the paper roll installation in this
section.
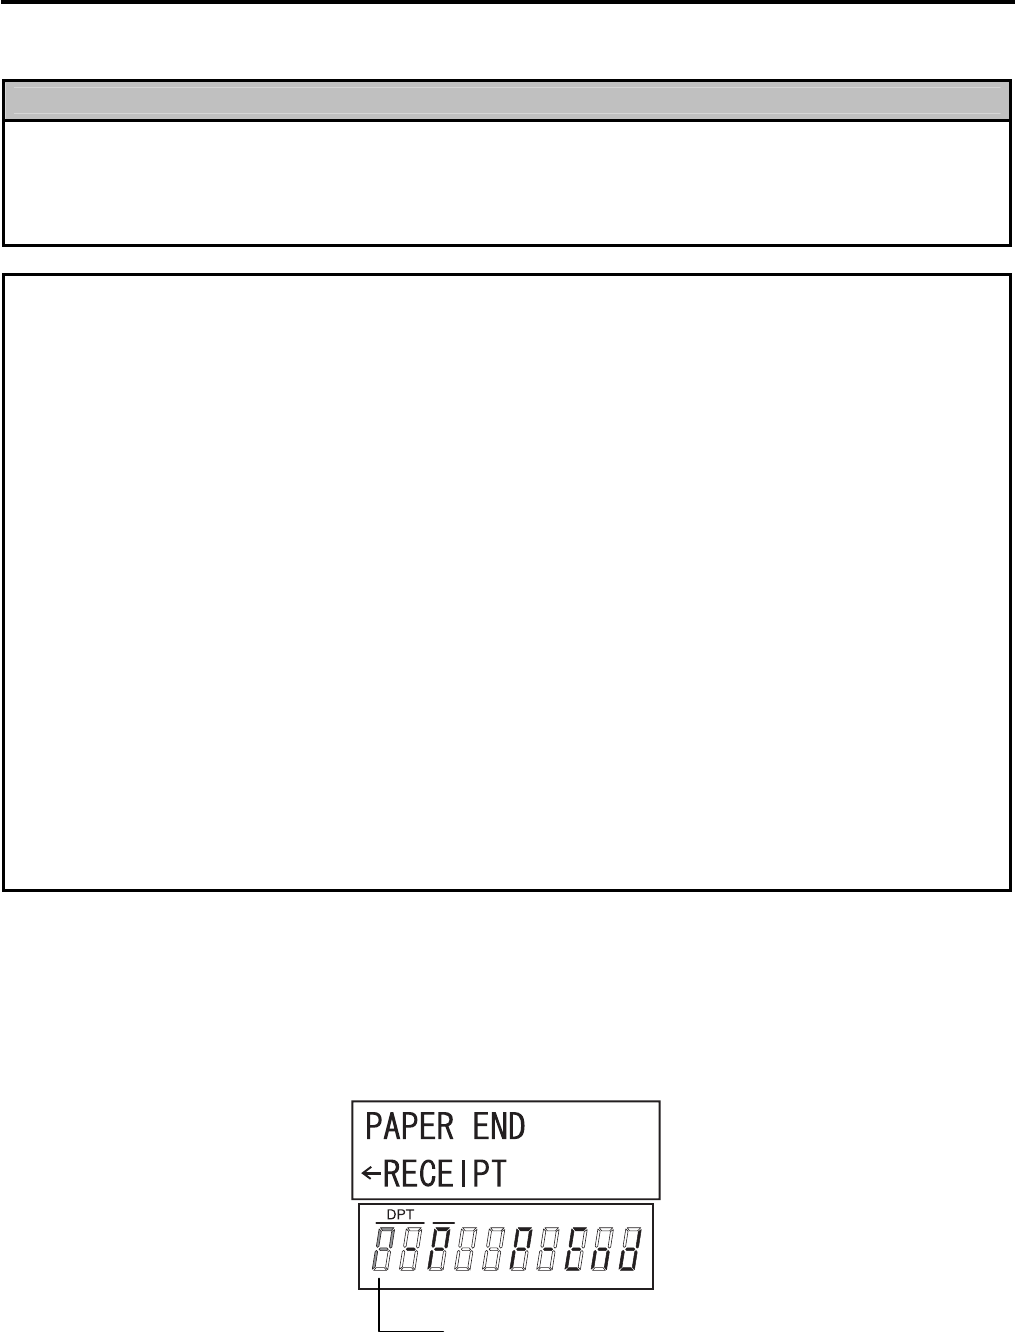
When the receipt roll is installed for the first time or when the receipt paper ends, the following error status is
indicated both on the LCD display and on the 10-digit 7-segment Numeric display. In this case, install or replace
the receipt roll by following the procedure on the next page. (See Installing/Replacing the Receipt Roll.)
X
P blinks on the leftmost digit of the 10-digit 7-segment
Numeric display.


