


DEFINING THE PRINTER TO THE HOST: TCP/IP ATTACHMENT
E-30 XEROX DOCUPRINT 4850/4890 IPS INSTALLATION PLANNING GUIDE
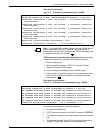
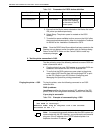
3. Define the printer to PSF/2
Follow these steps to define the IPS printer to PSF/2.
1. Select the Control Panel icon from the PSF/2 folder (located on
the OS/2 Desktop).
2. From the Control Panel Main window, click on the Profile
pulldown menu.
3. Select New from the Profile menu. The New device dialog
window appears.
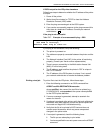
4. Enter all your new device parameter values in the fields that
appear on this window.
5. Select the Settings button in the “Attachment Type” frame. The
TCP/IP Settings window appears.
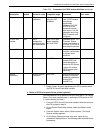
6. Enter the IP Address, TCP/IP Port Number, Form Definition,
and Connect Timeout values on the TCP/IP Settings window.
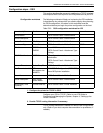
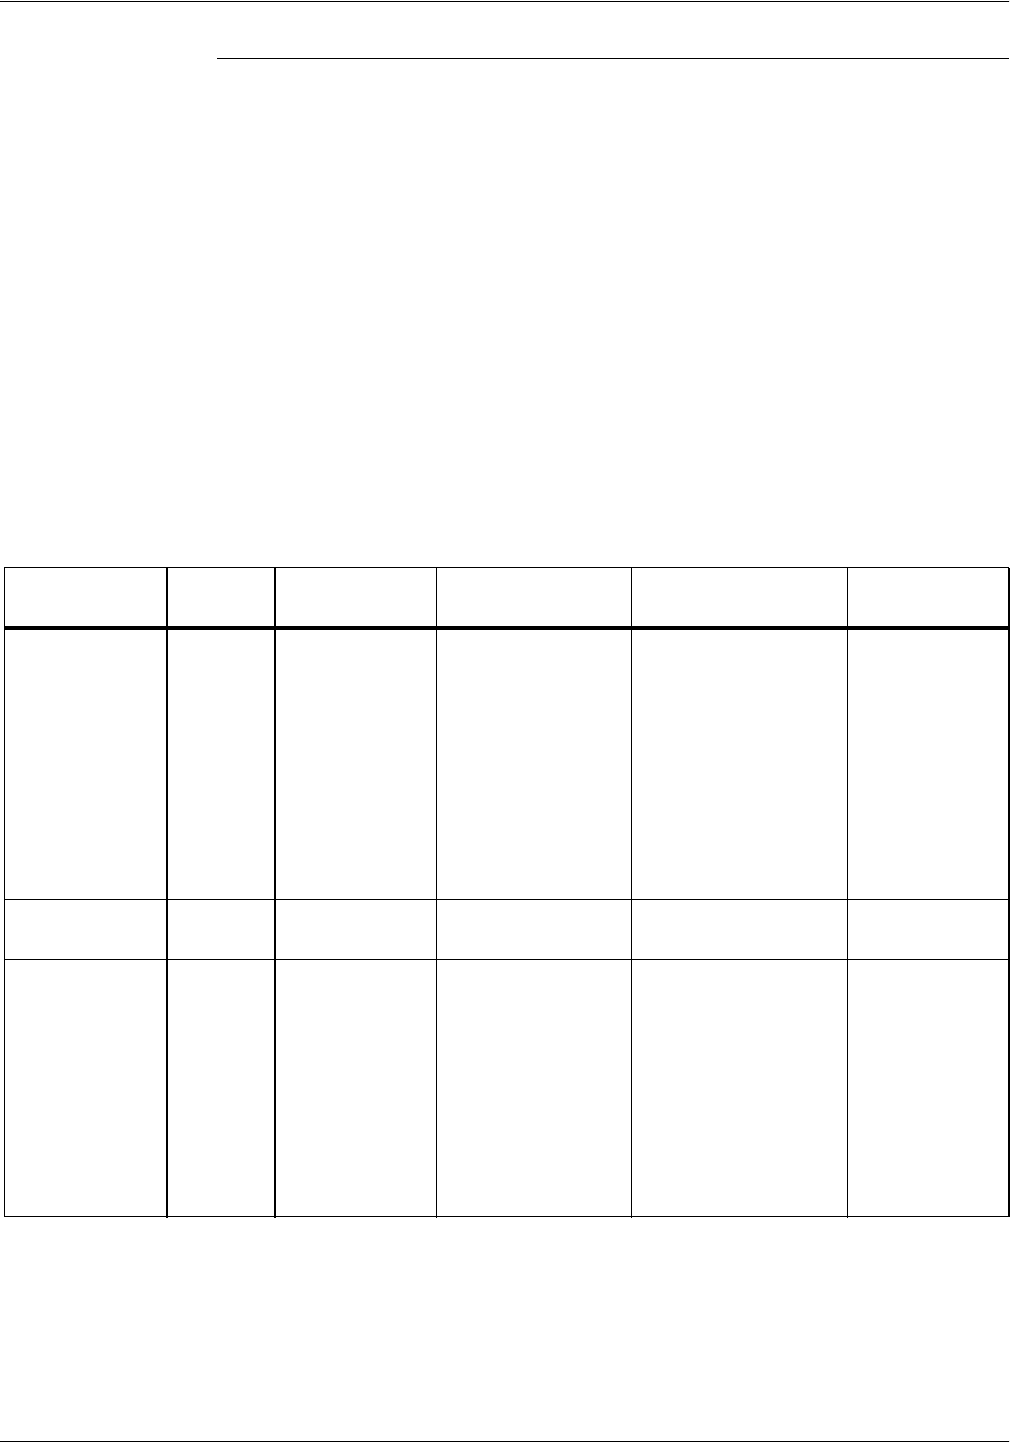
The table below gives defaults, descriptions, and recommended
values for the parameters accessible from the New Device and
TCP/IP Settings windows.
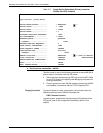
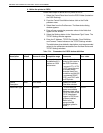
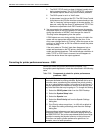
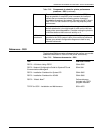
Table E-24. Parameters for PSF/2 device definition
Item
description Default Source of value Acceptable range Comments Your value
Device Name None Your choice Arbitrary, but special
considerations if it
matches an OS/2
device name
You will refer to the
printer by this name in
later PSF/2 activities.
If you use LPT1, LPT2,
or LPT3 (and they are
not already being
otherwise used) you
are able to use the OS/
2 commands PRINT,
TYPE, and COPY with
the IPS printer.
Device
Description
None Your choice Appears in Control
Panel Main window.
Attachment type Required If TCP/IP does not
appear an available
attachment type, either
TCP/IP for OS/2 or the
TCP/IP Attachment
Support in PSF/2 has
not been installed.
(Refer to the
appropriate IBM
installation guide for
details.)
TCP/IP