


6 Maintenance
8265/8290/8365/8390 User Guide 117
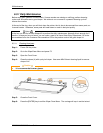
6.3.3 Bi-weekly Maintenance
6.3.3.1 Replacing the sponge in the spitting box.
Notes
• Use gloves and tweezers to change the flushing sponge in the flushing box.
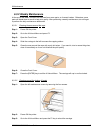
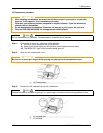
Step 1 : Power ON the printer.
Step 2 : Go to the H.Unlock Menu and press the F2 key to unlock the carriage.
Step 3 : Open the Front Cover.
Step 4 : Slide the carriage to the left to access the flushing sponge.
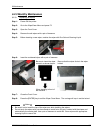
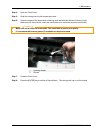
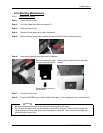
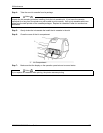
Step 5 : Remove the old flushing sponge with tweezers. (See image below)
1 = Sponge
2 = Tweezers
3 = Gloves
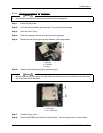
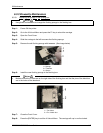
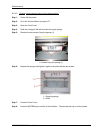
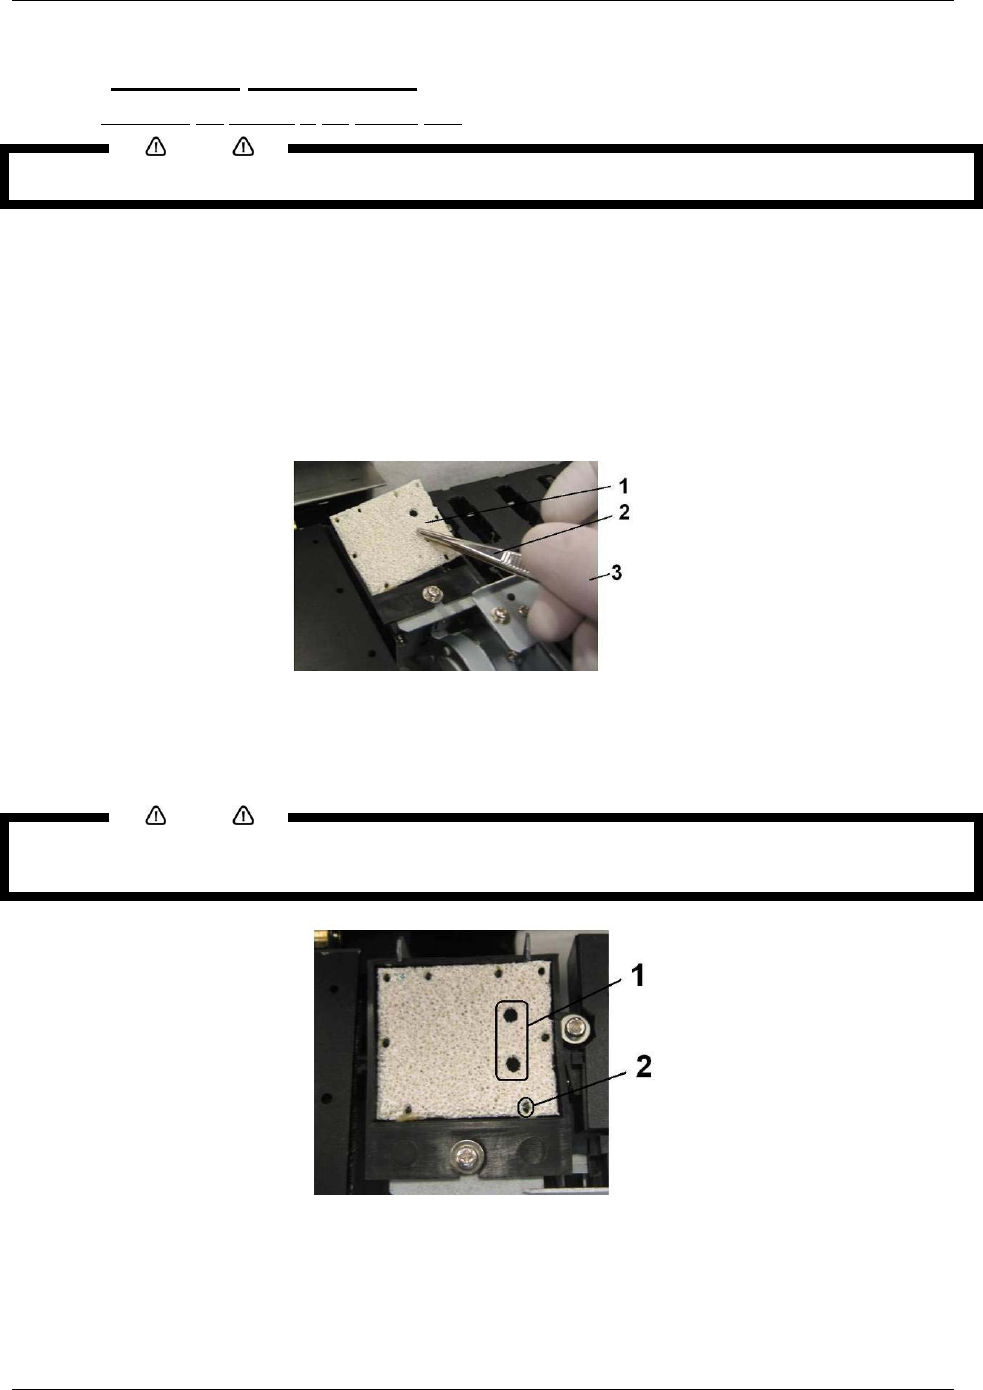
Step 6 : Install the new flushing sponge in the flushing box.
Notes
• Make sure that the 2 holes are on the right side of the flushing box and that the pins of the black box
are in the holes of the absorbent.
1 = Two holes
2 = Pin of black box
Step 7 : Close the Front Cover.
Step 8 : Press the [ENTER] key to exit the H.Unlock Menu. The carriage will cap in and be locked.