


3 Printer Setup
26 8265/8290/8365/8390 User Guide
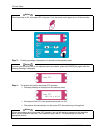
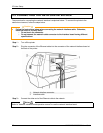
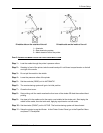
Step 5 : Slide the flange of the other roll unit into the roll and lock the unit by using its handle.
Step 6 : You can now de-lock both sides to position the roll.
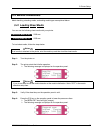
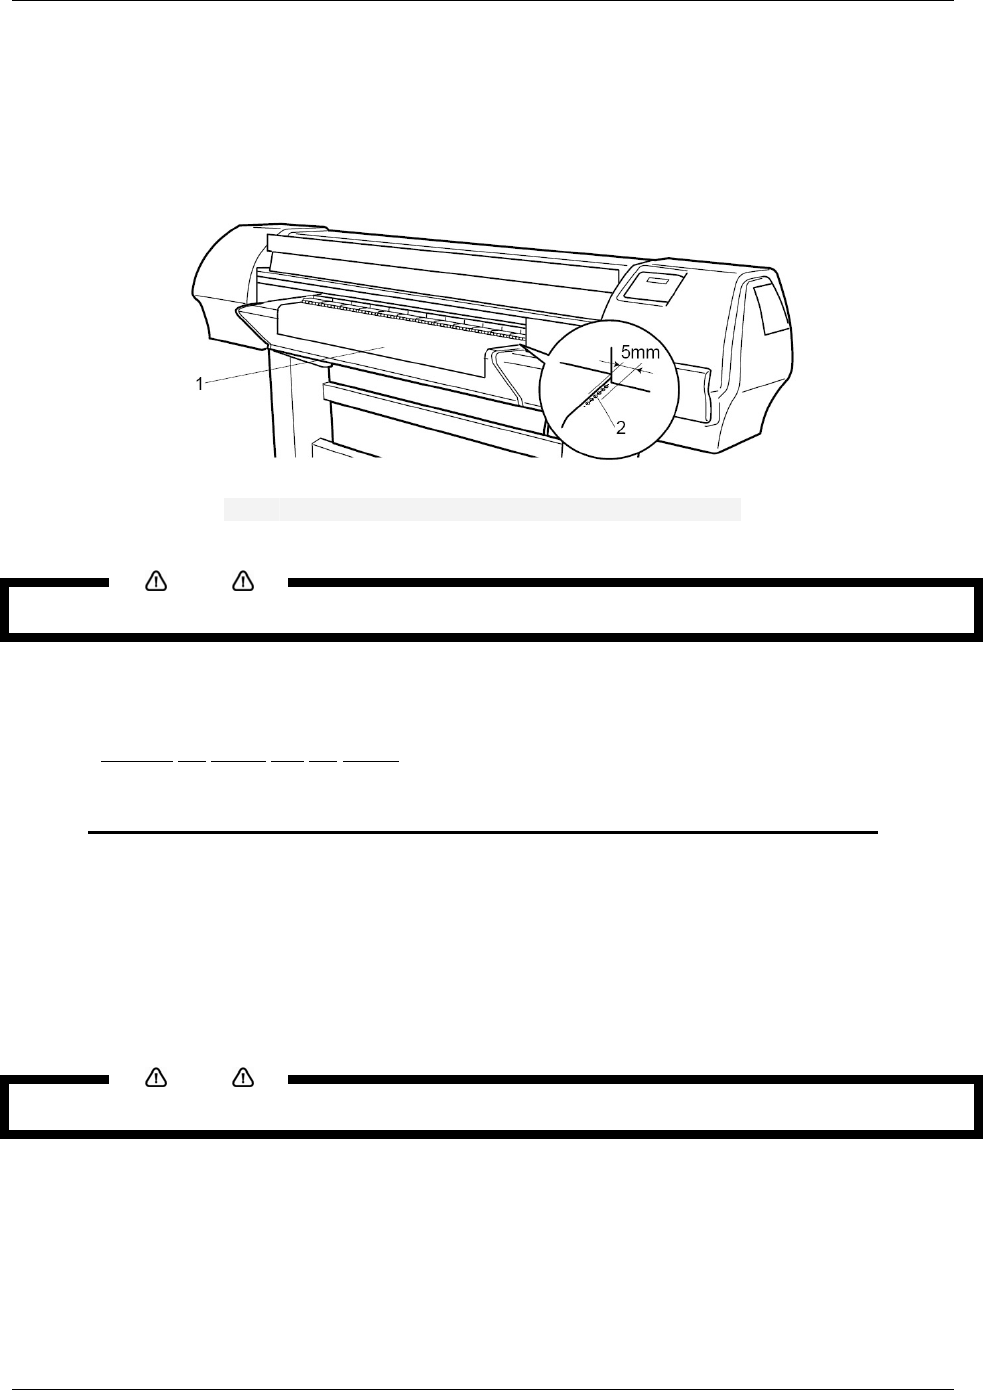
Step 7 : Set the right edge of the media on the Unwinder so that it is parallel with the media setting
position.
1
Roll media
2
Media setting position
Notes
We recommend wearing cotton gloves to avoid fingerprints on the inkjet media.
Step 8 : Lock both sides of the Unwinder.
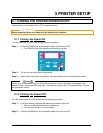
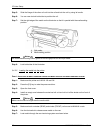
3.4.2.2 Loading
the media into the printer
P
ART 1: INSTALLING AN EMPTY CORE AND LOADING THE MEDIA THROUGH THE REAR TENSIONING SYSTEM
Step 1 : Make sure the printer and UW/W 100 are ON.
Step 2 : Press the [F4] key to raise the pressure rollers.
Step 3 : Open the front cover.
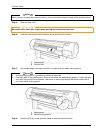
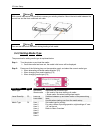
Step 4 : Install an empty core between the motorized roll unit and roll unit of the winder unit on front of
the printer.
Notes
Make sure the core is longer than the media width.
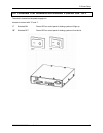
Step 5 : Make sure both unwinder (REAR) and winder (FRONT) unit are set to MANUAL mode.
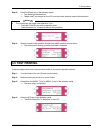
Step 6 : Use the foot-switch to release some media on the rear.
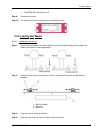
Step 7 : Load media through the rear tensioning system as shown below.