


3 Printer Setup
8265/8290/8365/8390 User Guide 27
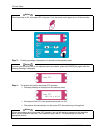
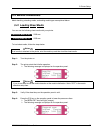
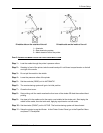
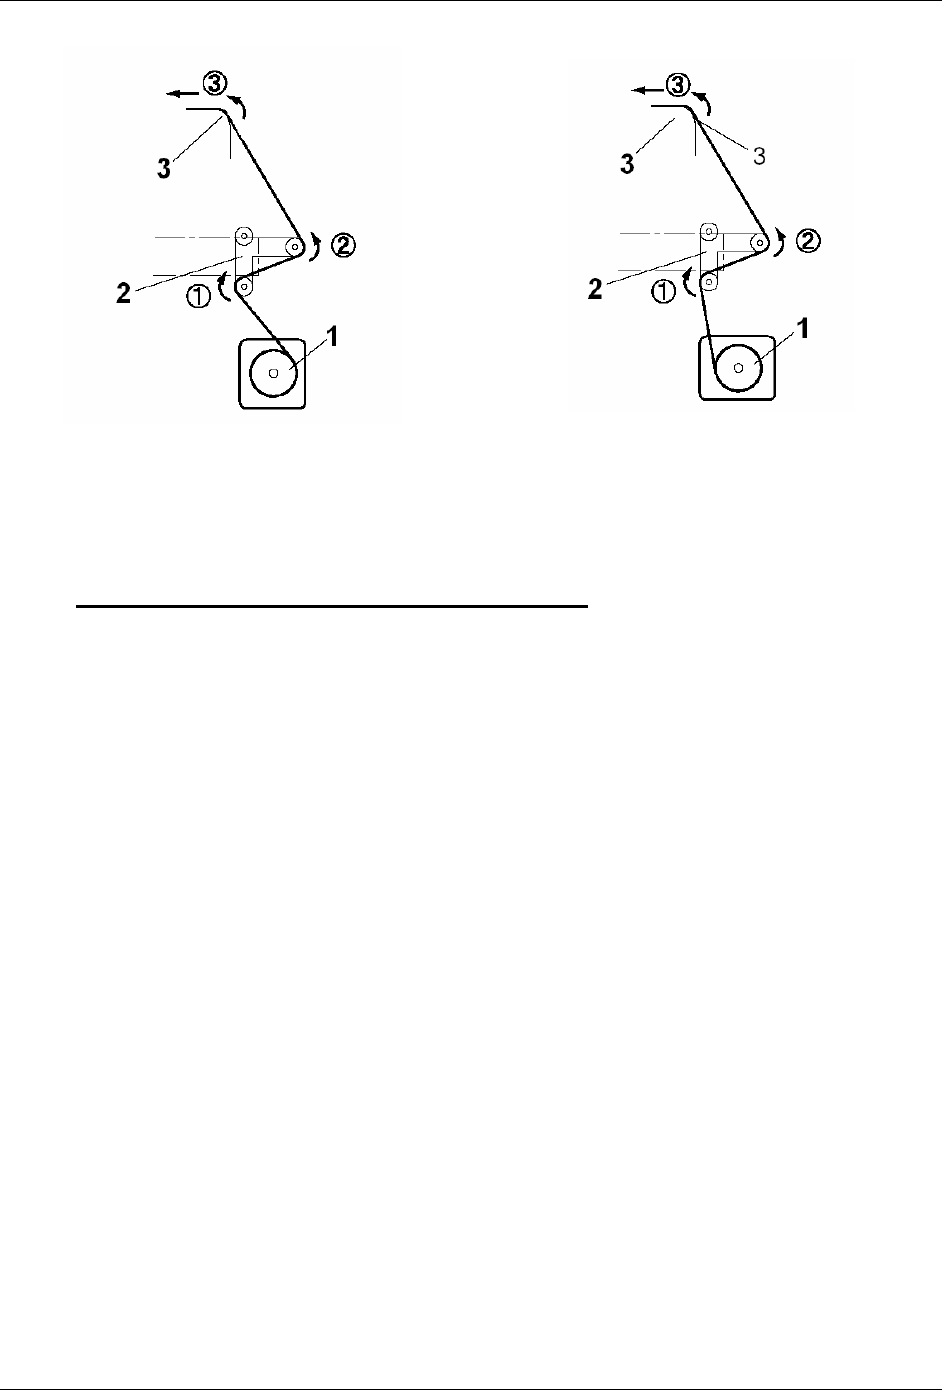
Printable side on the outside of the roll Printable side on the inside of the roll
1 = Unwinder
2 = Rear tensioning system
3 = Media insertion slot of the printer
P
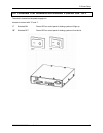
ART 2: LOADING THE MEDIA TROUGH THE FRONT TENSIONING SYSTEM
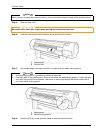
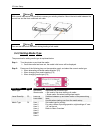
Step 1 : Load the media through the printer’s pressure rollers.
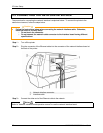
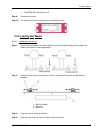
Step 2 : Standing in front of the printer, take the media and pull it until there is equal tension on the left
and right of the media.
Step 3 : Do not pull the media in the middle.
Step 4 : Lower the pressure rollers of the printer.
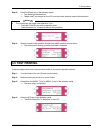
Step 5 : Set the unwinder (REAR) unit to AUTOMATIC.
Step 6 : The rear tensioning system will go to its initial position.
Step 7 : Close the front cover.
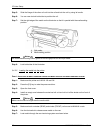
Step 8 : Start printing until the media reaches the front core of the winder OR feed the media without
printing.
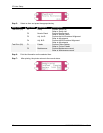
Step 9 : Use tape to fix the media end to the empty core installed at the winder unit. Start taping the
middle of the media, then the both ends, applying equal tension on both ends.
Step 10 : Set the winder (FRONT) unit to ACTIVE. The front tensioning system will be activated.
Step 11 : Setup the printer to use the Winder. At the Printer Control Panel, go to the PaperDet. Menu
and press F3 TakeUpRoll.