


6 Maintenance
126 8265/8290/8365/8390 User Guide
6.5.3 Replacing the Waste Tank
Read following information on when and how to replace the waste liquid tank.
(1) Replacement Time
Replace the waste liquid tank under the following conditions.
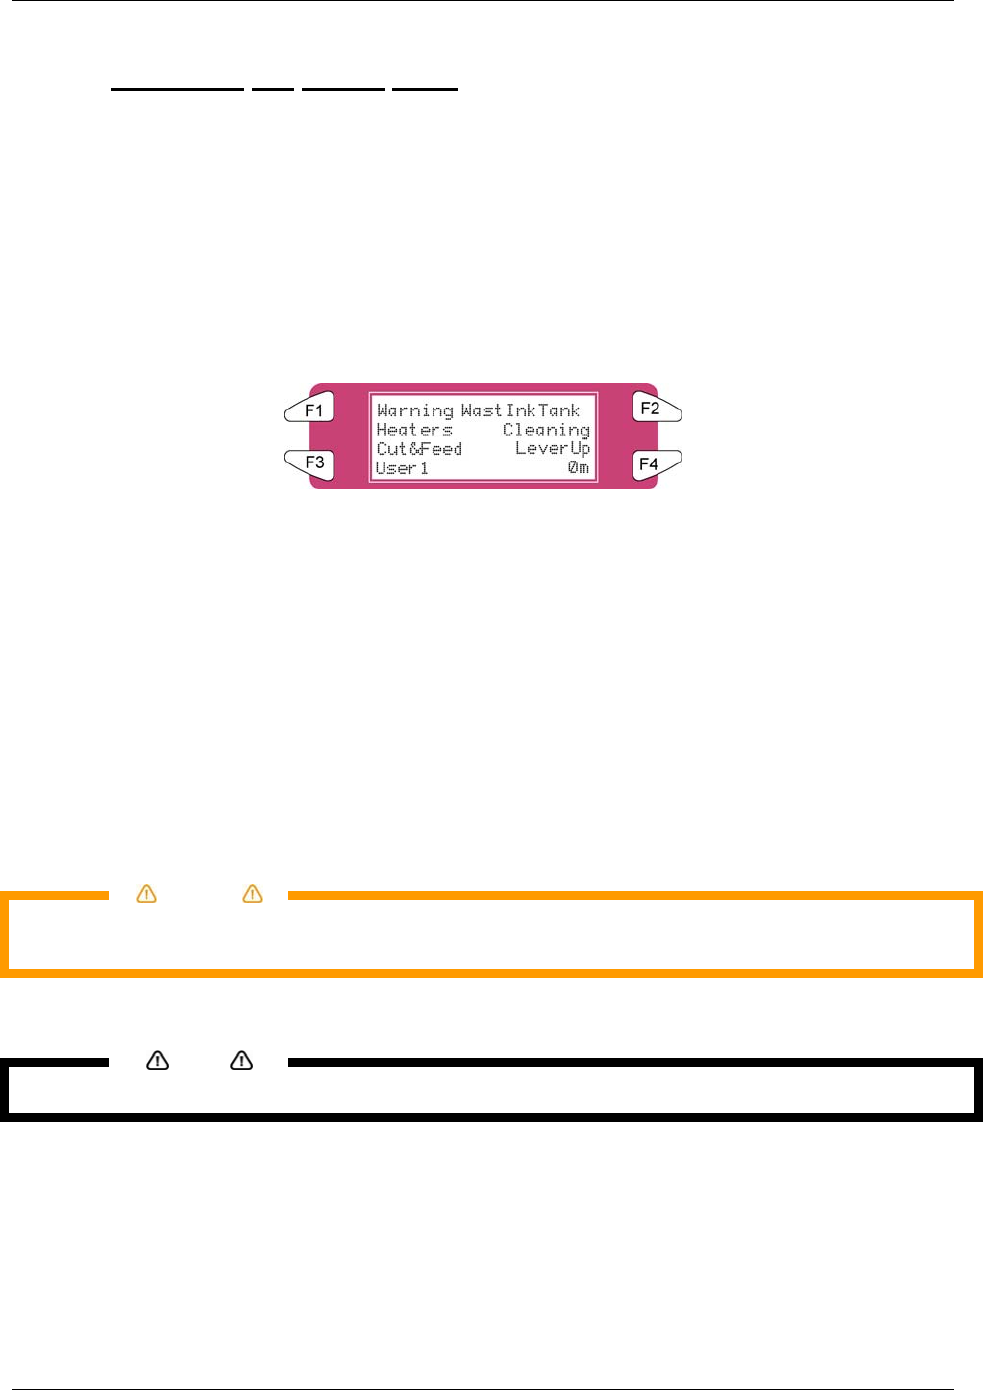
a. When the waste liquid tank is nearly full.
• Following message is displayed on the operation panel.
• Printing continues.
• Prepare a new waste liquid tank before the waste liquid tank becomes full.
(2) Replacement Procedures
Follow the steps below to replace the waste liquid tank.
Step 1 : Check the following if the power of the printer is ON.
I) Printer is not printing.
II) Operation panel is in normal status.
III) Media setting light on the operation panel is off.
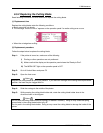
Step 2 : Go to SetupMenu 6/7 and press F3 TankChg.
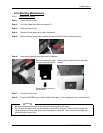
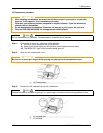
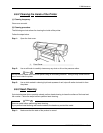
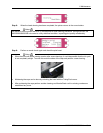
Step 3 : Open the cap of the waste liquid tank.
Caution
Do not bend or pull the waste fluid tube. Doing so may cause that the waste fluid will leak out and
malfunction in the product.
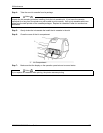
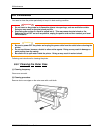
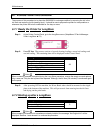
Step 4 : Remove the waste liquid tank from the tank tray of the stand.
Notes
Put the used waste liquid tank in a plastic bag and follow the local regulations when disposing.
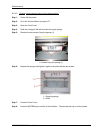
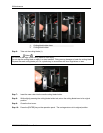
Step 5 : Remove the cap on a new waste liquid tank and put the tank in the tank tray on the stand.
Step 6 : Close the cap on the waste liquid tank.
Step 7 : Press the [ENTER] key on the operation panel.