


7 Adjustments
136 8265/8290/8365/8390 User Guide
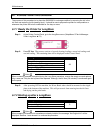
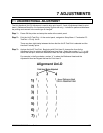
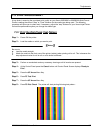
Step 4 : At the Control Panel, press either the F2 key or F4 key to select the number determined in the
previous step.
Using the previous steps example, you would press either F2 or F4 to until the display read “4”.
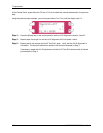
Step 5 : Press the [Enter] key on the control panel to set the Bi-D Alignment value for “Head 1A".
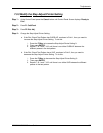
Step 6 : Repeat steps 3 through 5 to set the Bi-D Alignment for the remaining Print Heads (1B, 2A, 2B,
3A, 3B, 4A, and 4B).
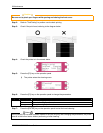
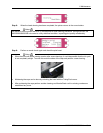
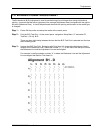
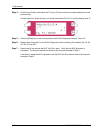
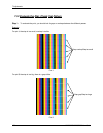
Step 7 : Repeat step 2 and analyze the Bi-D Test Print. again. Verify that the Bi-D Alignment is
successful. The test print should look similar to the test print example in Step 3.
If necessary, repeat the Bi-D Adjustment until the Bi-D Test Print looks similar to the test print
example in Step 3.