10-6 Creating Cut Out Objects
Cutting out text objects
The cutter cuts out each individual character in a Text cut out object.
Hint! See Weeding cut out text objects on page 10-6 to learn how to
make an additional cut around the cut out text, for ease of use
when removing the cut out characters.
To cut out text objects
1. After selecting the Cut out object option on the Insert Objects
screen, choose Text.
2. On the Enter Text screen (shown in Figure 7-3 on page 7-6), enter
the characters you want to cut out.
3. Press OK when you’re finished. You’ll see the cut out new text object
on the Editor window.
4. Choose Print to cut out the object.
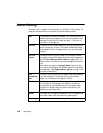
Weeding cut out text objects
Your Color & Cut system can perform weeding on cut out text objects.
Weeding makes it easier for you to strip out waste from around cut text
characters.
In the weeding process, the cutter cuts a border around a cut out text
object. In a text object with multiple lines of text, each line gets its own
cut out border.
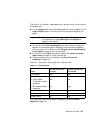
To perform text weeding
1. Create a cut out text object as described in the Cutting out text
objects section above.
2. With the cut out text object displayed in the Editor window, select
the object.
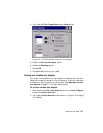
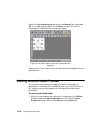
3. Press <Object Properties> or select the Object Properties tool.


