


b. Effective life
Cartridges are effective for 2.5 years following the date of manufacture, which is displayed in an
abbreviated form on the cartridge. The cartridge life span is also displayed (month and year) on
the cartridge box as 2.5 years from the date of manufacture. Cartridges should be used within
their life spans, as image quality will deteriorate after the expiry date.
3. Handling
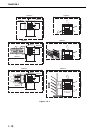
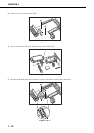
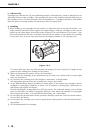
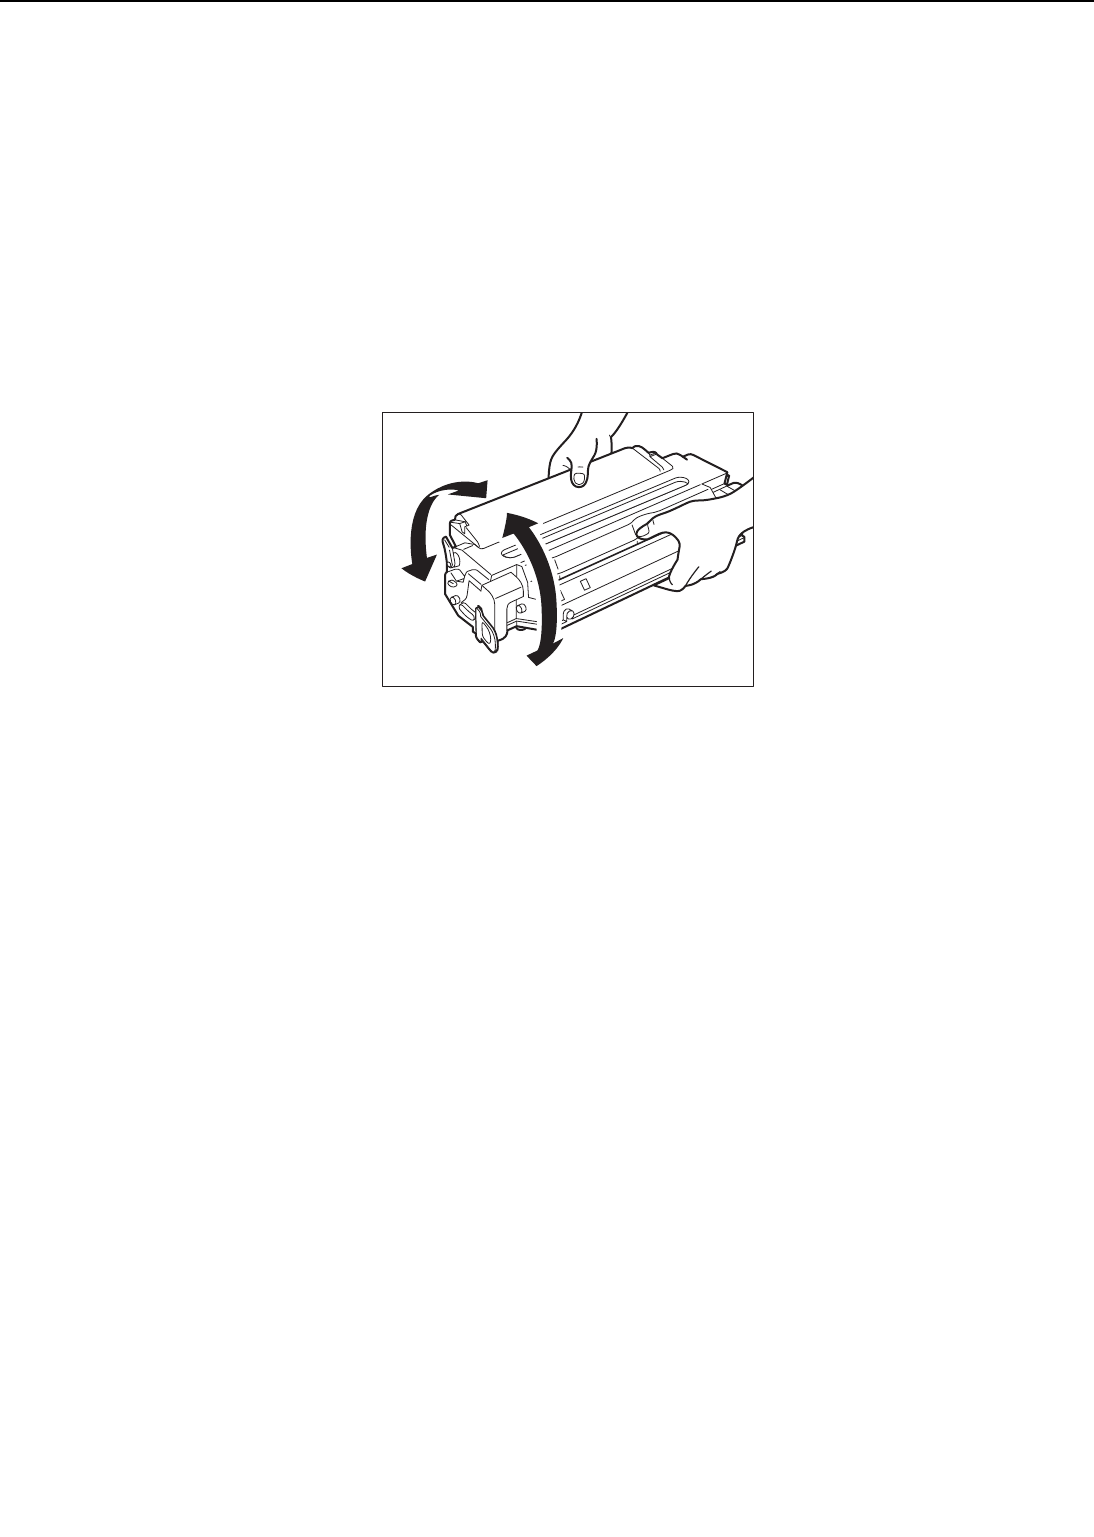
1) When loading a new cartridge into the printer, or when the toner in an already loaded car-
tridge hardens and blank spots appear on output images, hold the cartridge at each end as
shown in the below figure and slowly rock it about 45° in each direction 5 to 6 times. This
will evenly distribute the toner, and then reload it into the printer. Do not shake the cartridge
in any other way, as toner may leak from the developing cylinder or the cleaning unit.
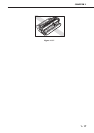
Figure 1-5-6
To ensure that toner does not leak and dirty the images, be sure to print 3 to 5 pages of test
patterns after loading the cartridge in the printer.
2) When transporting the printer, remove the cartridges.
Either insert the cartridge in the aluminum bag or wrap it in a thick cloth to ensure light
does not penetrate it.
3) Do not leave the cartridge near CRT displays, disk drives, or floppy disks.
The magnetism generated by the cartridge may destroy their data.
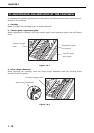
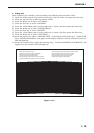
4) As the photosensitive drum is sensitive to strong light, do not expose the cartridge to direct
sunlight or strong light (1500 lux or more). If it is exposed to strong light, blank spots or
black lines may appear on images.
Should this happen, temporarily turn OFF the printer. The distorted images such as blank
spots or black lines are likely to disappear. However, if the drum was exposed to strong light
for a long period of time, it is possible the black lines, etc., will remain.
5) Do not open the photosensitive drum protective shield by hand nor touch the drum surface.
Do not clean the drum.
6) Do not place the cartridge on its end or upside down. Always place it with the label side fac-
ing upward.
7) Do not disassemble the cartridge.
1 - 16
CHAPTER 1