


4-13
Cisco MGX 8850 Multiservice Switch Installation and Configuration
Release 1.1.31, Part Number 78-11223-03 Rev. B0, May 2005
Chapter 4 Enclosure and Card Installation
Install Electrical Connections
Caution Inserting the cards in the correct slot is especially important for the back cards because of the
potential for electrical damage. Damage to the card and backplane may occur if a service module
back card is inserted into a PXM1 back card slot (7, 8, 23, or 24).
If an incorrect switch behavior is observed after a service module back card is accidently inserted
into the PXM1 slots 7, 8, 23, or 24, check the backplane and cards for bent or damaged pins.
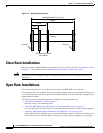
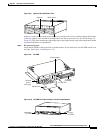
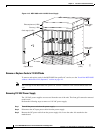
Re-install a Front Card
Verify the slot placement of each card before you begin installation.
Perform the following steps to re-install a front card.
Step 1 Position the rear card guides over the appropriate slot at the top and bottom of the cage.
Step 2 Gently slide the card all the way into the slot.
Step 3 Press the insertion-extractor lever until it snaps into the vertical position.
Note The card should slide in and out with only slight friction on the adjacent board’s EMI gaskets.
Investigate any binding. Do not use force.
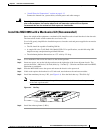
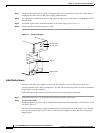
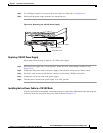
Re-install a Back Card
Verify the slot placement of each card before you begin installation.
Caution Before using the switch, verify that the daughter card type on the PXM1 corresponds to the uplink
card type. Serious damage may result if the power is on and these cards are mismatched.
Perform the following steps to re-install a back card.
Step 1 Make sure the two extractor levers are in the “in” position. As you move the card, the levers should be
flush with the vertical edge of the back card.
Step 2 Gently slide the card all the way into the slot.
Step 3 Push the card into the connector.
Step 4 Tighten the two captive screws on the card faceplate to secure the card. Do not overtighten the screws.
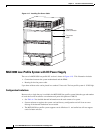
Install Electrical Connections
This section contains the following instructions:
• Install 220 VAC Power Supplies (If Necessary), page 4-14
• Connect 220 VAC Power to the MGX 8850, page 4-14