


6-70
Cisco MGX 8850 Multiservice Switch Installation and Configuration
Release 1.1.31, Part Number 78-11223-03 Rev. B0, May 2005
Chapter 6 Card and Service Configuration
DS3 Loopback Test
Step 1 Select a node with PXM-T3 back card.
Step 2 Check that the FEAC code validation criteria on the DS3 interface is not disabled entering dspln -ds3
<slot>.<port>.
Step 3 Configure the HP cerjac tester to sent a pattern to the DS3 interface of the node.
Step 4 Any pattern sent will cause the interface to put itself into loopback and the interface retransmits the same
pattern back to the tester.
Step 5 From the tester, verify that the same is received back on the tester thus validating the loopback on the
DS3 interface.
Step 6 Check that dsplog does not show any errors or alarms logged.
Pass Criteria
• The pattern sent by the tester is received back to the tester as is.
• No errors logged on the console or the log.
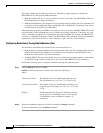
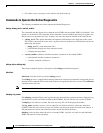
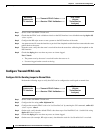
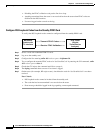
Configure Transmit FEAC code
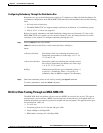
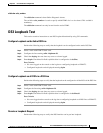
Configure Ds3 for Sending Looped or Normal Data
Perform the following steps to verify that DS3 can be configured to send looped or normal data.
Step 1 Select a node with PXM-T3 back card.
Step 2 Configure the line using cnfln -felpbnum 30.
Step 3 Configure the transmit FEAC code to be 'dsx3SendNoCode' by entering the CLI command, cnfln -ds3
<slot>.<port> -tfeac 1.
Step 4 On the node, verify that the default FEAC code shows up as LineXmtFEACCode : SendNoCode using
dspln -ds3 <slot>.<port>.
Step 5 Check that dsplog does not show any errors or alarms logged.
Step 6 On the tester (for example, HP cerjac tester), check that the code for 'dsx3SendNoCode' is received.
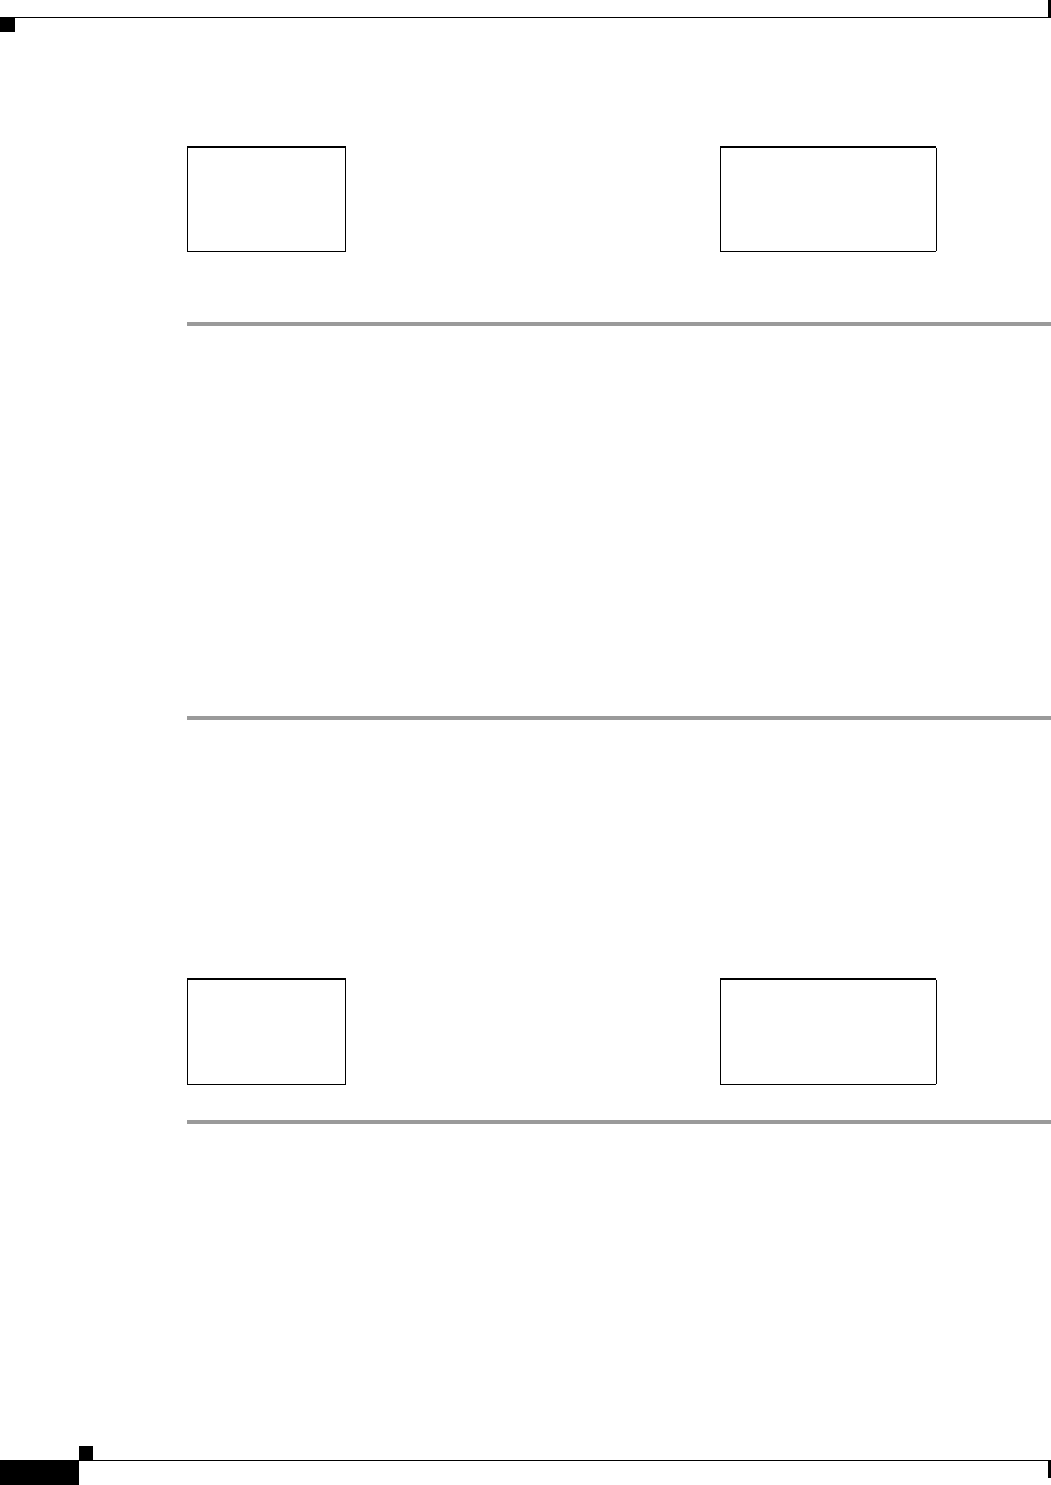
MGX 8850
Switch with
T3 Interface
--------Transmit FEAC Codes--------->
<------Receive FEAC Validation------
DTA Tester
(Digital
Transmission
Analyzer)
MGX 8850
Switch with
T3 Interface
--------Transmit FEAC Codes--------->
<------Receive FEAC Validation------
DTA Tester
(Digital
Transmission
Analyzer)