


EPSON Stylus Photo 750 Revision A
Adjustment Adjustment by Adjustment Program 80
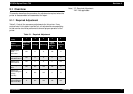
5.3 Adjustment by Adjustment Program
In this printer, it is necessary to set the correct information for each
printer mechanism in order to maintain consistent printing function and
quality, eliminating difference of each printer mechanism’s
characteristics. Therefore, in case that the combination of the printer
mechanism and main board changes or the print head is replaced
during the repair service, you must set and save the correct information
to the main board, using the exclusive adjustment program.
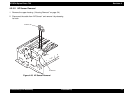
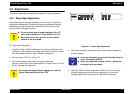
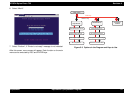
5.3.1 Adjustment Program
This adjustment program(Sp750.EXE) consists of the menu to input the
model name and main menu for adjustments.
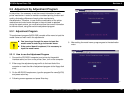
5.3.1.1 How to use the Adjustment Program
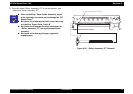
1. Connect the PC(DOS/V computer) and printer by the parallel
interface cable, and turn on the printer, then, turn on the computer.
2. Either copy the adjustment program file to the hard disk of the
computer or insert the disk of adjustment program to the floppy disk
drive.
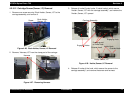
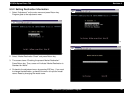
3. On the MS-DOS Prompt screen, type the program file name(Sp750)
and press return key.
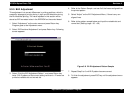
4. Following screen appears and press Enter key.
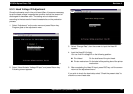
5. After setting the model name, program goes to the destination
menu.
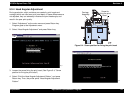
CAUTION
„
You have to go through the menu to input the
model name in order to go to the main menu.
„
If the control board is replaced, it is necessary to
input the model name.
Auto
Prompt-SP750
adj1
Auto
Prompt-SP750
adj2