


EPSON Stylus Photo 750 Revision A
Adjustment Adjustment by Adjustment Program 84
5.3.4 Head Angular Adjustment
During production, slight variations are created in print heads and
carriage (which are used as a print head base). If these differences are
not adjusted, they can adversely influence the print head angle, and
result in the poor print quality.
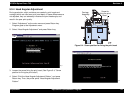
1. Select “Adjustment” on the main menu and press Return key.
Program goes to the Adjustment menu.
2. Select “Head Angular Adjustment” and press Return key.
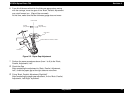
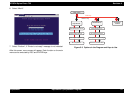
3. Loosen the screw fixing the print head. (See Figure 5-4, "Screw
position for fixing the print head")
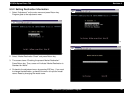
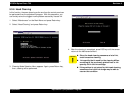
4. Select “Print the Head Angular Adjustment Pattern”, and press
Return key. Then, the printer prints “Head Angular Adjustment
Pattern”.
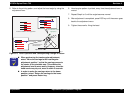
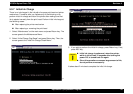
Figure 5-4. Screw position for fixing the print head
Auto
Prompt-SP750
adj11
Carriage
Assembly
Screw for
fixing the print
head
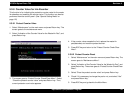
Auto
Prompt-SP750
adj12