


66 Scanning
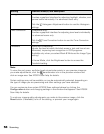
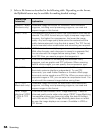
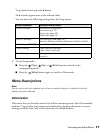
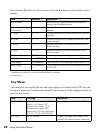
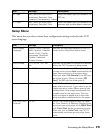
The following table shows the settings and options for each scan mode.
Scanning
Follow these steps to scan:
1. Connect the CX11N to your computer with a USB cable or a network cable as
described in your Start Here sheet.
2. Turn on the CX11N. Place your originals on the document table (see page 15) or
in the Auto Document Feeder (CX11NF only; see page 17).
Caution:
Make sure the transportation lock on the left side of the document table is set in
the unlock position.
3. Press the Scan button.
4. Press the u or d button to select either Local PC or Network PC, then press the
r button.
When you select Local PC, you see a message on your computer screen. Select
your scanning program, scan your document, and close your scanning program.
The CX11N returns to the Print mode.
When you select Network PC, the network computer name appears in the LCD
screen. Press the u or d button to select your network computer, and then press
the r button.
5. Press the l or r button to select a file format.
6. Press the x B&W Start or x Color Start button on the control panel.
EPSON Scan starts scanning. When the scanning is complete, remove your
originals from the document table or the Auto Document Feeder.
If you need to cancel scanning, press the y Cancel button.
Scan modes Available settings Items
Automatic scan File Format PDF, TIFF, JPG
Manual scan File Format PDF, TIFF, JPG
Paper Size A4, B5, Letter, Legal