D-4
7. Add paper to the tray by sliding it under the guides at the rear of the paper
tray, and then pushing down on the paper at the front of the tray until it fits
under the metal brackets. The paper tray may lock in the down position, but
when you insert the paper tray into the feeder it will release.
8. Squeeze the width guide lever toward its brace, and then move it so that it lies
next to the paper. Do not fit the width guide tightly against the paper, because
this may cause paper jams.
9. Replace the paper tray into the feeder. You’re now ready to print.
If you’re printing on letterhead, place sheets so that the letterhead is face down and toward
the front of the tray. If you use three-hole punched paper, position the paper so that the
holes are on the left side of the tray.
Loading the envelope tray with envelopes
Note: The Elite 12ppm does not check the size of the envelopes you place in the tray. Make
sure you’re using the envelope size you specified in your application.
1. Remove the envelope tray from the feeder and turn it so that the handle is
toward you.
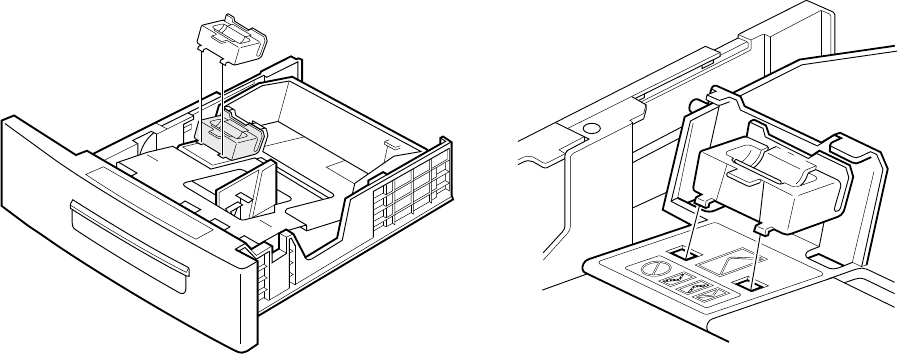
2. If the postcard guide (a piece of plastic with the words “For Japanese Postcard”)
is at the rear of the area where you put envelopes, follow the next steps to
remove it. Otherwise, go to step 9.
3. Place your forefingers under the tab at the front of the postcard guide, and
press down on the top center of the guide with your thumb.
