D-6
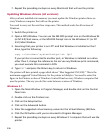
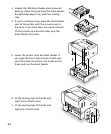
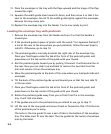
12. Place the envelopes in the tray with the flaps upward and the hinge of the flap
toward the right.
13. Squeeze the width guide lever toward its brace, and then move it so that it lies
next to the envelopes. Do not fit the width guide tightly against the envelopes,
because this may cause jams.
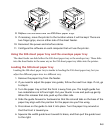
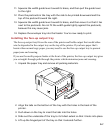
14 Replace the envelope tray into the feeder. You’re now ready to print.
Loading the envelope tray with postcards
1. Remove the envelope tray from the feeder and turn it so that the handle is
toward you.
2. If the postcard guide (a piece of plastic with the words “For Japanese Postcard”)
is not at the rear of the area where you put postcards, follow the next steps to
install it. Otherwise, go to step 10.
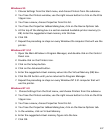
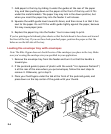
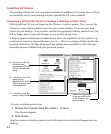
3. The postcard guide is normally stored at the right rear of the envelope tray.
Place your forefingers under the tab at the front of the postcard guide, and
press down on the top center of the guide with your thumb.
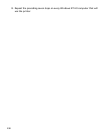
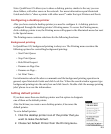
4. Roll the postcard guide toward you by pulling it forward. It will become free at
the rear. Now you can slide it up and back to remove the two tabs from the
slots and remove it from the envelope tray.
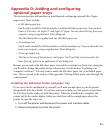
5. Move the postcard guide to the back of the area where you load postcards and
envelopes.
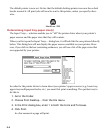
6. Tilt the back of the postcard guide up and toward you so that the two tabs fit
in the two slots.
7. Place your forefingers under the tab at the front of the postcard guide, and
press down on the top center of the guide with your thumb.
8. Rotate the postcard guide away from you so that it lies flat in the envelope
tray. It will click into place.
9. If the guides are set to the postcard size you intend to use, go to step 11.
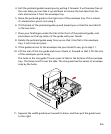
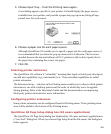
10. Lift the rear of the size guide and move it back or forward so that it fits the size
of the postcards you’re using.
The holes in the size guide fit over a pair of tabs in the bottom of the envelope
tray. The holes must fit over the tabs. The size guide has the names of envelope
sizes by the holes.


