


Chapter 9 Remove/Replace Procedures
72
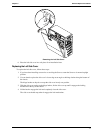
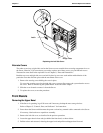
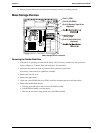
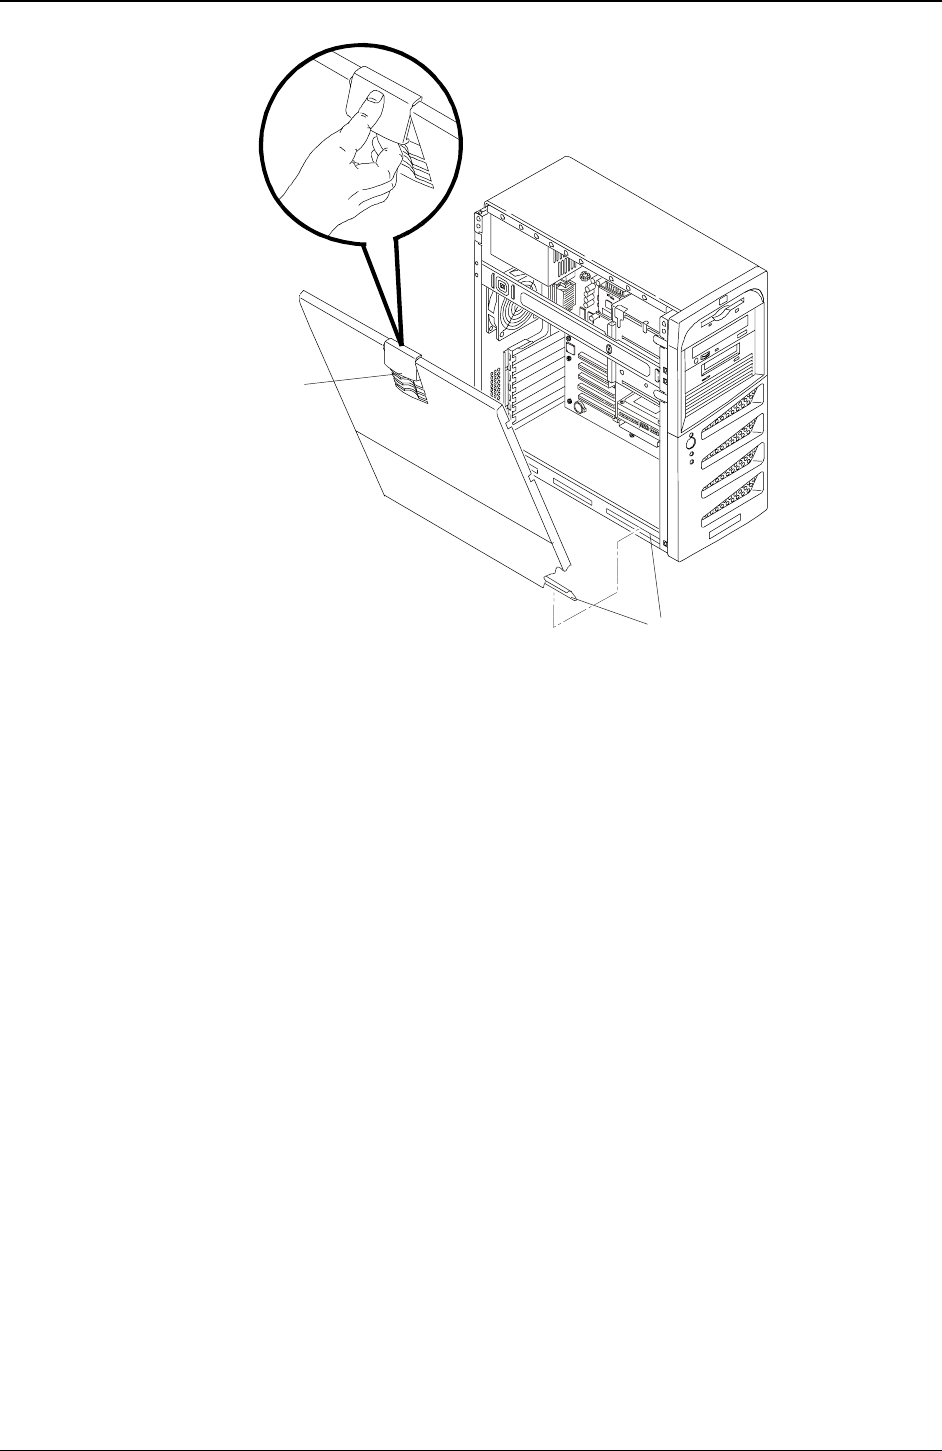
Hinge Tabs
Latch
Replacing the Left Side Cover
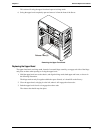
Alternate Covers
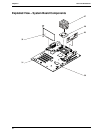
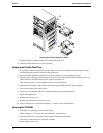
The other covers (top or right side) used on the Server are not essential when accessing components in or on
the Server. However, if for some reason you need to replace one of these covers you can find both covers
illustrated in some detail in the exploded view of Chapter 8, “Parts and Illustrations.”
Both the top cover and right side cover are held in place by one screw each and the molded hooks of the
particular cover that slide into place with the movement of the cover.
1. Remove the securing screw holding the cover in place.
To access the securing screw for the right side cover, you must first remove the system board to access
the screw. Refer to “Removing the System Board” at the end of this chapter.
2. Slide the cover forward to remove it from the Server.
3. To replace the cover, reverse the procedure.
Front Bezels
Removing the Upper Bezel
1. If the Server is operating, log off all users and if necessary, backup the mass storage devices.
Refer to Chapter 2, “Controls, Ports, and Indicators” for instructions.
2. Power down the Server and disconnect the power cord and any external cables connected to the Server.
If necessary, label each one to expedite re-assembly.
3. Remove the left side cover, as described in the previous procedure.
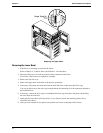
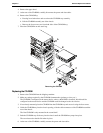
4. Locate the upper bezel release tabs just behind the front bezel, as shown below.
5. Pull the release tabs outward, releasing the upper bezel and pull the tabs/upper bezel forward.