


Chapter 9 Remove/Replace Procedures
98
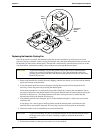
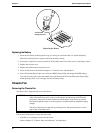
V
iew Rotated
90 Degrees CCW
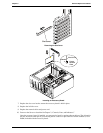
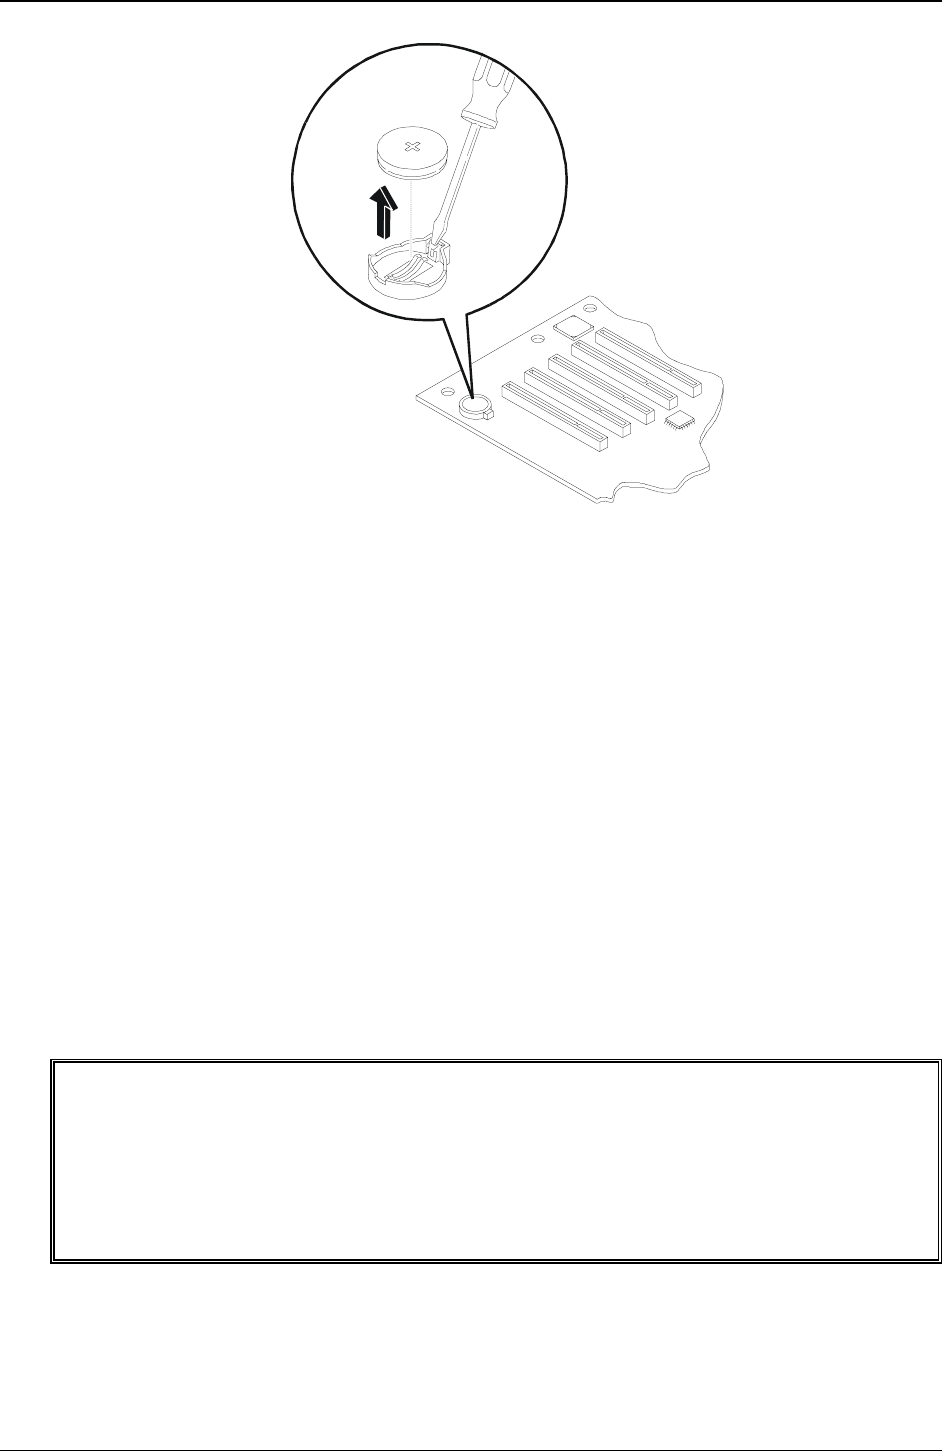
Removing the Battery
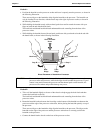
Replacing the Battery
1. Insert the new battery with the positive sign (+) facing out, and ensure that it is seated completely.
Ensure the retaining latch is in place, and holds the battery firmly.
2. If necessary, replace any accessory boards or SCSI cables removed to allow access to the battery socket.
3. Replace the left side cover.
4. Replace the external cables and power cord.
5. Power on the Server as described in Chapter 2, “Controls, Ports, and Indicators.”
6. Press <F2> during the boot process to enter the (BIOS) Setup Utility and change the BIOS settings.
You can also press <F9 to enter the default values and then set the Time and Date in the Setup Utility,
before pressing <F10> to save changes and exit the Setup Utility.
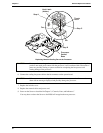
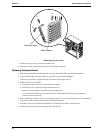
Chassis Fan
Removing the Chassis Fan
The chassis fan is mounted at the rear of the chassis.
WARNING Before removing the cover(s), always disconnect the power cords and unplug telephone
cables. Disconnect the power cords to avoid exposure to high energy levels that may
cause burns when parts are short-circuited by metal objects, such as tools or jewelry.
Disconnect telephone cables to avoid exposure to shock hazard from telephone ringing
voltages.
The power switch does not turn off any standby power. Disconnect the power cord to
stop or turn off standby power.
Follow these instructions to remove the chassis fan:
1. If the Server is operating, power down the Server.
Refer to Chapter 2, “Controls, Ports, and Indicators” for instructions.